
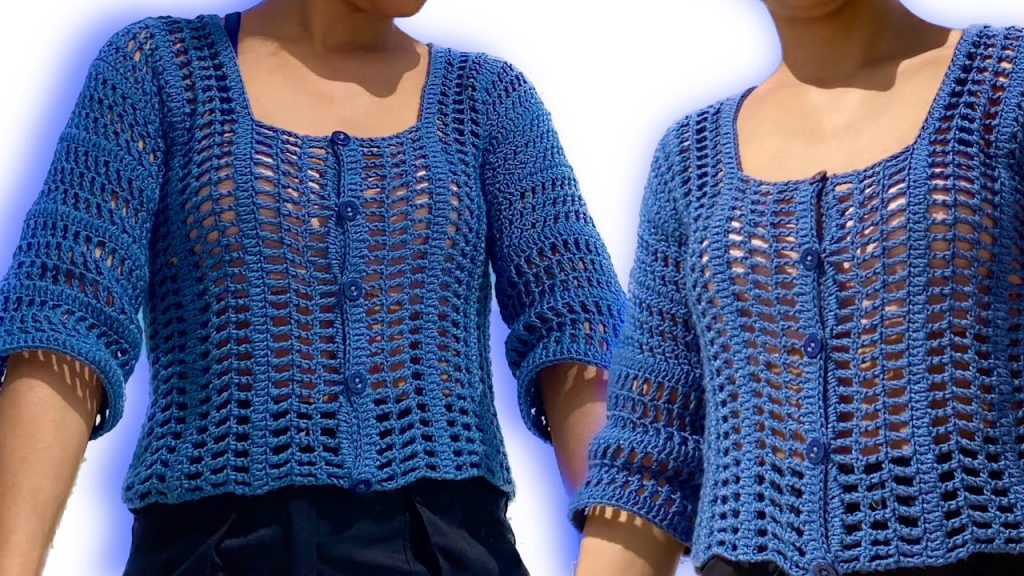
Welcome to the blog, fellow makers! Today, we’re diving into a project that perfectly balances structured ribbing with delicate, open lace: the “Ocean Lace & Rib” Top. This garment is designed to be elegant, wearable, and features a functional button front, giving it a sophisticated finish.
The construction of this top is clever: it’s built from two panels (front and back) worked from the bottom up (length) and across (width). The main stitch pattern is a beautiful 4-row repeat that creates alternating bands of solid double crochet and airy mesh.
Ready to start? Let’s gather our supplies and get stitching!
🧶 Materials & Sizing Guide
To ensure a perfect fit, accurate initial measurements are essential, as this top is based on your specific body dimensions.
- The Yarn:Lightweight or DK Weight (Weight 3).
- Recommendation: A breathable fiber like cotton or a cotton blend is ideal for a garment of this type, providing excellent drape and stitch definition for both the solid and mesh sections.
- The Hook: A size appropriate for your chosen yarn, typically 3.5mm to 4.0mm.
- Tools:
- Measuring Tape (Crucial for all custom measurements).
- Stitch Markers.
- Tapestry Needle for seaming.
- Buttons (The number is up to you, but the pattern suggests placing them along the front DC strip).
- Key Measurements:
- Total Length: Measure from your shoulder to where you want the hem to fall. This measurement determines your starting chain length (e.g., 39 cm / 81 chains in the video example).
- Shoulder-to-Shoulder Width: Measure straight across your back from one shoulder point to the other. This determines the total width of your back panel.
- Neckline Depth/Shoulder Width: Use these measurements to customize the shaping of the front panels.
📚 Abbreviations & Key Terms (US Terminology)
- Ch: Chain
- St(s): Stitch(es)
- Sl St: Slip Stitch
- DC: Double Crochet
- Tr (Treble/Triple Crochet): Yarn over twice, insert hook, pull up loop, [yarn over, pull through 2 loops] 3 times.
- Sk: Skip
- Ch-sp: Chain Space
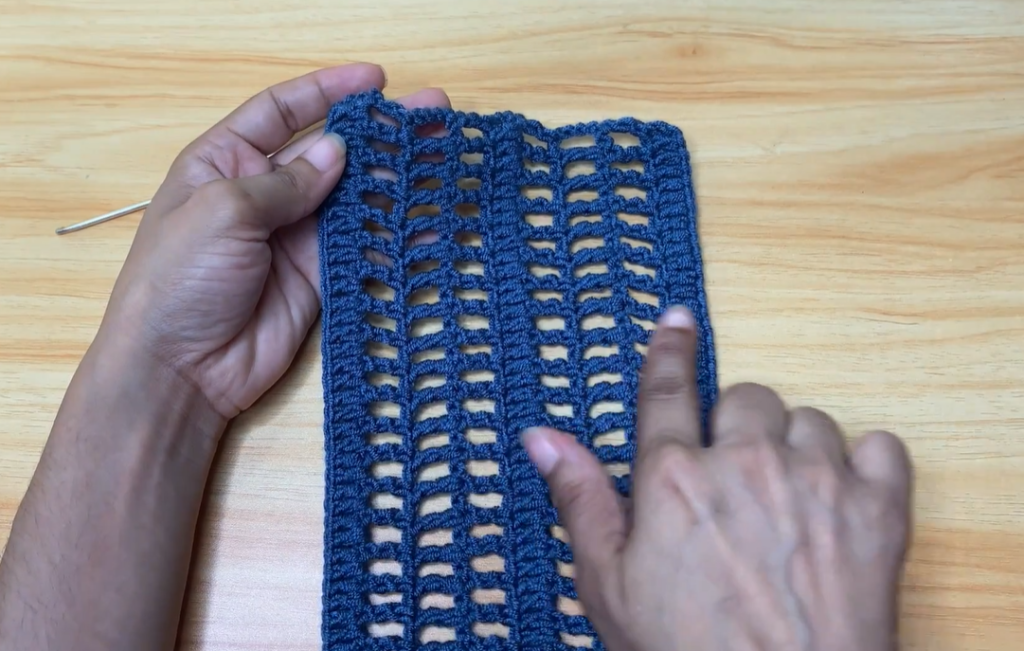
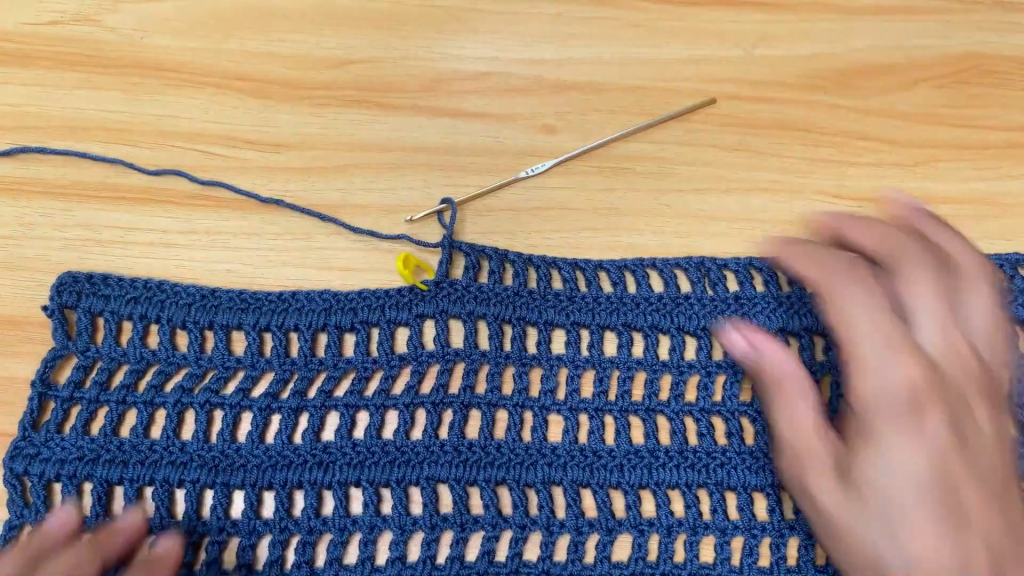
🌟 The “Ocean Lace” Stitch Pattern (4-Row Repeat)
The core of this pattern alternates between a solid double crochet band and three rows of airy Treble Crochet mesh.
Row 1 (Solid Foundation Band):
- Ch the length equal to your Total Length measurement (e.g., 81 chains).
- Ch 3 (counts as first DC). DC into the 4th chain from the hook (working into the back bump of the chain for a neat edge) and DC in every chain across.
- Turn.
Row 2 (Mesh Start):
- Ch 5 (counts as 1 Tr + Ch 1). Tr (Treble Crochet) into the 3rd stitch (Sk 1 DC).
- Repeat: [Ch 1, Sk 1 DC, Tr in the next DC] across the row.
- End: The last Tr should land in the top of the turning chain/last stitch.
- Turn.
Row 3 (Mesh Row 1):
- Ch 4 (counts as 1 Tr + Ch 1). Tr into the next Tr stitch (Sk the Ch-1 space).
- Repeat: [Ch 1, Sk the Ch-1 space, Tr in the next Tr] across the row.
- End: The last Tr should land in the 4th chain of the starting Ch-5 from the previous row.
- Turn.
Row 4 (Mesh Row 2):
- Ch 5 (counts as 1 Tr + Ch 1). Tr into the next Tr stitch (Sk the Ch-1 space).
- Repeat: [Ch 1, Sk the Ch-1 space, Tr in the next Tr] across the row.
- End: The last Tr should land in the 3rd chain of the starting Ch-4/Ch-5 from the previous row.
- Turn.
Repeat Sequence:
- Repeat the 4-row sequence as follows: Row 1 (Solid DC) is worked once every 4 rows.
- The overall pattern repeat is: Row 1 (Solid DC), Row 2 (Mesh Start), Row 3 (Mesh Row 1), Row 4 (Mesh Row 2).
- After Row 4, the next row is a new Solid DC row, which is worked by replacing every Tr and every Ch-sp with a DC.
Solid DC Row (Mid-Pattern Infill):
- Ch 3, Turn. DC into the first Ch-sp. DC into the next Tr.
- Repeat: [DC into the next Ch-sp, DC into the next Tr] across the row.
- End: DC into the last Tr or turning chain. (This DC row is an infill and functions as the repeat of Row 1).
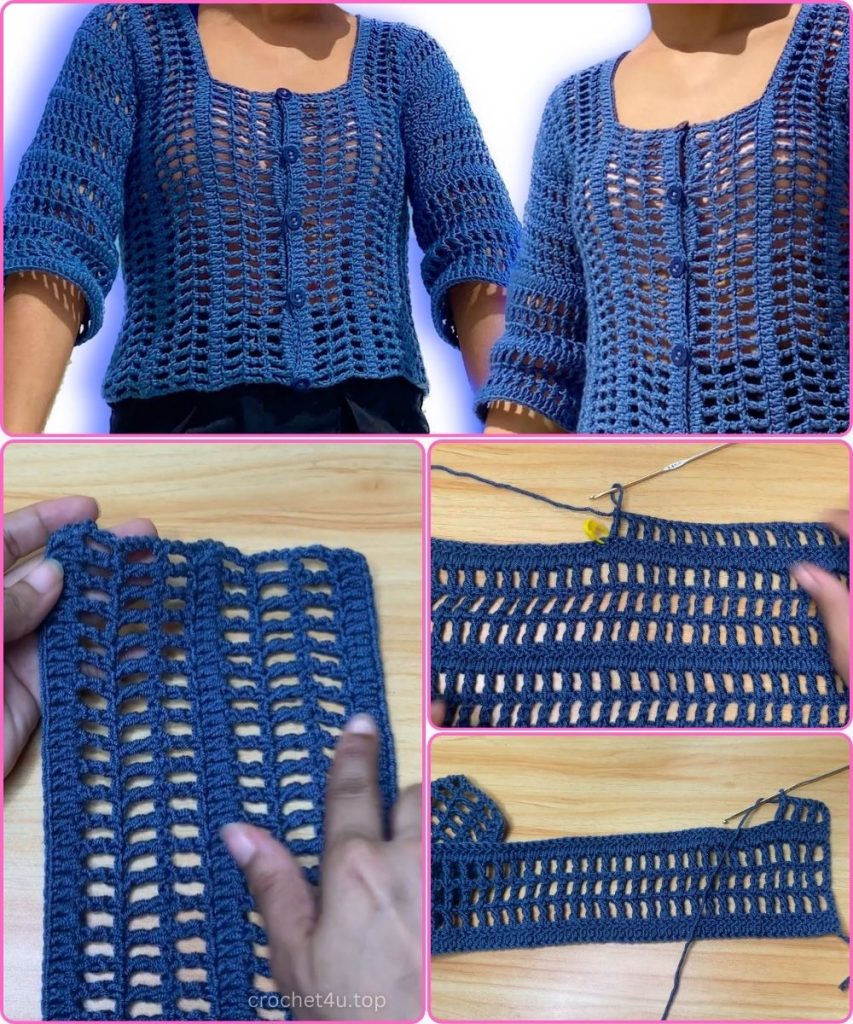
🧱 Section 5: The Back Panel Construction
- Start: Use your Total Length measurement for your starting chain.
- Work the Pattern: Begin with Row 1 (Solid Foundation Band).
- Continue repeating the 4-row sequence (DC infill, Tr mesh, Tr mesh, Tr mesh) until the panel measures your desired Shoulder-to-Shoulder Width (e.g., 38 cm in the video).
- Pattern Check: The video notes that the Solid DC Band (Row 1/infill) should be an odd number of rows for the back panel. (e.g., 7 solid DC bands in the video).
- Fasten Off.
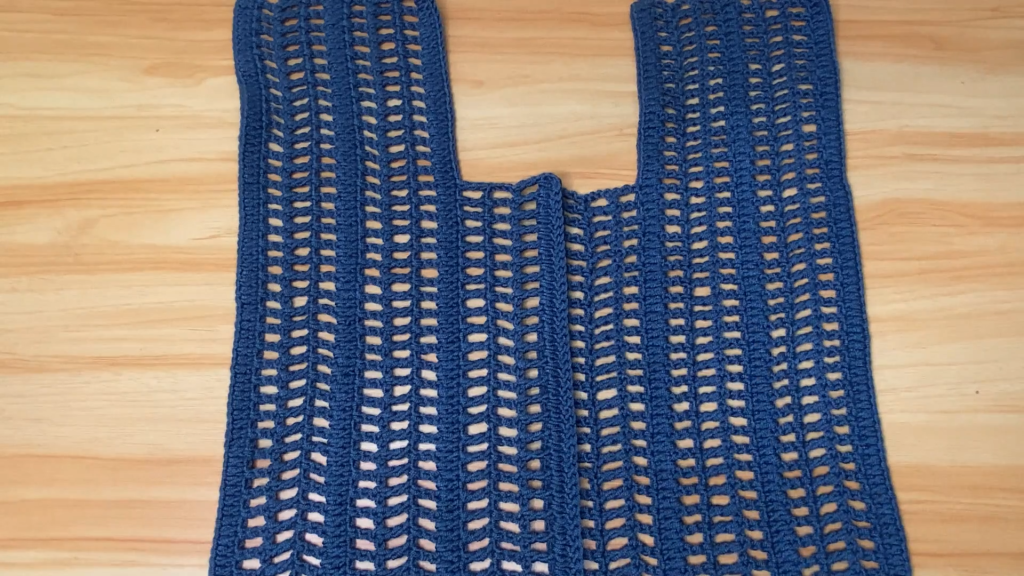
✂️ Section 6: The Front Panels (Split)
The front is made of two separate pieces that will create the button-up placket and the neckline opening.
- Start: Use the same Total Length measurement for the starting chain as the Back Panel.
- Width Calculation: The total width of the two front panels must match the width of the back panel. Divide your Shoulder-to-Shoulder Width to determine the width of each half, considering the neckline opening.
- Work the Pattern: Work the 4-row sequence until the piece measures the width from the hem to the intended Neckline Drop point (e.g., 2 full repeats of the 4-row pattern in the video).
- Neckline Shaping: Stop working the pattern at the determined width. Place a marker to indicate the start of the neckline opening (e.g., leaving approximately 28 unworked stitches/spaces from the end).
- Work the Shoulder: Continue working the 4-row pattern on the stitches up to the marker only. The unworked central area forms the neckline opening.
- Edge Reinforcement (Button Placket): When you reach the desired length for the shoulder, the pattern suggests adding a final row of DC along the long, straight edge that will form the center-front placket. This provides a clean, firm base for buttons and buttonholes.
- Fasten Off.
- Second Front Panel: Repeat all steps, mirroring the neckline shaping and ensuring the DC reinforcement strip is on the opposite edge for the final seam.
🧵 Section 7: Assembly and Sleeves
Once the three panels are complete, it’s time to join them and add the sleeves.
- Shoulder Seams: Align the front and back panels with the wrong sides facing together (or right sides together for an invisible seam). Seam the shoulders using a tapestry needle and a whip stitch or preferred method.
- Side Seams: Using stitch markers, determine your desired armhole opening (measure your arm circumference for reference). Seam the sides of the panels together from the bottom hem up to the armhole marker.
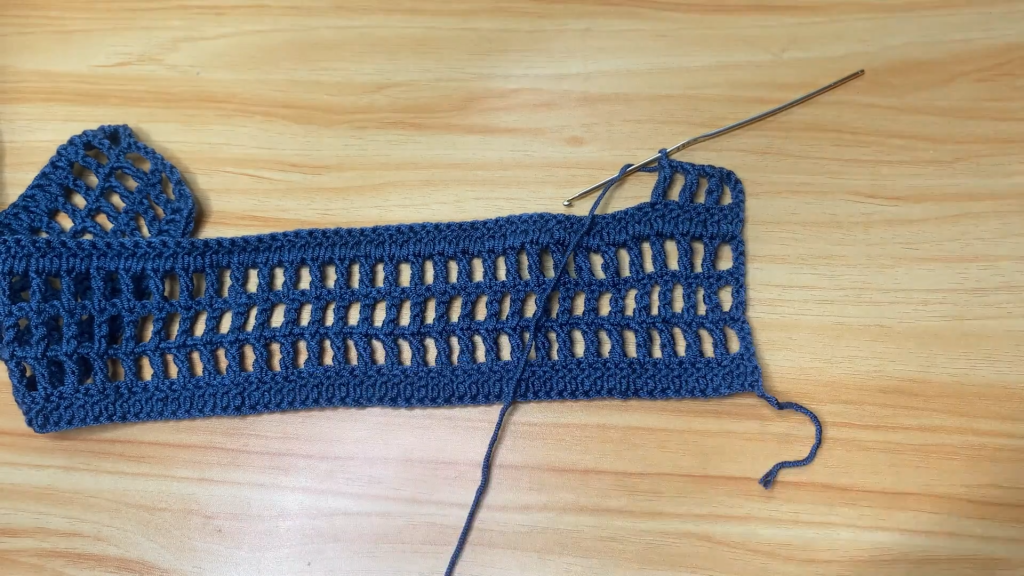
- Sleeve Foundation (Mesh Start): The side seam creates a horizontal foundation of DCs. The sleeve is worked in the same 4-row pattern, worked in the round.
- Join yarn at the underarm seam. Ch 5 (counts as 1 Tr + Ch 1).
- Work the pattern for Row 2 (Mesh Start) in the round, using the DC edge as your base.
- Sl St into the 4th chain of the starting Ch 5 to join.
- Sleeve Pattern: Continue repeating the 4-row sequence (starting with Row 3 and Row 4, then repeating the DC infill row) in the round until the sleeve reaches the desired length.
- Finishing: For a clean finish on the sleeve, add a final round of SC, placing 1 SC in each Tr and 1 SC in each Ch-sp. Sl St to join. Fasten off.
- Repeat for the second sleeve.
🧶 Section 8: Final Touches (Buttons)
- Button Placement: Lay the front panels flat, overlapping the two DC reinforcement strips to form the placket. Determine the placement for your buttons, marking them evenly down the length of the top.
- Button Sewing: Sew the buttons onto the under-lapping DC strip using a tapestry needle and matching thread.
- Buttonholes: The open weave of the Treble Mesh section may be enough to function as buttonholes. If not, use the Ch-1 spaces from the mesh section on the top-lapping strip as the buttonholes. If using the solid DC strip, you may need to sew standard buttonholes or use a loop closure.
Your versatile, elegant Ocean Lace & Rib Top is now complete! Enjoy the beautiful drape and the tailored look of this fantastic piece.


