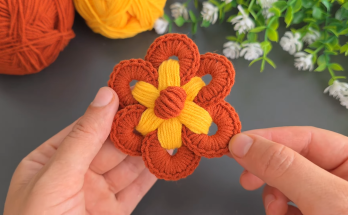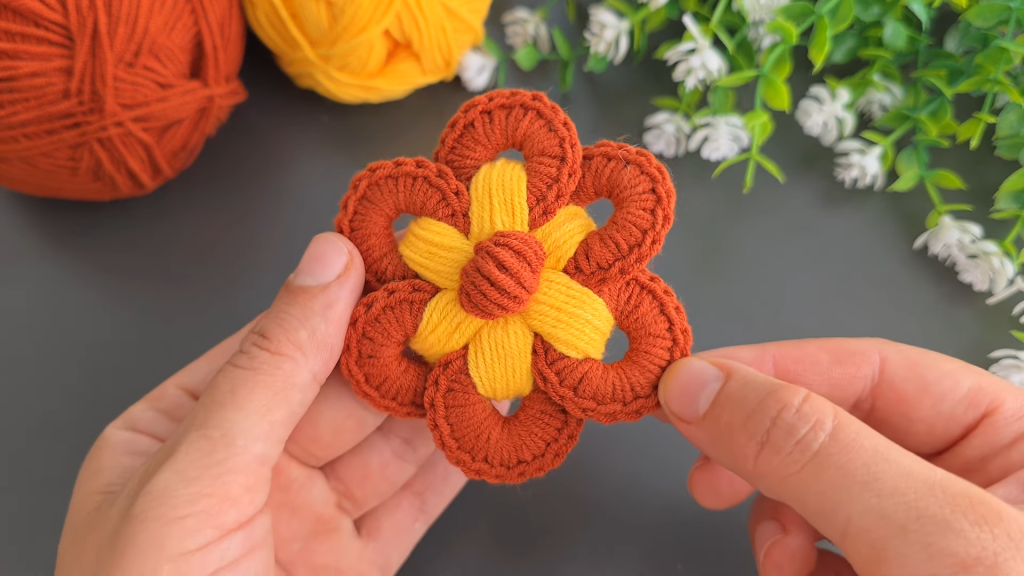
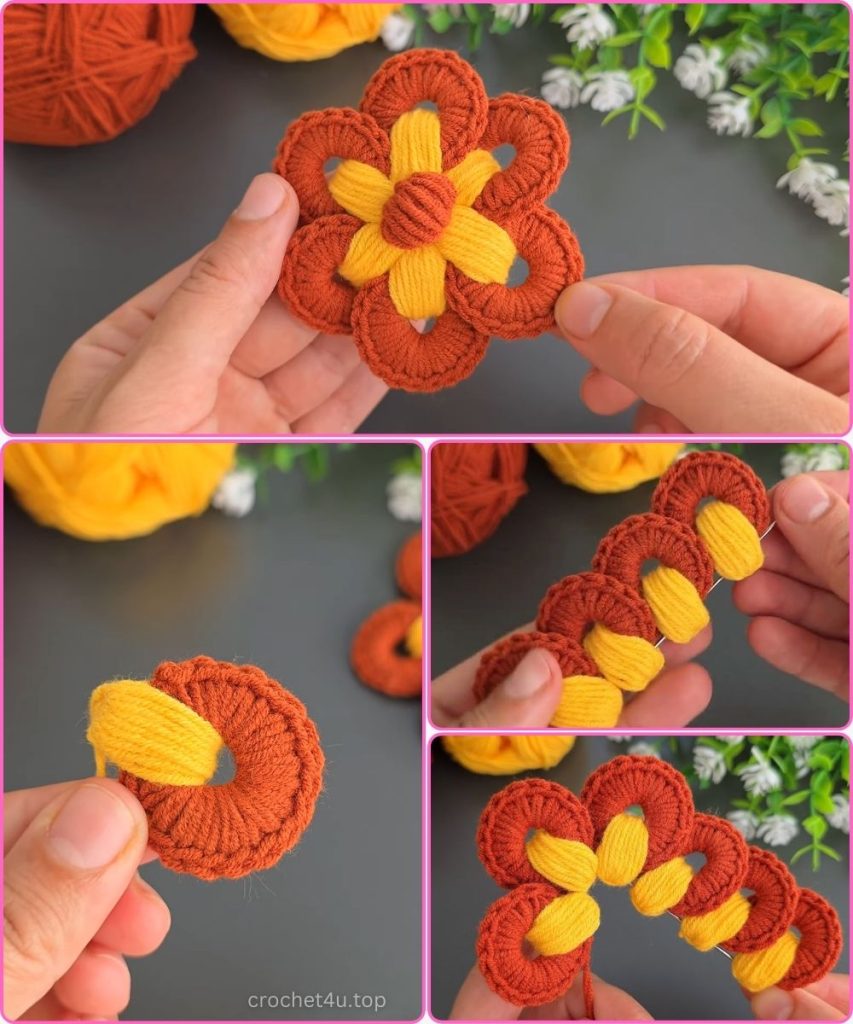
Welcome to the ultimate pattern for creating a lush, three-dimensional crochet flower! This “Everlasting Layered Bloom” is an incredibly popular project for its stunning visual impact and its versatility as an embellishment. By working three consecutive layers of petals, each growing in size and volume, we achieve a realistic and luxurious floral look. This pattern is perfect for adding to hats, blankets, scarves, bags, or for creating beautiful garlands.
Get ready to transform simple stitches into a magnificent bloom that never fades!
🧶 Materials & Tools
While the finished size is small, the density of the stitches requires a good quality yarn to hold its shape.
- Yarn: Approximately 30-50 grams of DK Weight (Category 3) or light Worsted Weight (Category 4) yarn. Cotton or a cotton blend works wonderfully for structure. You may use a single color or multiple colors for a gradient effect (Color A for Center, Color B for Petals).
- Hook: 3.5 mm (US size E/4) or 4.0 mm (US size G/6) crochet hook. Use a size that creates a firm fabric.
- Notions:
- Tapestry needle (for weaving in ends).
- Scissors.
- Stitch marker (optional, but helpful for working in rounds).
📏 Sizing & Gauge
The gauge for this pattern is not critical, as the size of the flower is adjustable by simply changing your hook and yarn weight.
- Standard Size (using DK yarn/4.0mm hook): Approximately 8-10 cm (3-4 inches) in diameter.
- To Adjust Size: Use a finer yarn and smaller hook for a smaller flower, or a bulkier yarn (like Worsted) and larger hook for a larger, more dramatic bloom.
📚 Abbreviations & Special Stitches (US Terms)
This pattern uses common US crochet terminology and requires a variety of stitch heights to achieve the layered effect.
| Abbreviation | Stitch Name |
| ch | Chain |
| st(s) | Stitch(es) |
| sl st | Slip Stitch |
| sc | Single Crochet |
| hdc | Half Double Crochet |
| dc | Double Crochet |
| tr | Treble Crochet (Triple Crochet) |
| MR | Magic Ring |
Special Technique: Working into the Back (Anchor Stitches)
For the second and third layers, we will be anchoring the foundation chains (arches) into the stitches behind the previous layer of petals. You will insert your hook into the base stitches (from the center ring) or the space between the petals from the previous foundation round to keep the petals stacked neatly.
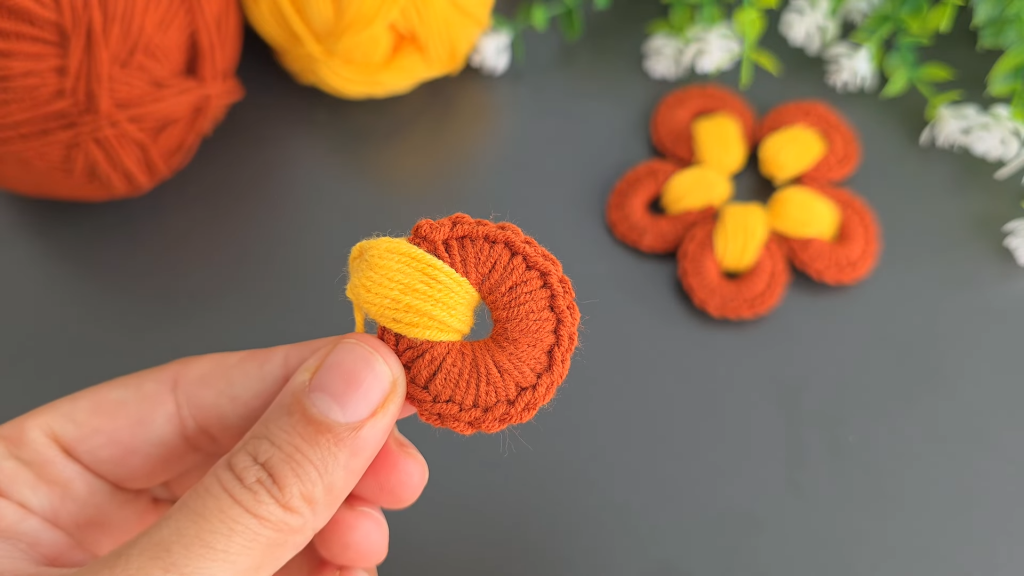
🌸 Part 1: The Center & Foundation
We begin with a small circle to form the center of the flower.
Round 1 (Center):
- Create a Magic Ring (MR), or Ch 4 and join with a sl st to form a ring.
- Ch 1 (does not count as a st). Work 10 SC into the ring.
- Pull the tail tight to close the center hole. Join with a sl st to the first SC.(10 SC)
Round 2 (First Foundation):
- Ch 3 (counts as a DC). DC in the same st.
- Ch 3.
- *Skip 1 st, DC in the next st, DC in the next st (2 DC total).
- Ch 3*
- Repeat from * to * three more times.
- Join with a sl st to the top of the beginning Ch 3.(10 DC, 5 Ch-3 arches)
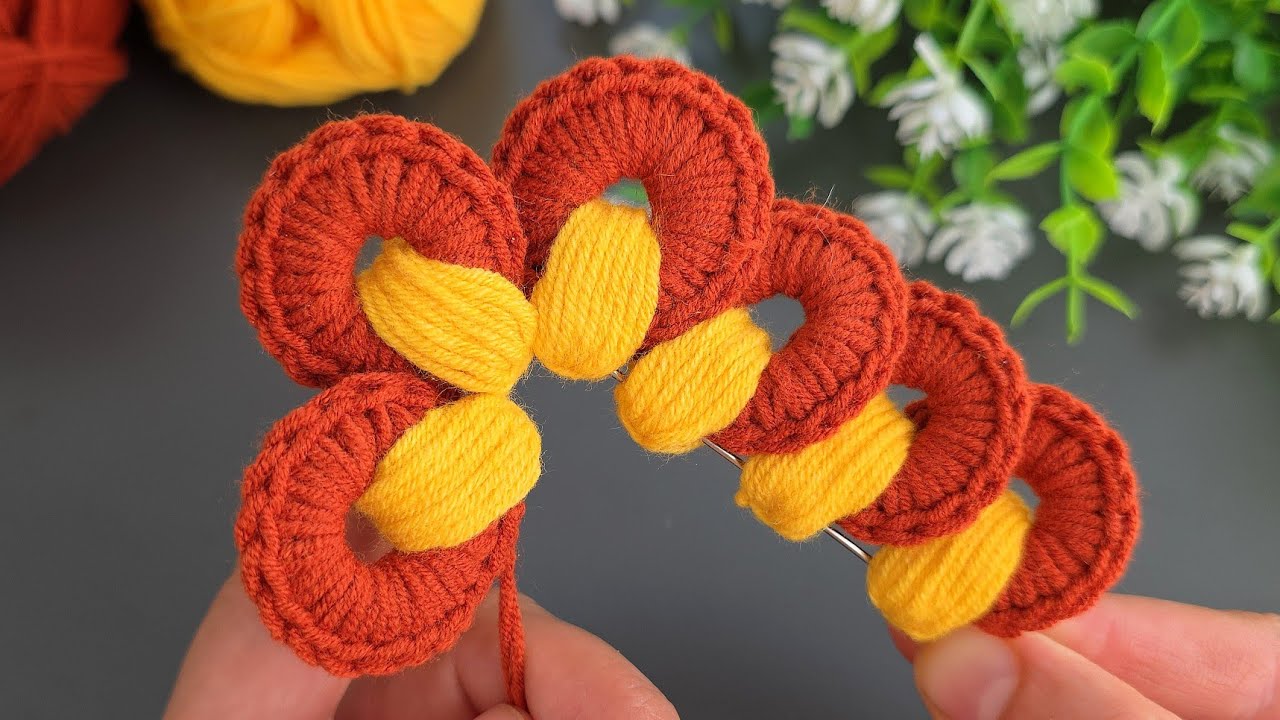
🌷 Part 2: First Petal Layer
We now create the first set of 5 small petals into the Ch-3 arches, then immediately create the foundation for the next layer behind them.

Round 3 (Petals 1):
- Sl st into the first Ch-3 space.
- In the first Ch-3 space, work: (SC, HDC, 3 DC, HDC, SC). (Petal made).
- Sl st into the space between the next 2 DC.
- Repeat the Petal sequence and the Sl st anchor 4 more times around.
- Join with a sl st into the first sl st.(5 Petals)
Round 4 (Second Foundation – Anchored):
- We will work this round behind the newly formed petals, anchoring the chains into the center Round 2 stitches.
- Ch 5.
- SC into the first space between the 2 DC of Round 2 (the space where you placed the sl st anchor in Round 3). The SC should sit behind the completed petal.
- Repeat
Ch 5, SC in the next space between the 2 DC of Round 24 more times. - Join with a sl st to the base of the beginning Ch 5.(5 Ch-5 arches)
🌹 Part 3: Second Petal Layer
The second set of petals uses taller stitches and longer chain spaces for a slightly larger effect.
Round 5 (Petals 2):
- Sl st into the first Ch-5 space.
- In the first Ch-5 space, work: (SC, HDC, 5 DC, HDC, SC). (Larger Petal made).
- Sl st into the next SC anchor of Round 4.
- Repeat the Petal sequence and the Sl st anchor 4 more times around.
- Join with a sl st into the first sl st.(5 Larger Petals)
Round 6 (Third Foundation – Deeper Anchored):
- We will now work the longest chains, anchoring them deeper into the stitches from Round 1 or 2.
- Ch 7.
- SC into the next space between the 2 DC of Round 2, ensuring the chain sits behind the second petal layer.
- Repeat
Ch 7, SC in the next space between the 2 DC of Round 24 more times. - Join with a sl st to the base of the beginning Ch 7.(5 Ch-7 arches)
🌼 Part 4: Third Petal Layer
The final layer uses the largest stitches and longest chains to complete the dramatic 3D effect.
Round 7 (Petals 3):
- Sl st into the first Ch-7 space.
- In the first Ch-7 space, work: (SC, HDC, 2 DC, 3 TR, 2 DC, HDC, SC). (Largest Petal made).
- Sl st into the next SC anchor of Round 6.
- Repeat the Petal sequence and the Sl st anchor 4 more times around.
- Join with a sl st into the first sl st.(5 Largest Petals)
Video Tutorial:
✨ Finishing Touches
Your Everlasting Layered Bloom is complete!
- Fasten Off: Cut the yarn, leaving a generous tail for weaving in or attaching the flower to a project. Pull the tail through the last loop to fasten off.
- Weave Ends: Use your tapestry needle to securely weave in all ends on the back side of the flower. The tail from the MR should be pulled tightly and secured.
- Shape: Gently push the center petals forward and cup the outside petals to give the flower its three-dimensional, natural shape. You can also slightly curl the edges of the largest petals outward for a softer look.
- Attachment: Use the remaining long tail to sew the flower onto your desired project.
Enjoy the beauty of your stunning, handmade layered bloom!