
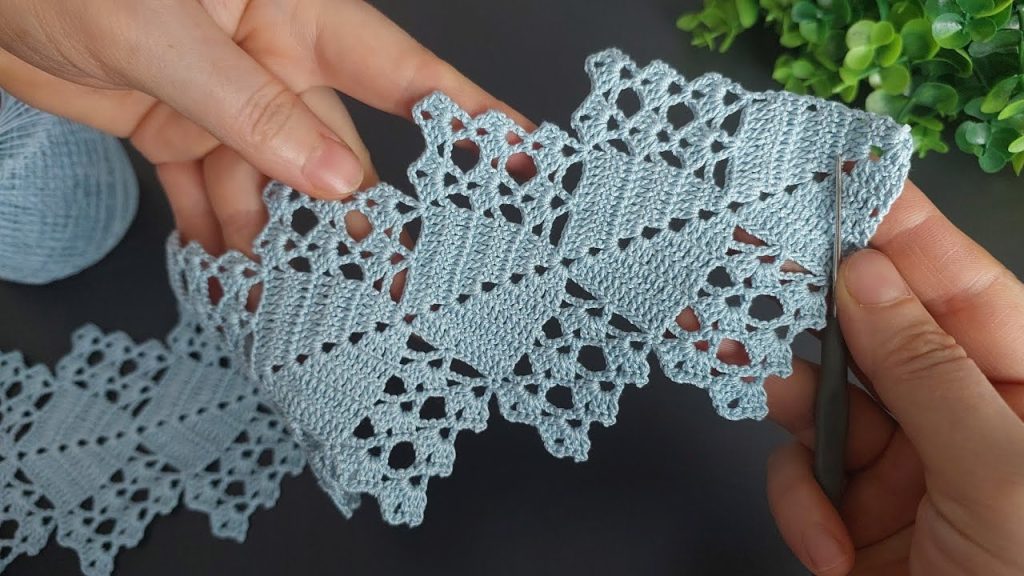
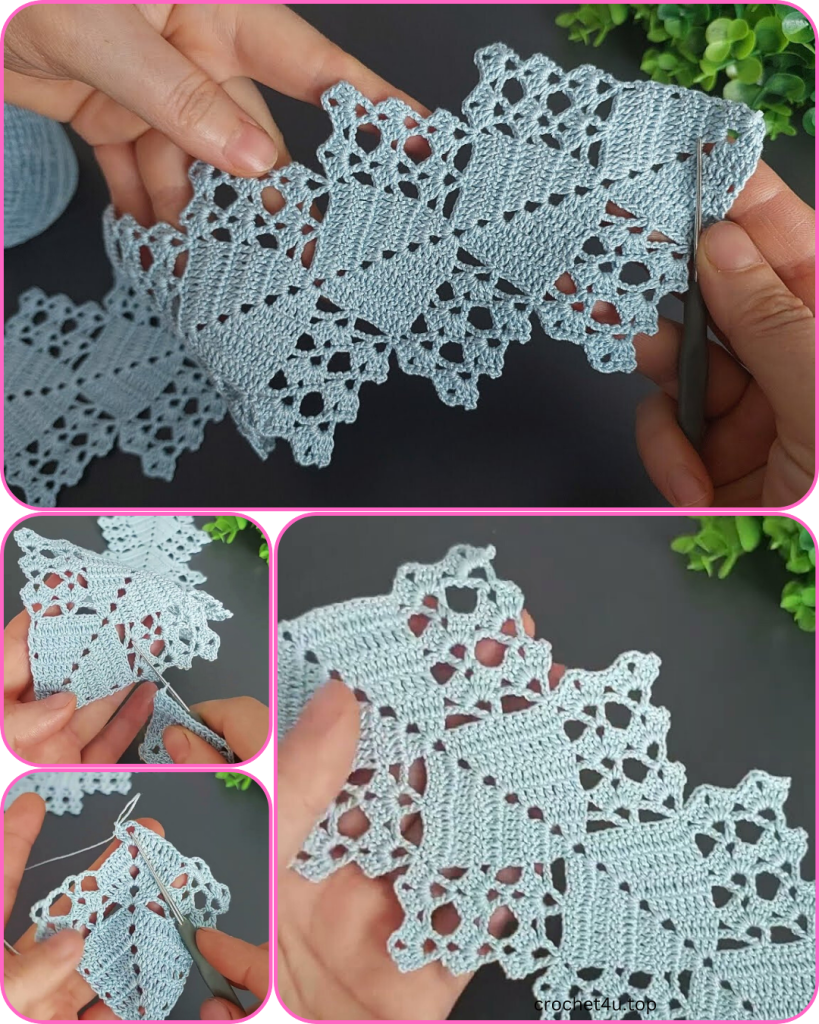
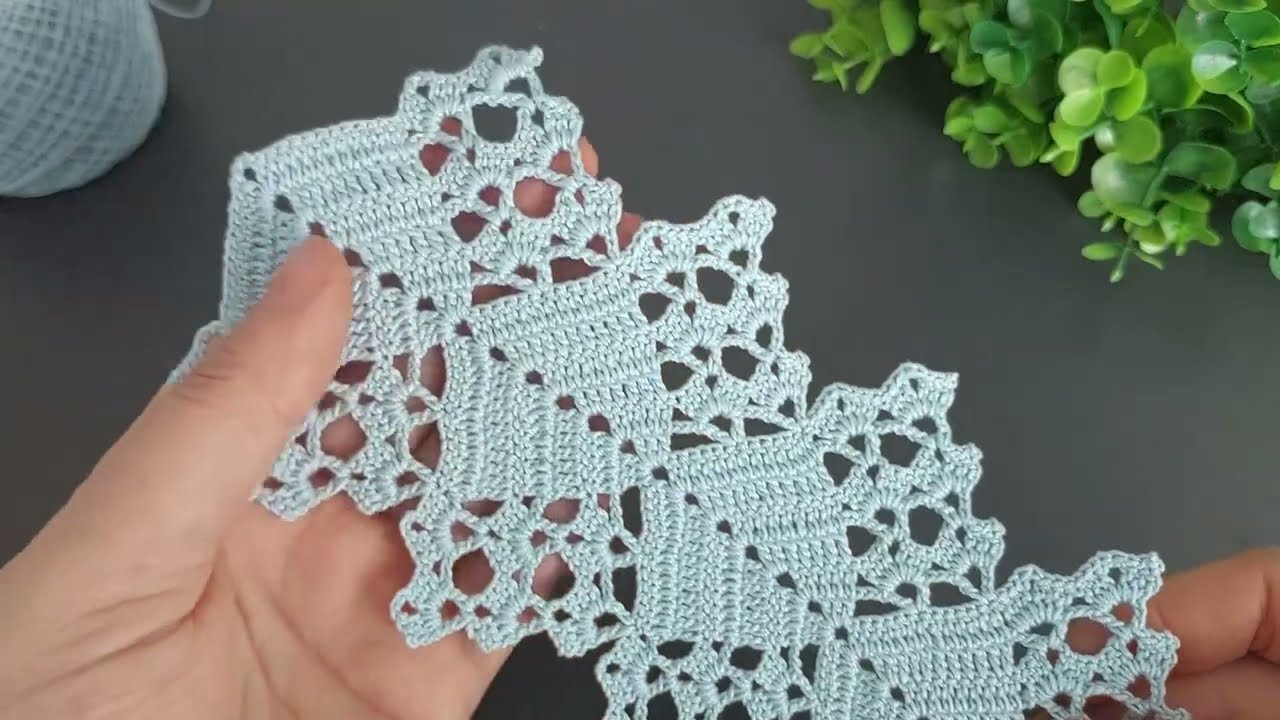
Welcome, crochet lovers! It’s clear you have a wonderful collection of lace projects, and I’m happy to provide another original pattern for a truly unique piece. This pattern is inspired by the stunning light blue lace trim you just shared. Unlike a doily, this project creates a continuous band of intricate, interlocking diamonds, perfect for adding a handmade touch to any item.
This lace can be used as a delicate edging for a blanket or towel, as a beautiful bookmark, or even as a decorative strap for a bag. The magic lies in the “join-as-you-go” technique, which makes the piece continuous and seamless. This pattern is well-suited for an intermediate crocheter.
Materials
- Yarn: Fine or fingering weight cotton yarn or crochet thread (approximately 50-75 yards). A solid color will best show off the geometric pattern.
- Hook: A crochet hook appropriate for your yarn weight (e.g., 1.5 mm to 2.25 mm).
- Scissors
- Tapestry Needle for weaving in ends.
Special Stitches
- V-Stitch (V-st): (Dc, ch 1, dc) in the same stitch or space.
- Picot: Chain 3, slip stitch into the first chain.
Part 1: The First Diamond Motif
This section will guide you through creating the first complete diamond unit.
Round 1: Make a magic ring. Chain 3 (counts as a dc). Make 15 dc in the ring. Join with a sl st to the top of the beginning ch-3. (16 dc)
Round 2: Chain 1 (does not count as a stitch). Sc in the same stitch. Chain 3, skip 1 dc, sc in the next dc. Repeat from * to * 7 more times. Join with a sl st to the first sc. (8 sc, 8 ch-3 spaces)
Round 3: Slip stitch into the first ch-3 space. Chain 3 (counts as a dc). Make 2 dc in the same space. Chain 2. 3 dc in the next ch-3 space. Repeat from * to * 6 more times. Chain 2, join with a sl st to the top of the beginning ch-3. (8 groups of 3 dc, 8 ch-2 spaces)
Round 4: Slip stitch into the next 2 dc and into the ch-2 space. Chain 3. (2 dc, ch 3, 3 dc) in the same space (this is a corner). Chain 2. 3 dc in the next ch-2 space. Chain 2. In the next ch-2 space, make (3 dc, ch 3, 3 dc) (a corner). Repeat from * to * 2 more times. Chain 2, 3 dc in the next ch-2 space. Chain 2, join with a sl st to the top of the beginning ch-3. (4 corners, 4 sides of 3 dc)
Round 5: Slip stitch into the next 2 dc and into the corner ch-3 space. Chain 1 (does not count as a stitch). Make (sc, Picot, sc) in the ch-3 space. Chain 3. Sc in the next ch-2 space. Chain 3, V-st in the next ch-2 space. Chain 3, sc in the next ch-2 space. Chain 3. Repeat from * to * 3 more times, omitting the last chain-3 on the final repeat. Join with a sl st to the first sc.
Fasten off and weave in all ends securely. You have completed your first diamond.
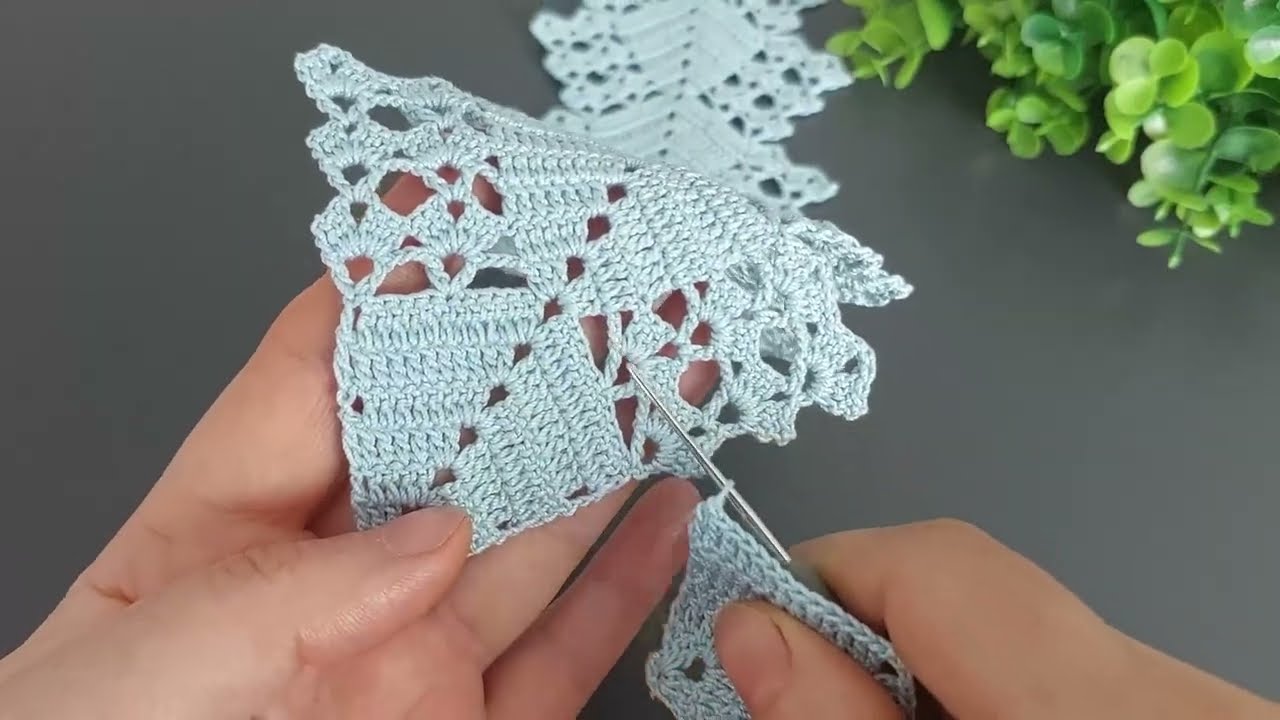
Part 2: Joining Motifs (The Repeat)
Now, you will create the next diamond and join it to the first one as you go.
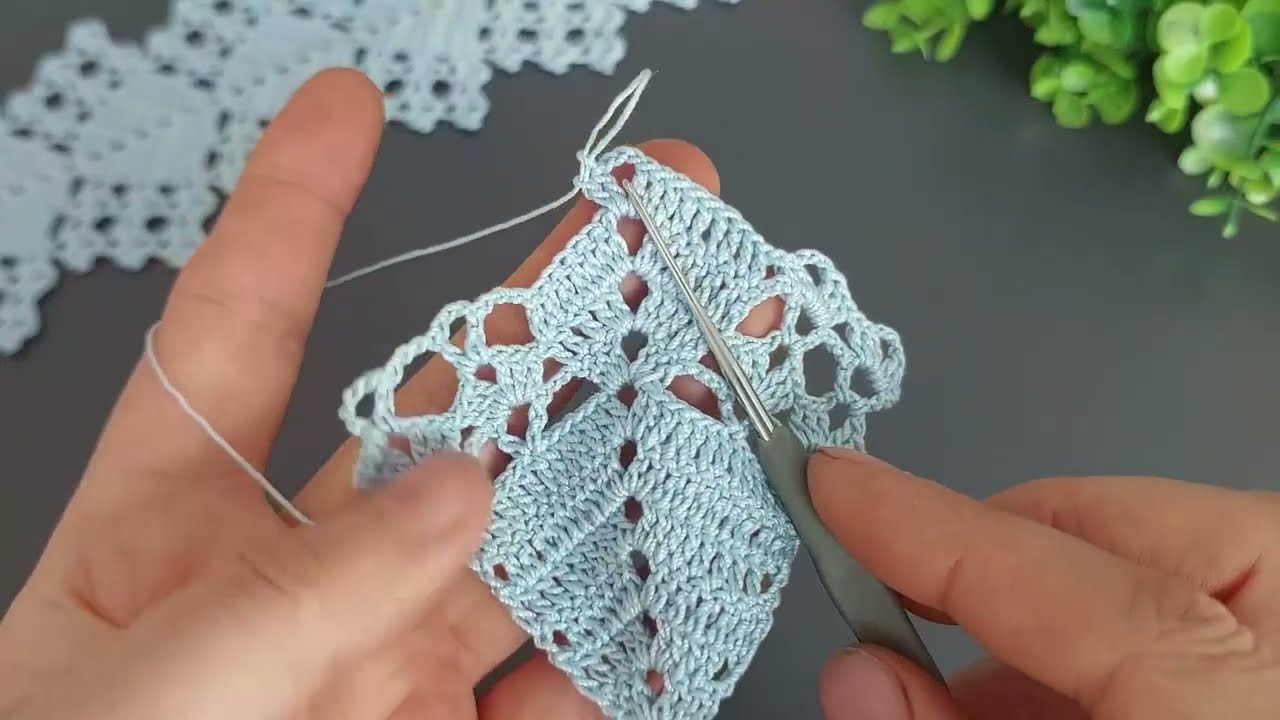
Step 1: Create the First Part of the New Diamond Work Rounds 1 through 4 exactly as you did for the first motif.
Step 2: The Joining Round (Round 5 of the new motif) This is where you will connect the new diamond to the previous one.
Begin by working the first two sides of the new diamond normally. In the first corner ch-3 space, make (sc, Picot, sc). Chain 3, sc in the next ch-2 space. Chain 3, V-st in the next ch-2 space. Chain 3, sc in the next ch-2 space. Chain 3.
*Now you will start the joining process. In the second corner ch-3 space, make (sc, Picot, sc).
- First Join: Chain 3, sl st into the first ch-3 space of the side of the previous diamond. Chain 3, sc in the next ch-2 space of the new diamond.
- Second Join: Chain 3, sl st into the ch-1 space of the V-st on the previous diamond. Chain 3, V-st in the next ch-2 space of the new diamond.
- Third Join: Chain 3, sl st into the last ch-3 space of the side of the previous diamond. Chain 3, sc in the next ch-2 space of the new diamond.
- Fourth Join: Chain 3, sl st into the corner Picot of the previous diamond. Chain 3.
Finish the last two sides of the new diamond normally. *In the next corner ch-3 space, make (sc, Picot, sc). Chain 3, sc in the next ch-2 space. Chain 3, V-st in the next ch-2 space. Chain 3, sc in the next ch-2 space. Chain 3. In the last corner ch-3 space, make (sc, Picot, sc). Chain 3, sc in the next ch-2 space. Chain 3, V-st in the next ch-2 space. Chain 3, sc in the next ch-2 space. Chain 3.
Join with a sl st to the first sc of the round. Fasten off and weave in your ends.
To continue your lace trim, simply repeat Part 2 (Step 1 and 2) for each new diamond you want to add.
Video Tutorial:
Finishing Your Trim: Blocking for Perfection
Blocking is essential for any lace project. It allows the stitches to settle, opens up the pattern, and ensures your trim is perfectly straight.
- Dampen it: Gently soak your lace trim in cool water or use a spray bottle until it’s saturated.
- Pin it: Lay the damp lace on a foam blocking mat or a thick towel. Gently stretch the lace to its desired width and length. Use rust-proof pins to secure each point of the diamond and along the straight edges.
- Dry: Leave it pinned until it is completely dry.
- Unpin: Once dry, carefully remove the pins. The trim will hold its shape beautifully.
Enjoy your new Diamond Filigree Lace Trim!


