
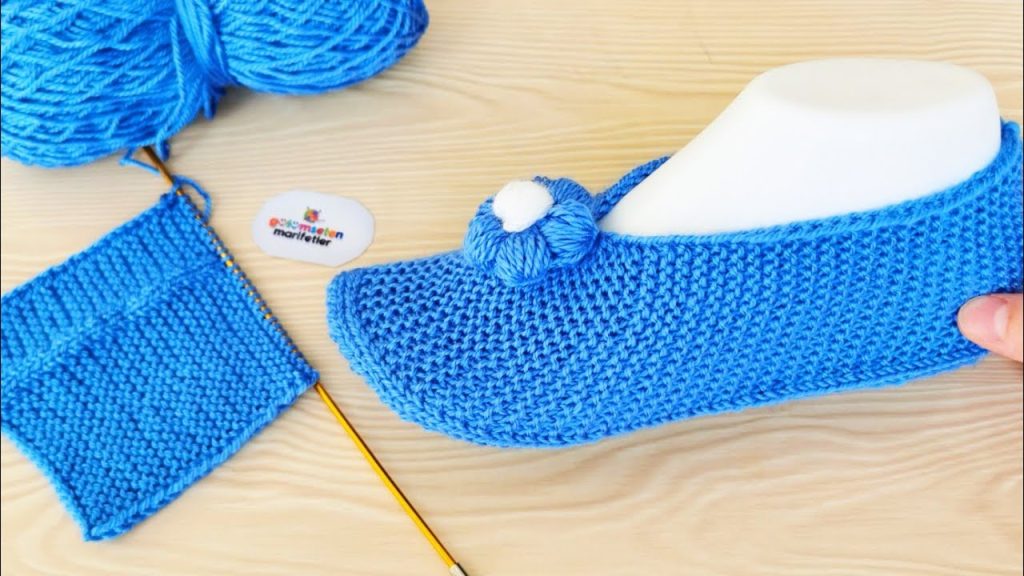
There’s something incredibly sweet and satisfying about making something for a baby, especially when it’s as simple and quick as these “Little Pitter Patter” Garter Stitch Baby Slippers. This project is a perfect choice for knitters of all skill levels, from absolute beginners to seasoned pros looking for a fast, rewarding knit. The entire slipper is made from one flat piece of fabric using only the basic knit stitch—yes, just one stitch!
The beauty of this design lies in its simplicity. The garter stitch creates a lovely, cushioned fabric that is perfect for a baby’s soft skin, and the clever construction allows you to work the entire slipper in one go. The little flower embellishment adds a touch of charm, transforming a simple slipper into an adorable accessory. So grab your needles and a cozy ball of yarn, and let’s create a pair of slippers that will keep those tiny feet warm and toasty.
Pattern Details
- Skill Level: Beginner
- Size: 0-6 Months (approximately 3.5 inches / 9 cm sole length)
- Gauge: 18 stitches and 36 rows in garter stitch = 4 inches (10 cm).
- Checking your gauge is recommended to ensure your slippers fit correctly!
Materials
- Yarn: Approximately 50 yards of Worsted (weight 4) yarn. A soft, washable acrylic or wool blend is a great choice.
- Contrasting Yarn (CC): A small amount of white or another color for the flower embellishment.
- Needles: One pair of straight knitting needles, size US 8 (5.0 mm), OR size needed to obtain gauge.
- Notions:
- Yarn needle for seaming and weaving in ends
- Scissors
Abbreviations (US Terms)
- CO: Cast on
- k: knit
- st(s): stitch(es)
- BO: Bind off
- k2tog: knit two together (a decrease)
Pattern Notes
- The slipper is worked in one flat piece.
- The entire pattern is worked in garter stitch, which means you will knit every row.
- The pattern is for one slipper. The second slipper is made in the exact same way.
The Pattern
Make 2 slippers.
Main Slipper Body
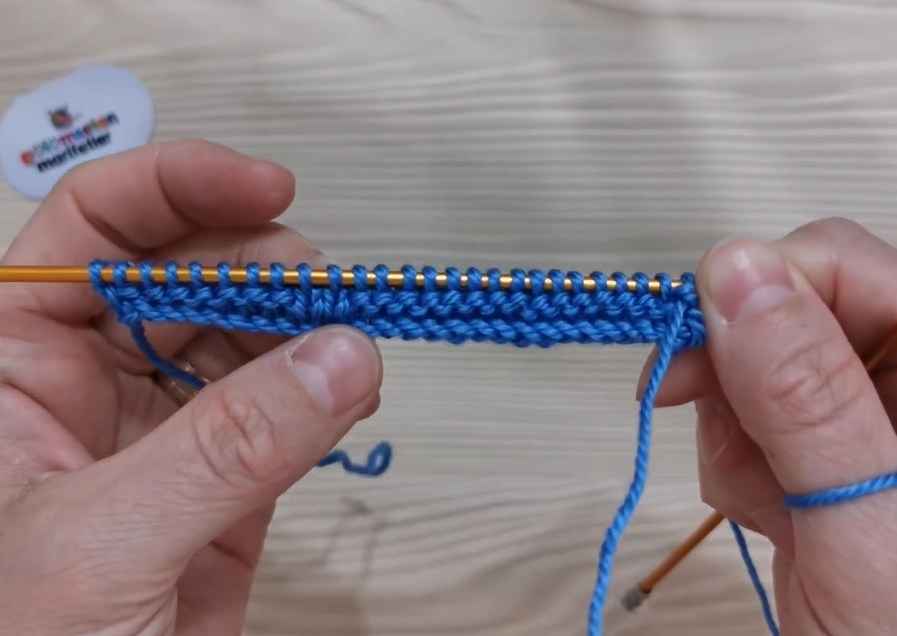
Foundation: CO 30 sts.
Rows 1-28: K across all stitches. (30 sts)
At this point, your piece should measure about 6 inches (15 cm) long. This forms the sole and back of the slipper. You can adjust the number of rows here to make the slipper longer or shorter for different sizes.
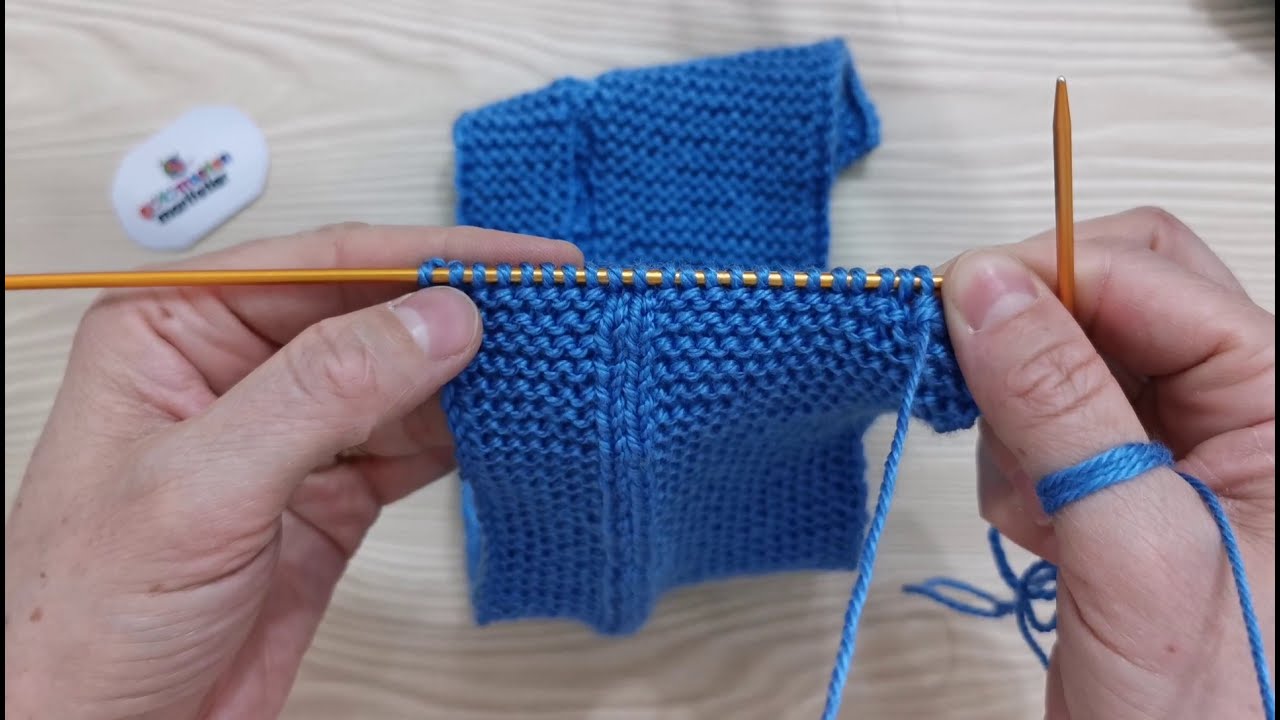
Shaping the Toe
You will now begin to decrease to shape the front of the slipper.
Row 29: K1, k2tog, k to the last 3 sts, k2tog, k1. (28 sts) Row 30: K across. Row 31: K1, k2tog, k to the last 3 sts, k2tog, k1. (26 sts) Row 32: K across. Row 33: K1, k2tog, k to the last 3 sts, k2tog, k1. (24 sts) Row 34: K across. Row 35: K1, k2tog, k to the last 3 sts, k2tog, k1. (22 sts) Row 36: K across. Row 37: K1, k2tog, k to the last 3 sts, k2tog, k1. (20 sts)
Cut your yarn, leaving a long tail (about 12 inches / 30 cm) for seaming. Thread the tail onto your yarn needle.
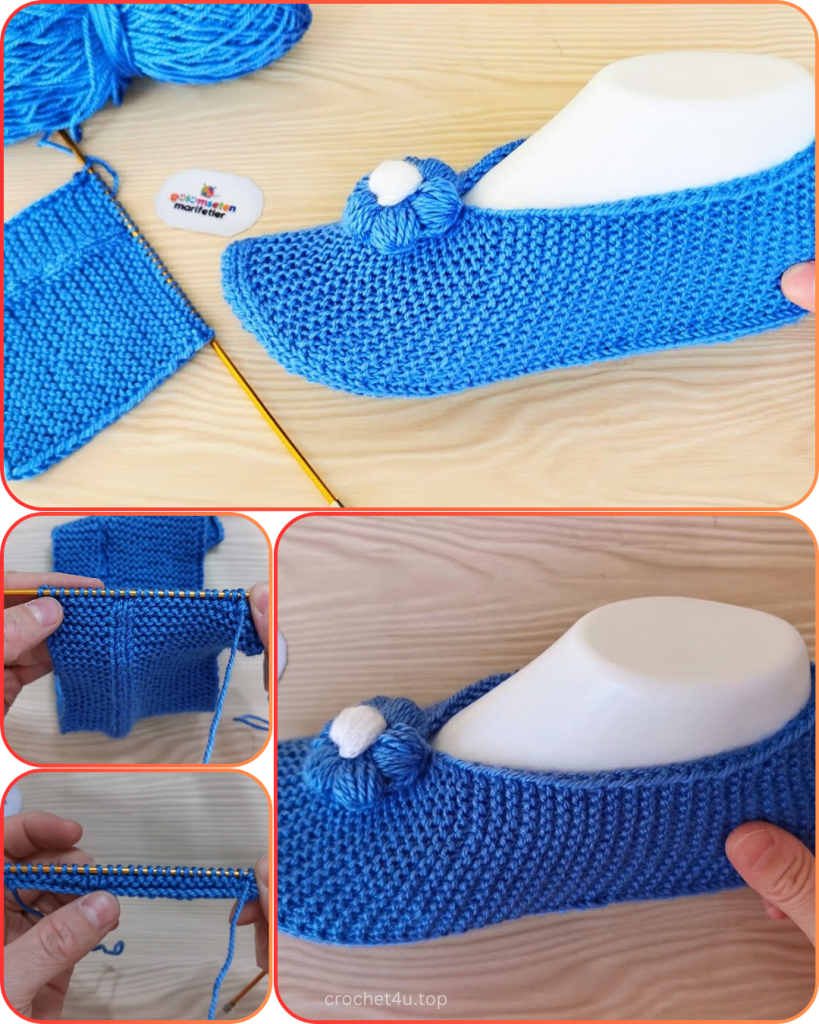
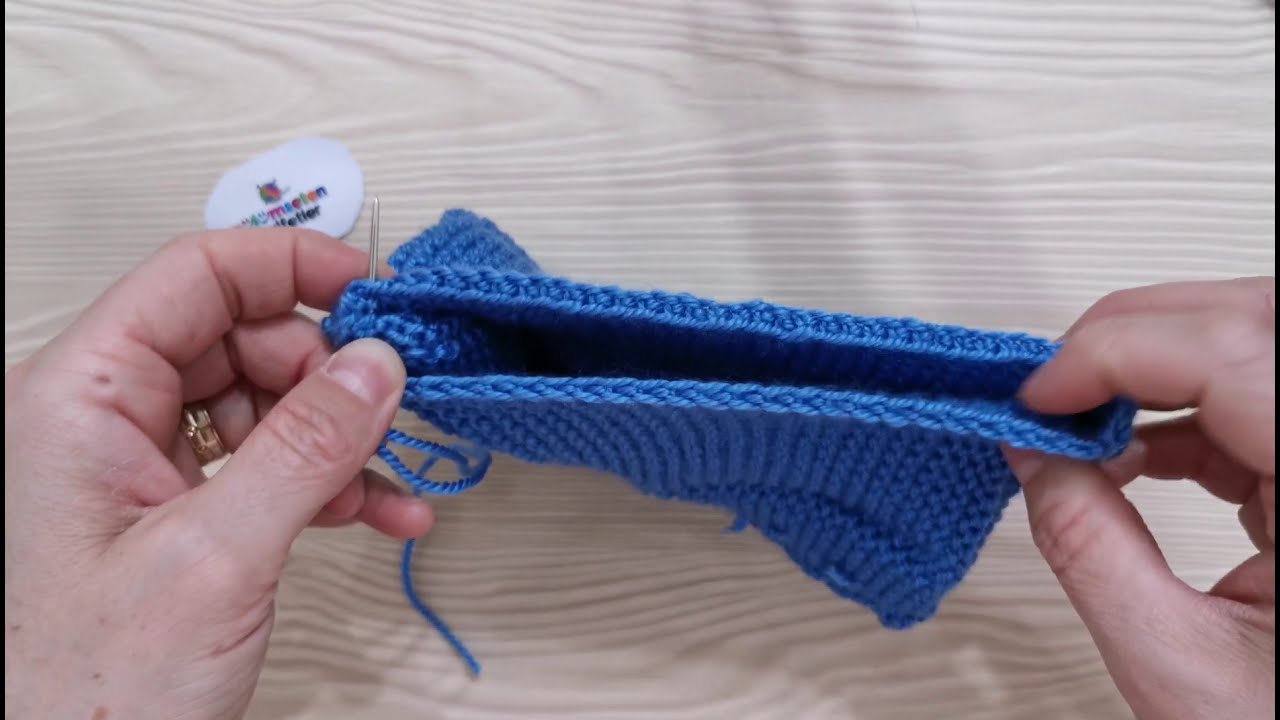
Finishing and Seaming
- Gather the Toe: Thread your yarn needle through the remaining 20 stitches on your needle. Pull the yarn tight to gather the stitches and form a neat toe. Knot securely to close.
- Seam the Slipper: Fold the piece in half lengthwise with the wrong side facing out. Use the same long yarn tail to seam the front of the slipper, from the gathered toe down to the last decrease row. Then, use a simple whipstitch to seam the side of the slipper together.
- Close the Heel: Use a new piece of yarn to seam the heel closed, from the cast-on edge up the back of the slipper.
- Weave in all ends: Make sure all your loose yarn ends are neatly woven in on the inside of the slipper.
Video Tutorial:
The Flower Embellishment
This simple knit rosette is perfect for a finishing touch.
Using Contrasting Color (CC): Row 1: CO 25 sts. Row 2: K across. Row 3: BO all stitches. Cut yarn, leaving a long tail for sewing. Roll the knitted strip tightly from one end to the other to form a rosette. Use the long tail to sew the base of the rosette to secure its shape. Then, sew the rosette securely onto the top of the slipper.
Congratulations! Your “Little Pitter Patter” baby slipper is now ready for its close-up. Now you just need to make the second one.
I would love to see your finished projects! Share a picture on social media and use the hashtag #PitterPatterSlippers so I can see your beautiful work. Happy knitting!


