
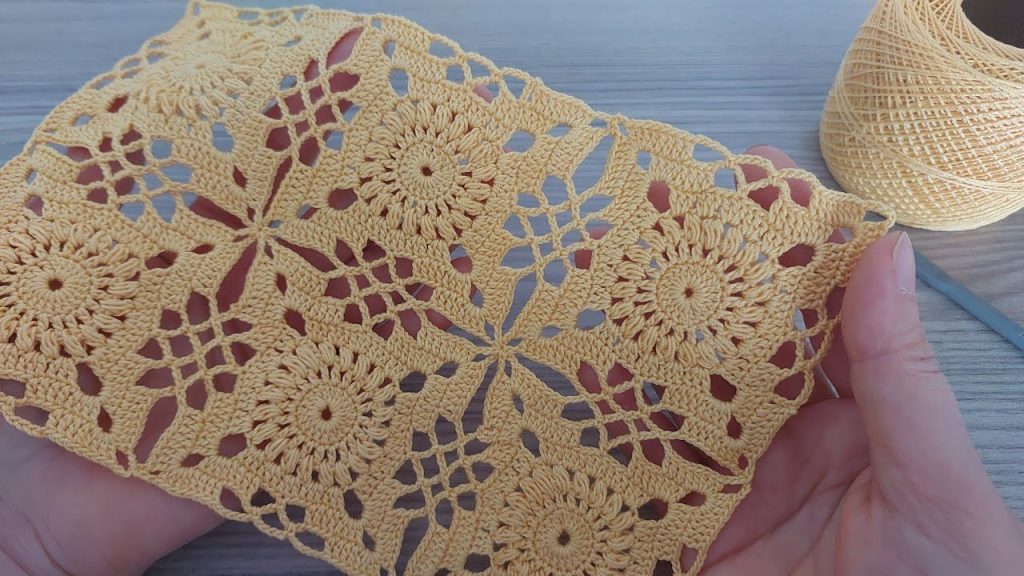
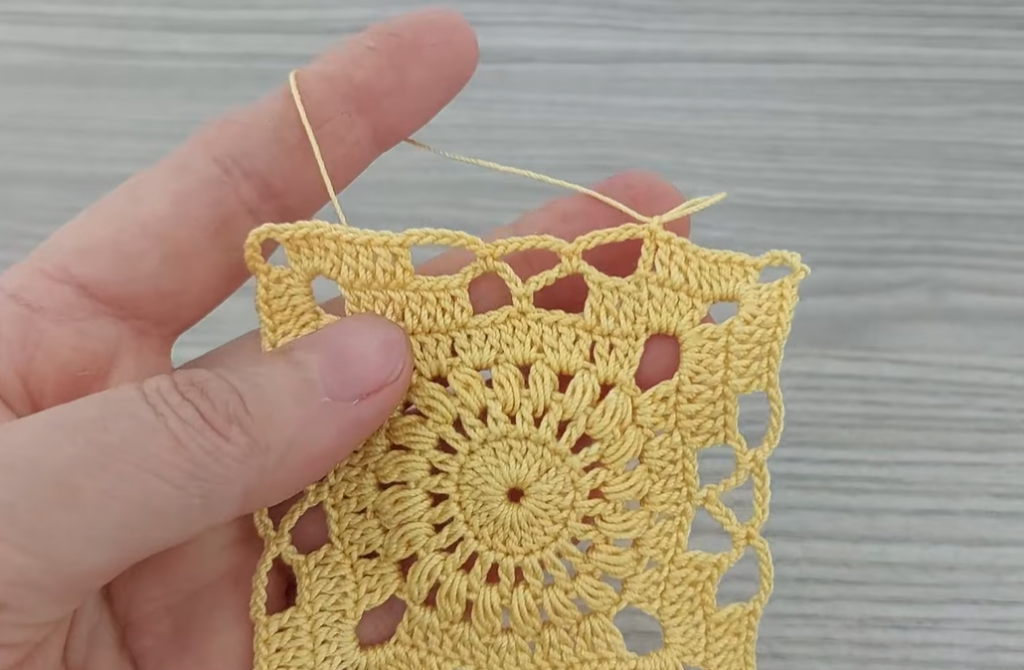
Welcome back to the hook! Today we are working on an exquisite crochet square that radiates warmth and elegance. This pattern, inspired by a traditional, layered floral motif, is perfect for joining into beautiful blankets, delicate table runners, or even a statement blouse. The detailed center is designed to truly “bloom” from the fabric.
This pattern is written using U.S. Crochet Terminology.
✨ Materials & Gauge
| Icon | Item | Notes |
| 🧶 | Yarn | Approx. 60–80 yards of a sport or light worsted weight cotton yarn (or thread for a smaller square). The white/cream color is timeless for this design. |
| 鉤 | Crochet Hook | A hook size appropriate for your yarn. I recommend a 3.5 mm to 4.0 mm hook for the best drape. |
| ✂️ | Tools | Tapestry needle for weaving in ends, and scissors. |
| 📏 | Gauge | The finished square should measure approximately 6.5′′×6.5′′ after blocking. Gauge check: The floral center (after Rnd 5) should measure about 3′′ across. |
📚 Stitches & Special Techniques
To successfully complete this intricate square, you’ll need the following stitches and special abbreviations:
| Stitch | Abbreviation | Description |
| Chain | ch | Yarn over, pull through loop on hook. |
| Slip Stitch | sl st | Insert hook, yarn over, pull through work and loop on hook. |
| Single Crochet | sc | Standard single crochet. |
| Double Crochet | dc | Standard double crochet. |
| Treble Crochet | tr | Standard treble crochet (yarn over twice). |
| Double Treble Crochet | dtr | Yarn over three times. |
| Picot | P | ch 3, sl st into the first ch made. |
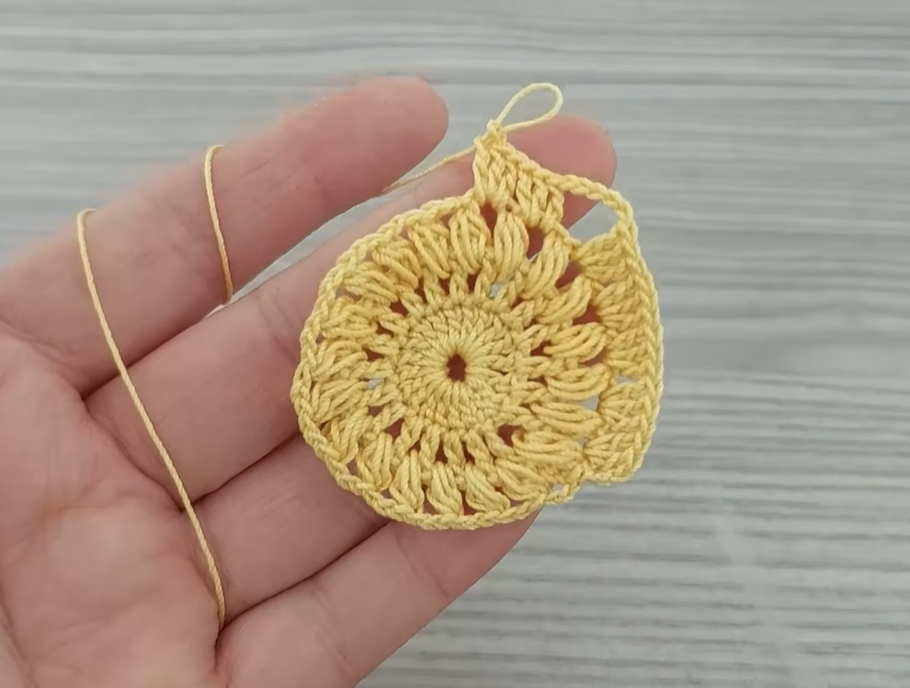
🌸 Part 1: The Layered Floral Center (Rounds 1–5)
We work in the round to build the dense, textured flower.
Foundation:
- ch 4, sl st into the first ch to form a ring.
Round 1:
- ch 3 (counts as first dc).
- Work 15 dc into the ring.
- sl st to the top of the starting ch-3 to join. (16 dc)
Round 2 (Back Petal Bases):
- ch 1 (does not count as a stitch).
- sc in the first st.
- ch 4.
- Skip 1 st.
- sc in the next st.
- Repeat from ** around.
- End with ch 4. sl st to the first sc to join. (8 ch-4 loops)
Round 3 (First Layer of Petals):
- sl st into the first ch-4 loop.
- ch 1.
- In each ch-4 loop around, work (sc, ch 1, dc, ch 3, dc, ch 1, sc).
- sl st to the first sc to join. (8 Petals)
Round 4 (Creating the Second Layer of Petals):
- ch 1.
- Working behind the petals of Round 3, sc into the sc of Round 2.
- ch 5.
- sc into the next sc of Round 2.
- Repeat from ** around.
- End with ch 5. sl st to the first sc to join. (8 ch-5 loops)
Round 5 (Second Layer of Petals):
- sl st into the first ch-5 loop until you reach the center (3rd ch).
- ch 4 (counts as first tr).
- In the center of the ch-5 loop, work (tr, 3 dtr, tr, tr). (A wide, rounded petal segment).
- sc in the sc of Round 4 (between the ch-5 loops).
- Work (2 tr, 3 dtr, 2 tr) in the center of the next ch-5 loop.
- sc in the sc of Round 4.
- Repeat from ** around.
- sl st to the top of the starting ch-4 to join. (8 wide petal segments)
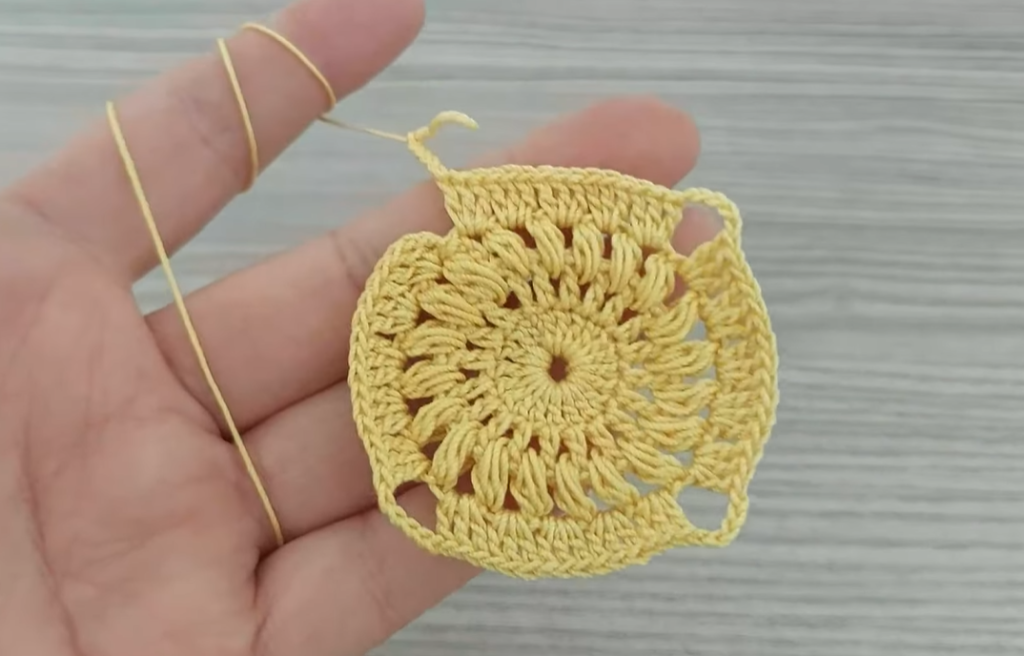
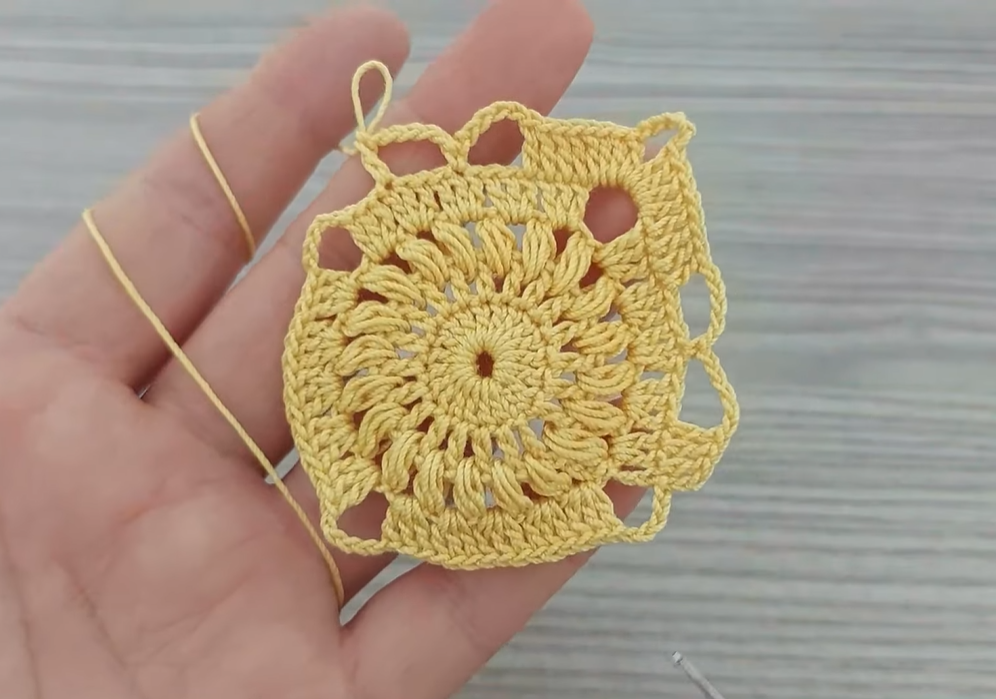
📐 Part 2: Squaring the Bloom (Rounds 6–8)
We transition the circular bloom into a square shape using chains and clusters to define the corners.
Round 6 (Defining the Corner Points):
- sl st across the first 2 tr/dtr stitches.
- ch 1 (does not count as a stitch).
- sc in the next 3 sts.
- ch 4.
- sc in the next 3 sts.
- ch 7 (This will be the Corner Chain).
- sc in the next 3 sts.
- ch 4.
- sc in the next 3 sts.
- ch 5 (This is the Side Chain).
- Repeat the pattern around: (sc in 3, ch 4, sc in 3, ch 7, sc in 3, ch 4, sc in 3, ch 5).
- sl st to the first sc to join. (4 ch-7 corners, 4 ch-5 sides)
Round 7 (Solidifying the Square):
- sl st into the ch-4 space.
- ch 3 (counts as first dc).
- Work 2 dc in the ch-4 space.
- ch 2.
- Corner: In the ch-7 space, work (4 tr, ch 2, 4 tr).
- ch 2.
- Work 3 dc in the ch-4 space.
- ch 2.
- Side: In the ch-5 space, work 3 dc.
- ch 2.
- Repeat the pattern around.
- sl st to the top of the starting ch-3 to join.
Round 8 (Lace Frame):
- ch 5 (counts as dc + ch 2).
- Skip 3 dc. dc in the ch-2 space.
- ch 2.
- Skip 4 tr. dc in the corner ch-2 space.
- ch 3 (Corner Picot Base).
- dc in the corner ch-2 space.
- ch 2.
- Skip 4 tr. dc in the ch-2 space.
- Continue the ch 2, dc pattern across the side, working dc into each ch-2 space and ch 2 between.
- Repeat Corner instructions.
- sl st to the 3rd ch of the starting ch-5 to join.
💎 Part 3: The Detailed Edging (Rounds 9–10)
These final rounds add the delicate scallop and picot detail to the edge.
Round 9 (Scallop Base):
- sl st into the ch-2 space.
- ch 1.
- Work sc in each ch-2 space and sc on top of each dc around.
- Corner: In the ch-3 space, work (sc, ch 3, sc).
- Continue sc around.
- sl st to the first sc to join.
Round 10 (Final Picot Scallop Edge):
- ch 1 (does not count as a stitch).
- sc in the first 2 sts.
- P (Picot).
- sc in the next 3 sts.
- P.
- Repeat (sc in 3, P) across the side.
- Corner: In the ch-3 corner space, work (sc, P, sc).
- Continue the sc in 3, P pattern around the remaining sides.
- sl st to the first sc to join.
📌 Finishing and Blocking
- Secure Ends: Fasten off your yarn and use your tapestry needle to carefully weave in all loose ends on the back of your square.
- Blocking (Highly Recommended!): Blocking will open up the lace and ensure your square lies perfectly flat and has crisp, defined points.
- Dampen your square thoroughly.
- Pin the square to a flat, padded surface, gently stretching the corners and sides to achieve a 6.5′′×6.5′′ dimension. Ensure the picots are fully extended.
- Allow the piece to dry completely before unpinning.
Your intricate Layered Summer Bloom Square is complete! Whether you use it as a standalone piece or join multiples for a large project, it is truly a work of art.
ℹ️ Video Reference
The pattern above was inspired by the design in this video, which offers a visual tutorial:
- Video Title: Stunning Floral Square Crochet Pattern Perfect for Tablecloths, Bedspreads, Blouses, Bags & Curtains
- Channel: Knitting Love 💗
- URL: http://www.youtube.com/watch?v=aO7b3R1QlZg


