
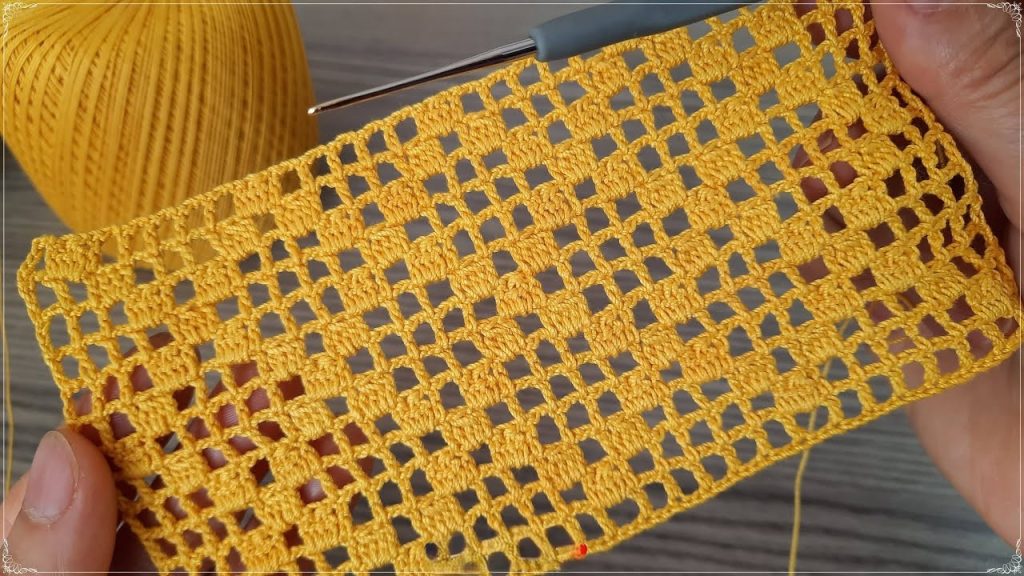
Discover the mesmerizing texture of the Golden Lattice Texture! This fabric combines a crisp, open filet crochet grid with columns of textured bobbles, creating a sturdy yet breathable material perfect for shawls, market bags, cushion covers, or lightweight blankets. The bright yellow color highlights the geometric precision and the rhythmic, alternating texture. Once you master the simple 4-row repeat, this pattern works up quickly and creates a striking, modern look.
⭐️ Project Blueprint and Technique Check
| Feature | Detail |
| Skill Level | Intermediate. Requires precision in counting (especially for the Bobble stitch), working into specific ch spaces, and consistent tension. |
| Stitches Used | Chain (ch), Slip Stitch (sl st), Single Crochet (sc), Double Crochet (dc), Bobble stitch (4 dc cluster). |
| Construction | Worked flat in rows. The pattern is built upon the classic filet grid structure, utilizing a 4-row vertical repeat. |
| Yarn Type | DK or Worsted Weight yarn is best to make the bobbles pop. |
| Pattern Repeat | A 4-row vertical repeat creates the full texture and is easily adaptable for any size. |
Export to Sheets
🧵 Materials Selection & Precision Gauge
Yarn: Choosing for Texture Pop
- Weight: DK Weight (Category 3) or Worsted Weight (Category 4) yarn. Using a yarn with good loft and little fuzziness is crucial to ensure the Bobble stitches stand out and the filet grid is clearly defined.
- Fiber: 100% Cotton or a durable Acrylic/Cotton blend is recommended for excellent structure and washability.
- Color: A vibrant Sunny Yellow or any solid, medium tone (like the sample) will best show off the texture. Variegated yarns may obscure the pattern.
- Yardage: Plan for approximately 400 to 600 yards for a large scarf or small blanket.
Hook: The Bobble Builder
- Size: 4.0 mm to 5.0 mm (US G/6 or H/8). Use a hook size that gives a firm tension for the filet squares but is still comfortable for working the clustered Bobble stitches.
Skill Definition: Bobble Stitch (Bo)
Bo (4 dc cluster): Yarn over, insert hook into stitch, yarn over, pull up loop, yarn over, pull through 2 loops. (2 loops on hook). Repeat from * 3 more times in the same stitch/space (5 loops on hook). Yarn over, pull through all 5 loops.
Precision Gauge
Gauge is measured across one full pattern repeat, which is 2 full grid squares horizontally and 4 rows vertically.
- One Horizontal Repeat (2 squares): Approximately 1.5 inches wide.
- One Vertical Repeat (Rows 1-4): Approximately 1.75 inches tall.
- Starting Chain Calculation: The pattern repeats every 4 stitches. Use the formula: 4×(number of repeats)+3 ch
- Example: For 30 repeats across: 4×30+3=ch 123
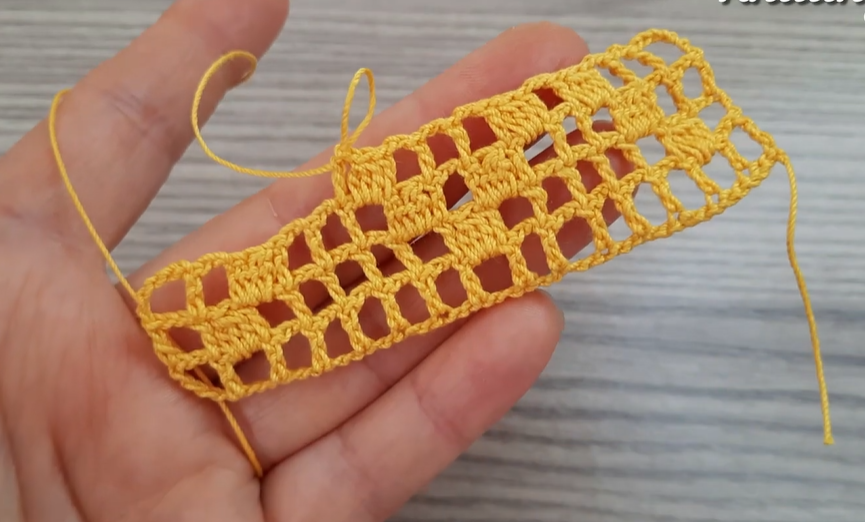
📝 Pattern Instructions: The Foundation
The pattern begins with a foundation chain that is a multiple of 4, plus 3 for the turning chain.
Row 1 (Foundation – RS): Chain the required amount (e.g., ch 123). dc in the 4th ch from the hook (counts as dc). dc in the next ch.
- ch 1, sk 1 ch, dc in the next 3 ch. Repeat the sequence ch 1,sk 1 ch,dc in next 3 ch across the row. You will end with 1 dc in the last ch.
- Turn.
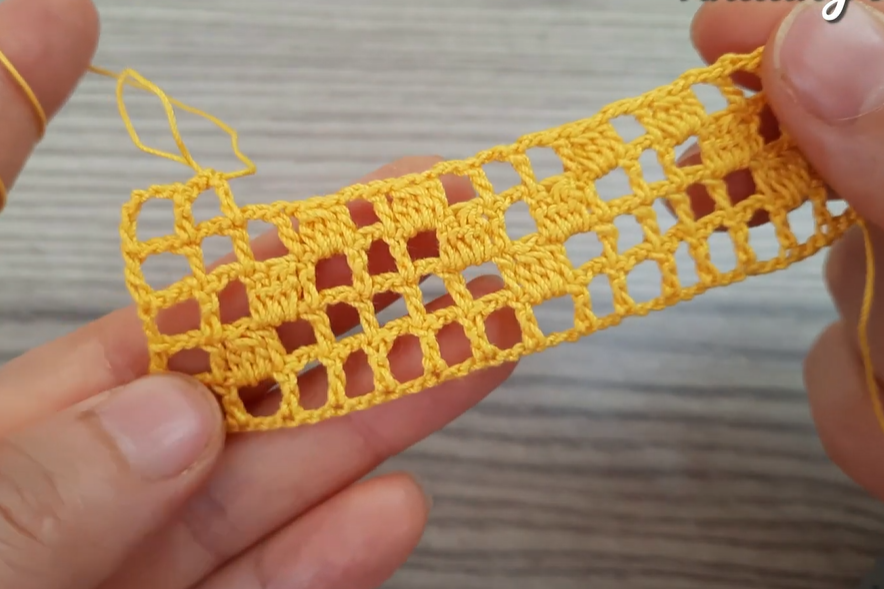
🧶 The 4-Row Textured Repeat
This sequence of four rows creates the alternating texture of solid bobble columns and open filet columns.
Row 2 (Bobble Row – WS): ch 3 (counts as dc). dc in the next dc.
- dc in the ch 1 space. dc in the next dc.
- Bobble: Work Bo in the next dc. ch 1. dc in the ch 1 space. Repeat the sequence Bo in next dc, ch 1,dc in ch 1 space, dc in next dc,ch 1,dc in next dc across the row, adjusting the starting and ending stitches as necessary to maintain the grid.
- dc in the ch 1 space. dc in the next dc. dc in the top of the turning ch 3.
- Turn.
- Note: The Bo stitch should pop out on the RS of the work.
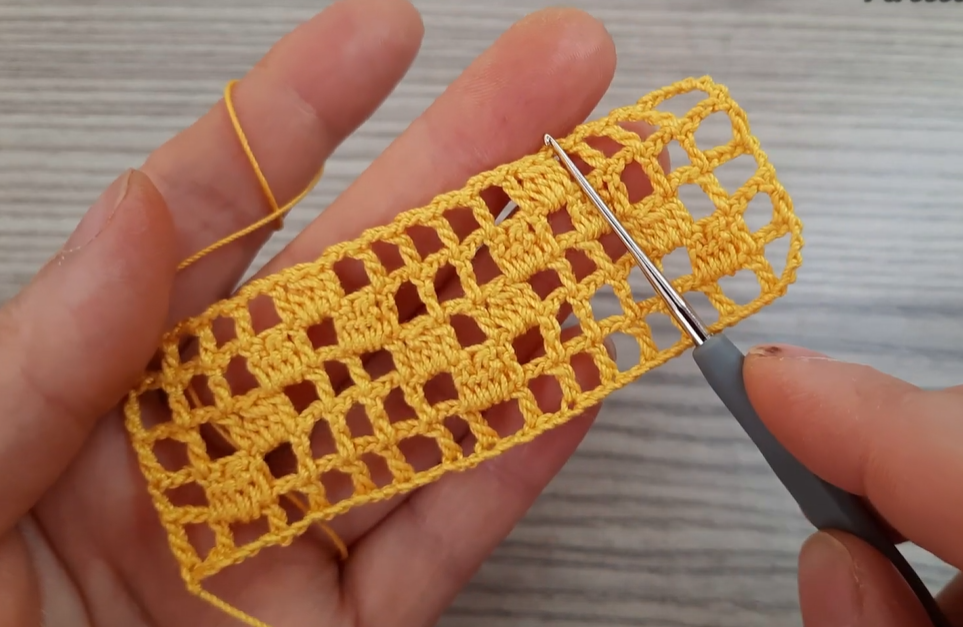
Row 3 (Filet Grid – RS): ch 3 (counts as dc). dc in the next dc.
- ch 1, sk 1 dc, dc in the next dc.
- ch 1, sk 1 Bo, dc in the next dc. Repeat the sequence ch 1,sk 1 dc or ch,dc in next dc across the row, working dc into the top of each Bo.
- End by placing 2 dc in the last 2 stitches (the dc and the top of the turning ch 3).
- Turn.
- Note: This row re-establishes the open filet grid.
Row 4 (Solid Bar – WS): ch 3 (counts as dc). dc in every stitch and ch 1 space across the row.
- End by placing dc in the top of the turning ch 3 from Row 3.
- Turn.
- Note: This row is 100% dc stitches, creating the solid horizontal bar that contrasts the texture.
Row 5 (Offset Bobble Base – RS): ch 3 (counts as dc). dc in the next 2 dc.
- ch 1, sk 1 dc, dc in the next 3 dc. Repeat the sequence ch 1,sk 1 dc,dc in next 3 dc across the row. You will end with 1 dc in the last dc.
- Turn.
- Note: This row is crucial for offsetting the bobbles in the next repeat.
Continue repeating Rows 2 through 5 until your piece reaches the desired length, making sure to align the bobbles correctly on the odd-numbered repeats.
💡 Troubleshooting and Pattern Mastery
| Issue | Cause | Solution |
| Fabric Pulls/Tightens | The ch 1 spaces are too tight compared to the dc stitches. | Try using a ch 2 instead of ch 1 for the open filet squares, and adjust the number of skipped stitches accordingly. |
| Bobbles Lie Flat | Bo stitch is worked on the wrong side, or the dc cluster is too loose. | Ensure you are working the Bo on the Wrong Side (WS) rows so they pop forward to the Right Side (RS). Use firm tension for the dc cluster. |
| Counting Errors | The pattern relies on exact placement. | Mark the first and last dc of every row with a stitch marker until you get comfortable with the count. |
| Want a Denser Bobble | Bobbles are too small/subtle. | Increase the Bo to a 5 dc cluster (start with 6 loops on hook, pull through 6). |
Video Tutorial:
🔨 Finishing and Textile Blocking
Blocking is important for the Golden Lattice Texture to ensure the grid is square and the fabric has an even, professional drape.
- Preparation: Weave in all loose ends securely.
- Soak: Submerge the piece in cool water. Gently press out excess water without twisting or wringing.
- Tension Pinning: Lay the damp fabric on a blocking mat. Using rust-proof T-pins:
- Pin the top and bottom edges straight, ensuring the horizontal dc bars are aligned.
- Pin the corners of the open filet squares to maximize the geometric openwork.
- Dry: Allow the piece to dry completely flat for 12−24 hours.
Your stunning Golden Lattice Texture fabric is now complete! What beautiful, textured item will you create with this intricate pattern?


