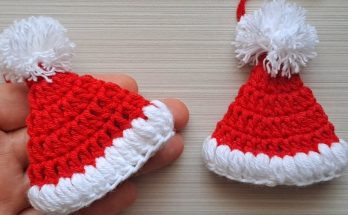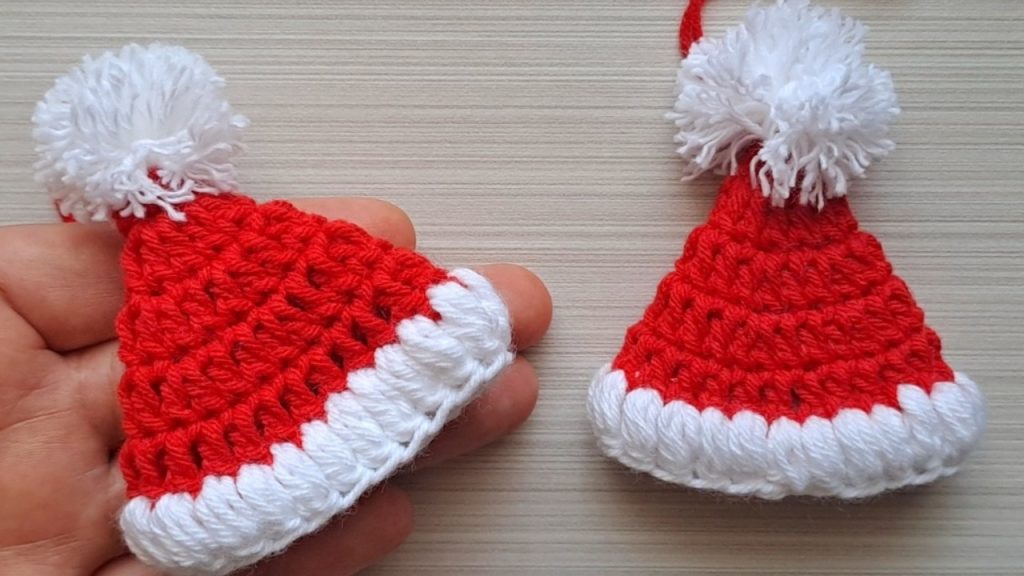
✨ Introduction: The Perfect Little Holiday Ornament
Welcome, fellow crafters, to a quick dose of holiday cheer! This tutorial will show you how to create the adorable Miniature Classic Santa Hat Ornament, inspired by the beautiful piece in the video. This project is a fantastic stash-buster, works up in under an hour, and makes a perfect gift topper, earring component, or tiny decoration for your tree!
We will be using basic increases and a simple puff stitch border to achieve that iconic, fluffy Santa look.
📌 Pattern Notes & Abbreviations
This pattern is worked in continuous rounds of Double Crochet (DC), which automatically forms the cone shape of the hat. It uses standard US crochet terminology.
Abbreviations (US Terms)
| Abbreviation | Meaning |
| ch | Chain |
| st(s) | Stitch(es) |
| sl st | Slip Stitch |
| dc | Double Crochet |
| inc | Increase (2 dc in the same st) |
| FO | Fasten Off |
| MR | Magic Ring (or adjustable ring) |
| PS | Puff Stitch (Special Stitch) |
Special Stitches
- PS (Puff Stitch): [Yarn over, insert hook into st, yarn over, pull up a loop (3 loops on hook)] 3 times (or as desired for puffiness). You should have 7 loops on the hook. Yarn over, pull through all 7 loops. Ch 1 to secure (this securing chain is not counted as a stitch).
Materials
- Yarn: Light Worsted Weight (Weight 3) or DK yarn is ideal.
- Red: For the main hat.
- White: For the trim and pompom.
- Hook: A size appropriate for your yarn. We recommend a C/2 (2.75 mm) or D/3 (3.25 mm) hook.
- Tools: Tapestry needle, scissors, and a small amount of extra yarn for the hanging loop.
💡 Tip: The video instructs leaving a long tail (approx. 10 cm / 4 inches) at the start, which is a clever way to pull the top of the cone closed later!
🔴 Part 1: The Hat Cone (Red)
The hat is worked from the tip down to the brim.

Color: Red
Round 1 (The Tip):
- Leave a long starting tail (as instructed in the tip).
- Start with a MR. Ch 3 (counts as first dc).
- Work 5 more dc into the ring. Join with sl st to the top of the starting ch-3. (6 sts)([00:48] – [01:25])
- Pull the long starting tail firmly to close the top of the hat. Thread the tail through the center of the first dc and secure it inside the cone.
Round 2 (First Increase):
- Ch 3 (counts as first dc). Dc in the same st (first inc).
- Inc in every st around. Join with sl st to the top of the starting ch-3. (12 sts)([01:49] – [03:22])
Round 3 (Second Increase):
- Ch 3 (counts as first dc). Dc in the next st.
- [Inc in the next st, dc in the next st] Rep around. Join with sl st. (18 sts)([04:13] – [05:50])Pattern Note: The increase sequence is: $1 \text{ DC, [INC, 1 DC]}$ repeated 6 times.
Round 4 (Third Increase):
- Ch 3 (counts as first dc). Dc in the next 2 sts.
- [Inc in the next st, dc in the next 2 sts] Rep around. Join with sl st. (24 sts)([06:06] – [08:16])Pattern Note: The increase sequence is: $2 \text{ DC, [INC, 2 DC]}$ repeated 6 times.
Round 5 (Straight Round):
- Ch 3 (counts as first dc).
- Dc in every st around. Join with sl st to the top of the starting ch-3. (24 sts)([08:26] – [09:28])
- FO the red yarn, pull the tail through the last loop and weave it neatly inside the hat cone.

☁️ Part 2: The Fluffy Trim (White)
The signature white trim is created using a row of continuous Puff Stitches.
Color: White
- Attach Yarn: Join the white yarn with a sl st to any stitch on the top of Row 5 (the last red row). Ch 1.
- Puff Stitch Row: PS (Puff Stitch, see Special Stitches) in the same st.
- PS in every st around the brim.([10:05] – [12:44])
- Join with sl st to the top of the first Puff Stitch (not the securing chain). (24 PS)
- FO the white yarn and weave in the end.
⚪ Part 3: The Pompom and Hanger
The hat is finished with a fluffy yarn pompom and a loop for hanging.
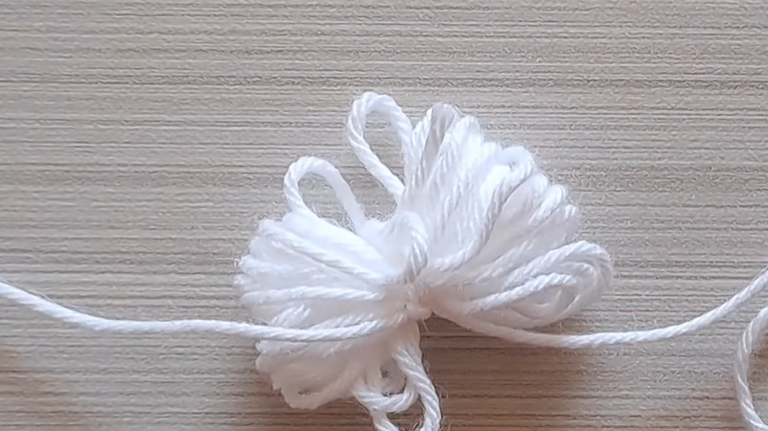
The Pompom (White)
- Wrap the white yarn around your fingers multiple times (as shown in the video, [13:34]). The more wraps, the fluffier the pompom.
- Carefully slide the loops off your fingers.
- Tie a strong piece of yarn tightly around the center of the loops. Tie a double knot to secure.
- Cut the loops on both ends with sharp scissors.([15:03] – [15:20])
- Fluff the yarn and trim the pompom into a tight, neat ball shape.([15:43] – [16:16])
- Using the tying strands or an extra piece of yarn, attach the pompom securely to the small hole at the tip of the hat (from Round 1). Use your crochet hook to pull the ends through and tie them inside the cone.([16:17] – [17:10])
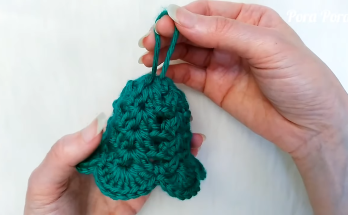
The Hanging Loop (White or Red)
- Take a piece of yarn (approximately 8 inches long).
- Using your hook, thread the yarn through the top of the hat, right next to the pompom base.([17:26] – [17:43])
- Tie the ends together, leaving a loop about $3 \text{ to } 4 \text{ inches}$ long, and knot it securely to form the hanger.([17:58] – [18:25])
Your Miniature Classic Santa Hat Ornament is now ready to hang!