✨ Introduction: Ring in the Holidays with Handmade Charm
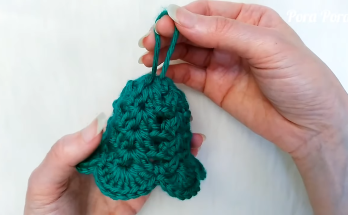
Welcome to a delightful project that will add a classic, handmade touch to your holiday décor: the Crochet Christmas Bell Ornament! Featured in the accompanying video tutorial, this quick and rewarding pattern creates a perfectly shaped, festive bell that is ideal for adorning your Christmas tree, tying onto gifts, or stringing into a beautiful garland.
This bell is constructed in continuous rounds, starting from the top (the handle) and gradually increasing to form the wide, flared skirt, culminating in a decorative scalloped edge. Because it uses simple stitches and a defined shaping formula, it’s a fantastic project for using up scraps of holiday-themed yarn and is quick enough to create a whole set in an afternoon.
Why You’ll Love This Ornament
- Quick & Beginner-Friendly: Uses primarily Single Crochet (SC) and Half Double Crochet (HDC), making it easy for crocheters of all skill levels.
- Perfectly Shaped: The use of front and back loop stitches, along with specific increase rounds, ensures the bell holds its iconic, flared silhouette.
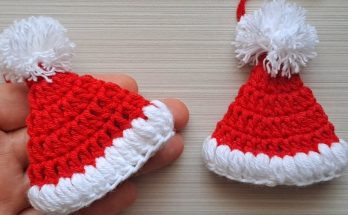
- Customizable: Easily change colors for stripes, add sparkle yarn, or insert a tiny jingle bell inside for an authentic sound!
- Stiffening Potential: The resulting fabric is sturdy, but can be further stiffened (using starch or a glue-and-water mixture) to achieve a rigid, professional finish.
Suggested Uses
| Application | Recommended Finish | Notes |
| Christmas Tree Ornament | Add a loop of metallic cord/ribbon. | Insert a small jingle bell inside before closing the top. |
| Gift Embellishment | Use ribbon for the hanging tie. | Attaches beautifully to wrapped presents or wine bottles. |
| Garland/Bunting | Make several in alternating colors. | Connect them with a long chain or braided cord. |
| Coasters (Larger Scale) | Use a bulkier yarn and larger hook. | Block aggressively for a flat, stable coaster. |
📌 Pattern Notes & Shaping Formula
The bell is worked in a continuous spiral for most of the body (no joining with a slip stitch at the end of rounds, unless specified for a color change or the final decorative edge). Use a stitch marker to keep track of the start of each round.
The bell shape is achieved by dividing the work into three sections:
- Crown: Rounds 1-6 are the narrow, top section (no shaping).
- Neck/Shoulder: Round 7 introduces a stitch change for definition.
- Skirt: Rounds 8-10 dramatically increase the stitch count to create the flare.
Terminology
This pattern is written in U.S. Crochet Terms.
Gauge (Approximate)
Gauge is not crucial for an ornament, but consistent tension is important for a smooth shape. Using a 3.5mm hook and DK weight yarn, the finished bell should measure approximately 2.5 to 3 inches tall and 2.5 to 3 inches across the bottom edge.
📚 Abbreviations & Special Stitches
| Abbreviation | Meaning |
| ch | Chain |
| st(s) | Stitch(es) |
| sl st | Slip Stitch |
| sc | Single Crochet |
| hdc | Half Double Crochet |
| MR | Magic Ring |
| inc | Increase (Work 2 stitches into the same stitch) |
| BLO | Back Loop Only |
| FLO | Front Loop Only |
| rep | Repeat |
🧶 Materials
- Yarn: DK (Light Worsted/8-ply) weight yarn in a holiday color (Red, Green, Gold, White, or Sparkle Yarn).
- Hook: A hook size appropriate for your yarn; a 3.5 mm (E/4) hook is standard for DK.
- Tools: Scissors, tapestry needle, and an optional small jingle bell or bead for the clapper.
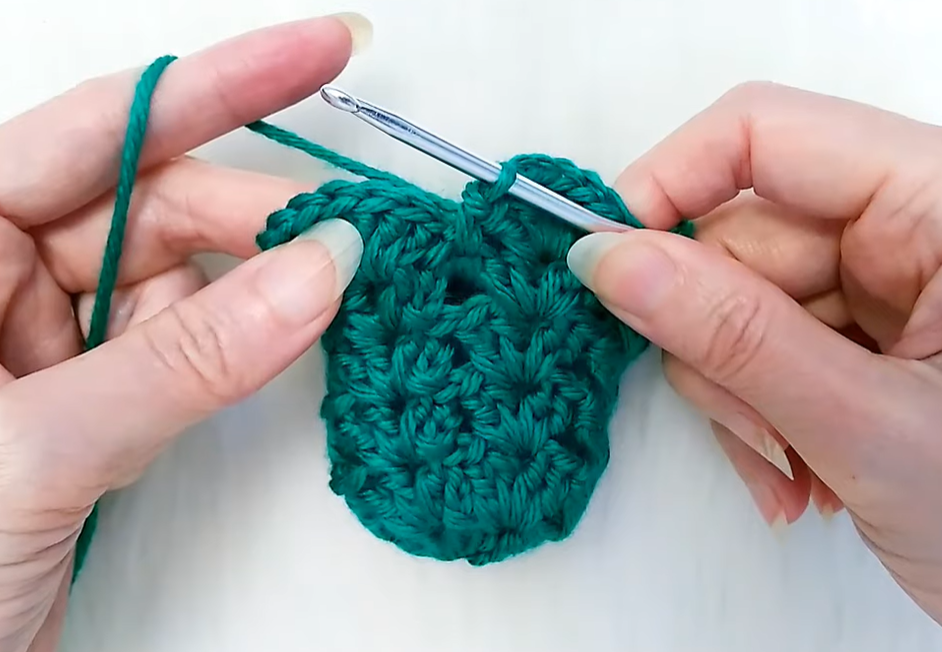
🔔 The Bell Body (Crown and Neck)
The following rounds are worked in a continuous spiral unless otherwise noted. Place a stitch marker in the first stitch of each round and move it up.
Start: Using the main color (e.g., Red or Green).
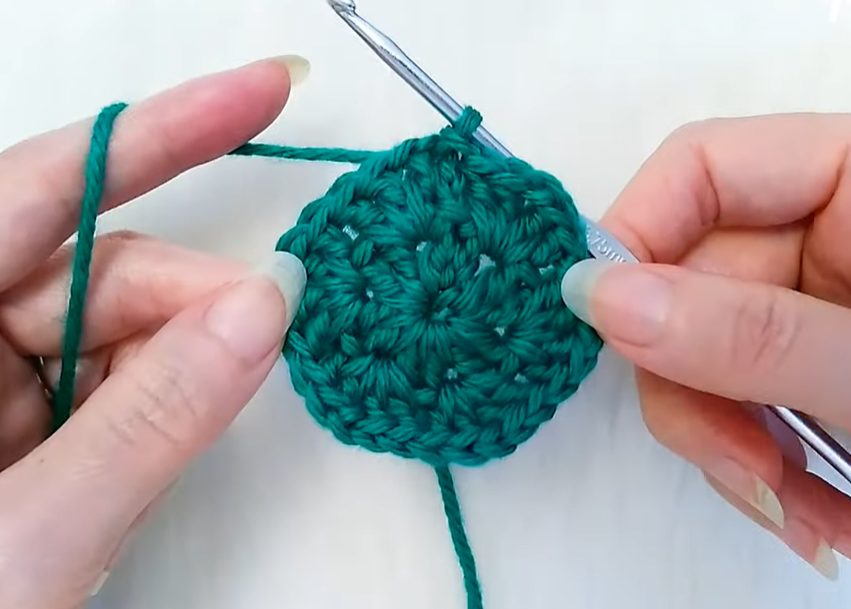
Round 1: Initial Base
- Work 6 SC into a Magic Ring (MR). Pull the tail tight to close the center hole.
- [6 st]
Round 2: Base Increase
- Work SC inc (2 SC in same st) into each stitch around.
- [12 st]
Round 3: Shaping Increase
- Work 1 SC in the next st, SC inc in the next st. Rep from * 6 times around.
- [18 st]
Rounds 4 – 6: The Crown (Straight Sides)
- Work 1 SC into each stitch around. (3 rounds total)
- [18 st]
Round 7: Neck Definition (HDC)
- Work 1 HDC into each stitch around. (This round creates a slight ridge, helping to define the bell’s “neck”.)
- [18 st]

💫 The Flared Skirt (Increases & Edging)
Before proceeding to Round 8, if you are adding a jingle bell, attach it now to the inside top of the bell using the starting yarn tail or a piece of thin string.
Round 8: Skirt Flare Foundation
- Work 1 SC in the BLO of each stitch around. (Working in the BLO helps create a sharp turn for the skirt flare.)
- [18 st]
Round 9: Wide Skirt Increase
This round introduces a large increase to create the dramatic flare.
- Work 2 SC into each stitch around.
- [36 st]
Round 10: Final Skirt Edge
- Work 1 SC into each stitch around.
- [36 st]
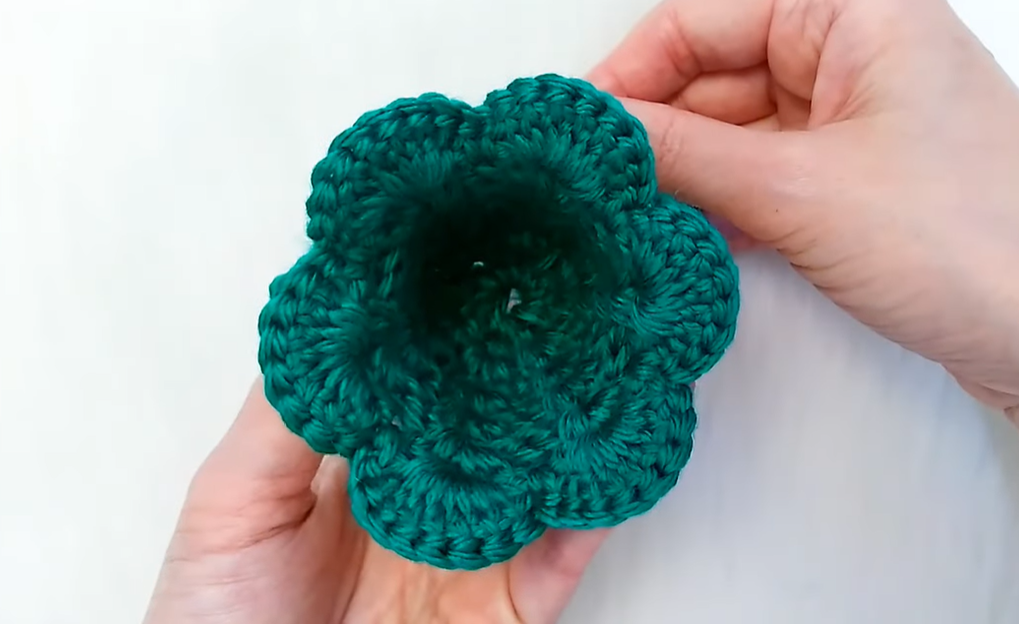
Round 11: Scalloped Edging
(This is the last round, worked with a decorative stitch and requires a Slip Stitch join at the end.)
- Decorative Edge: Sl st into the next st. Ch 2. Work 1 SC in the next st. Rep from * around. (This creates a slight scallop or pointed edge).
- Sl st to the first st of the round to join. Fasten off.
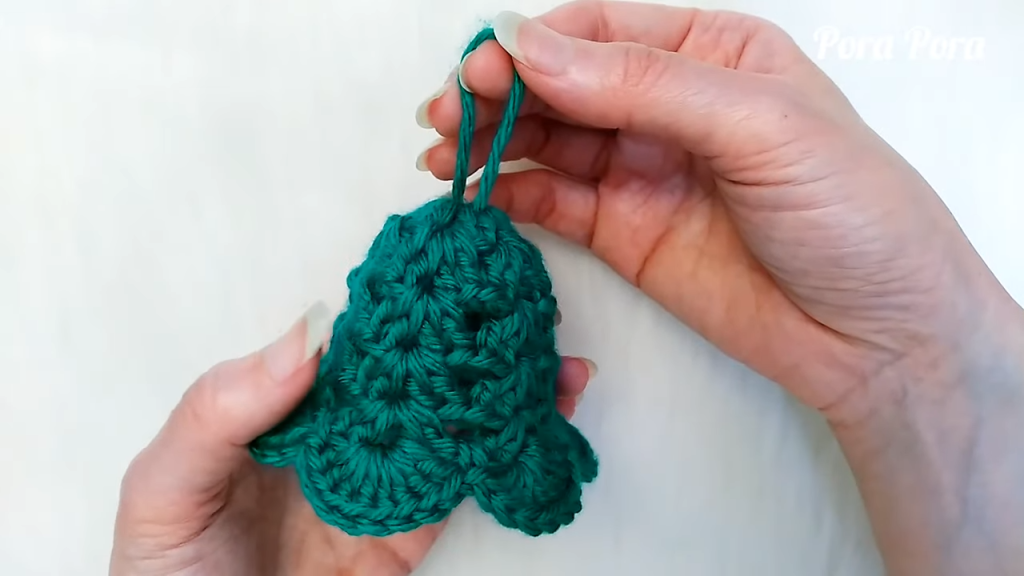
🎀 Finishing Touches
The Hanging Loop
- Join the yarn (or a piece of metallic thread/ribbon) to the center top of the bell (Round 1).
- Chain 15 to 20 (or your desired loop length).
- Sl st back into the same stitch where you joined the yarn at the top of the bell.
- Fasten off and weave in the ends securely.
Video Tutorial:
Weaving and Shaping
- Use a tapestry needle to weave in all yarn tails.
- If you did not insert a jingle bell, gently press the top crown inward to help the bell maintain its shape.
Optional: Stiffening (Recommended)
For a professional, rigid finish, stiffening the bell is highly recommended.
- Preparation: Mix a solution of white craft glue and water (approximately 1 part glue to 1 part water) or use a commercial fabric stiffener/spray starch.
- Application: Soak the entire bell in the solution, making sure it is fully saturated. Gently squeeze out the excess liquid.
- Shaping & Drying: Place the wet bell over a conical form (such as a plastic shot glass, a small bottle of medicine, or a custom-cut piece of cardboard) to hold its shape. Gently pull the scalloped edge down and flatten it against the surface.
- Cure: Let the bell dry completely for 12–24 hours until the fabric is hard and retains the bell shape.
Your beautiful, handmade Christmas Bell is now ready to hang!