✨ Introduction: Craft Your Own Adorable Snowman
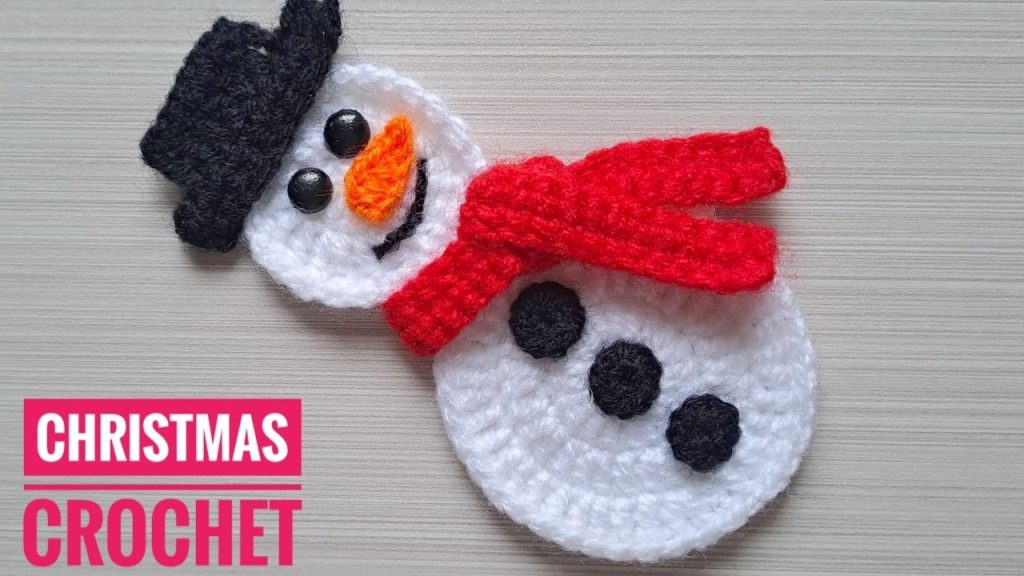
Welcome to the ultimate guide for crocheting your very own Flat Snowman Christmas Ornament! Inspired by the charming design in the accompanying video, this pattern creates a two-dimensional, amigurumi-style figurine that is perfect for hanging on your Christmas tree, adorning holiday gifts, or attaching to greeting cards.
This pattern is a wonderful project for using up those small scraps of yarn in classic holiday colors. The snowman is built from simple crocheted circles for the head and body, and small shapes for his classic accessories—a top hat, a carrot nose, and a cozy scarf. The pieces are then assembled and accented with simple embroidery for the face.
Why You’ll Love This Snowman
- Quick & Scrappy: The small size and use of basic shapes make it incredibly fast to complete, turning small yarn leftovers into festive décor.
- Two-Dimensional: The flat construction means the snowman is lightweight and hangs beautifully without tilting.
- Perfect for Beginners: The pattern relies on fundamental stitches (SC, DC) and simple increases for circle shaping.
- Customizable: Easily personalize his look by changing the scarf color, adding glitter yarn, or swapping out the buttons for tiny beads.
Suggested Projects
| Application | Notes |
| Christmas Tree Ornament | Add a small hanging loop to the back of the head. |
| Garland | Make several snowmen and link them together with a chain stitch. |
| Wreath Embellishment | Glue him onto a pine wreath or swag for a cheerful accent. |
| Brooch/Pin | Attach a pin backing to the reverse side for a festive accessory. |
📌 Pattern Notes & Sizing
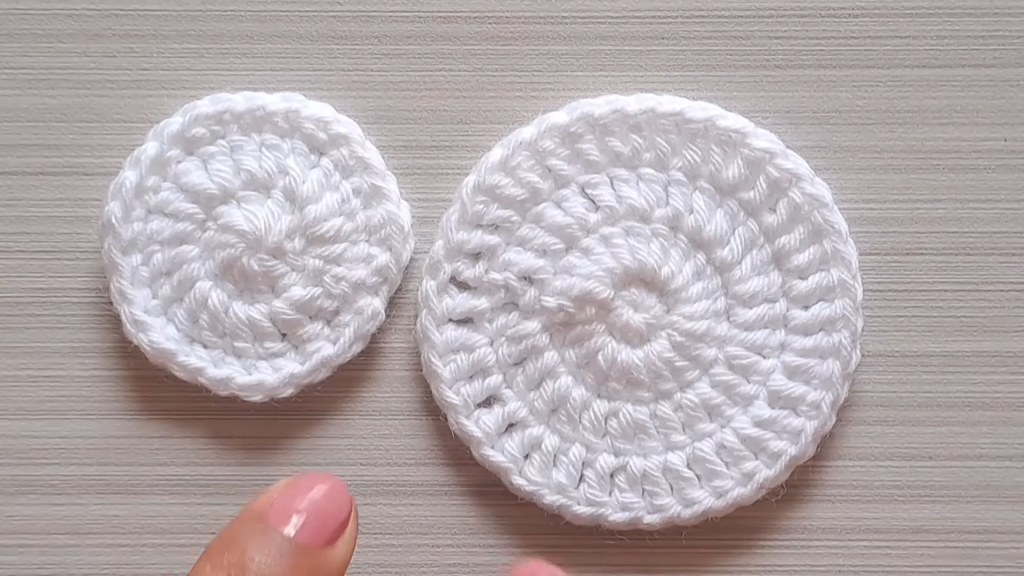
This pattern is worked in separate pieces that are then sewn or glued together. The initial rounds for the head and body use the technique of crocheting in the round to create flat circles.
Terminology
This pattern is written in U.S. Crochet Terms.
Gauge (Approximate)
Gauge is not critical, but consistency is key for the circles to lie flat. Using the suggested thin yarn (like fine Sport or #2 weight) and a small hook (1.75 mm – 2.0 mm), the head will be approximately 2.0 inches wide and the body about 2.5 inches wide.
| Abbreviation | Meaning |
| ch | Chain |
| st(s) | Stitch(es) |
| sl st | Slip Stitch |
| sc | Single Crochet |
| dc | Double Crochet |
| MR | Magic Ring |
| inc | Increase (Work 2 stitches into the same stitch) |
| rep | Repeat |
🧶 Materials
- Yarn: Fine Sport (#2) or DK (#3) weight yarn in:
- White: Main color (Head and Body).
- Black: Hat and Buttons.
- Red: Scarf (or desired color).
- Orange: Nose.
- Small amount of Black for embroidery/mouth.
- Hook: 1.75 mm or 2.0 mm hook (or size appropriate for your yarn).
- Tools: Scissors, tapestry needle, small safety eyes (e.g., 3mm) or black thread/yarn for embroidered eyes, and craft glue (optional, for assembly).
⚪ Part 1: The Head
The head is a flat circle worked with Double Crochet (DC) for the first two rounds, then finished with a Single Crochet (SC) border.
Start: Using White Yarn.
Round 1
- Work 10 DC into a Magic Ring (MR).
- Pull the tail tight to close the ring. Sl st to the top of the beg Ch 3 to join.
- [10 sts]
Round 2: DC Increase
- Ch 3 (counts as 1 DC). Work 1 DC inc into the same st.
- Work DC inc in every st around.
- Sl st to the top of the beg Ch 3 to join.
- [20 sts]
Round 3: SC Border (Slight Increase)
- Ch 1 (does not count as st). Work 1 SC in the same st.
- Pattern: [SC in next 3 st, SC inc in next st.] Rep from * 4 times. SC in last st.
- Sl st to the first SC to join.
- [26 sts]
Finish: Fasten off, leaving a long tail (about 12 inches) for sewing the head to the body.
🎂 Part 2: The Body
The body is a larger flat circle worked entirely with Double Crochet (DC).
Start: Using White Yarn.
Round 1
- Work 10 SC into a Magic Ring (MR).
- Pull the tail tight to close the ring. Sl st to the first SC to join.
- [10 sts]
Round 2: DC Increase
- Ch 3 (counts as 1 DC). Work DC inc in every st around.
- Sl st to the top of the beg Ch 3 to join.
- [20 sts]
Round 3: DC Increase
- Ch 3 (counts as 1 DC). Work 1 DC in the next st.
- Pattern: [DC inc in the next st. DC in next 2 st.] Rep from * 9 times.
- Sl st to the top of the beg Ch 3 to join.
- [30 sts]
Round 4: DC Increase
- Ch 3 (counts as 1 DC). Work 1 DC in the next 2 st.
- Pattern: [DC inc in the next st. DC in next 3 st.] Rep from * 9 times.
- Sl st to the top of the beg Ch 3 to join.
- [40 sts]
Finish: Fasten off, leaving a starting tail long enough to weave in, and weave in all ends.
🖤 Part 3: Accessories
1. The Buttons (Make 3)
Start: Using Black Yarn.
- Work 10 SC into a Magic Ring (MR).
- Pull the tail tight to close the ring.
- Sl st to the first SC to join.
- [10 sts]
Finish: Fasten off, leaving a long tail for sewing the buttons to the body.
2. The Scarf
Start: Using Red Yarn.
- Ch 45 (adjust length if necessary for your tension).
- Row 1: SC in the 2nd ch from the hook and in each ch across. (44 sts). Ch 1, turn.
- Row 2: SC in each st across. (44 sts).
Finish: Fasten off and weave in the ends.
3. The Hat
The hat is made in two pieces: the crown (a black rectangle) and the brim (DC rows).
Crown (Rectangle)
- Start: Using Black Yarn. Ch 12.
- Row 1: SC in the 2nd ch from the hook and in each ch across. (11 sts). Ch 1, turn.
- Row 2: SC in each st across. (11 sts).
Brim
- Row 1: Join Black Yarn with a sl st into the 3rd SC of the last row of the Crown (skipping 2 SC). Ch 3 (counts as 1 DC). Work 1 DC in the next 6 st. (7 DC total). Ch 3, turn.
- Row 2: DC in each st across. (7 DC).
Finish: Fasten off and weave in all ends.
4. The Carrot Nose
Start: Using Orange Yarn.
- Ch 5.
- Sl st in the 2nd ch from the hook (point).
- SC in the next ch.
- HDC in the next ch.
- DC in the last ch (widest end).
Finish: Fasten off, leaving a short tail for sewing/gluing.
🛠️ Part 4: Assembly and Detailing
1. Construct the Snowman
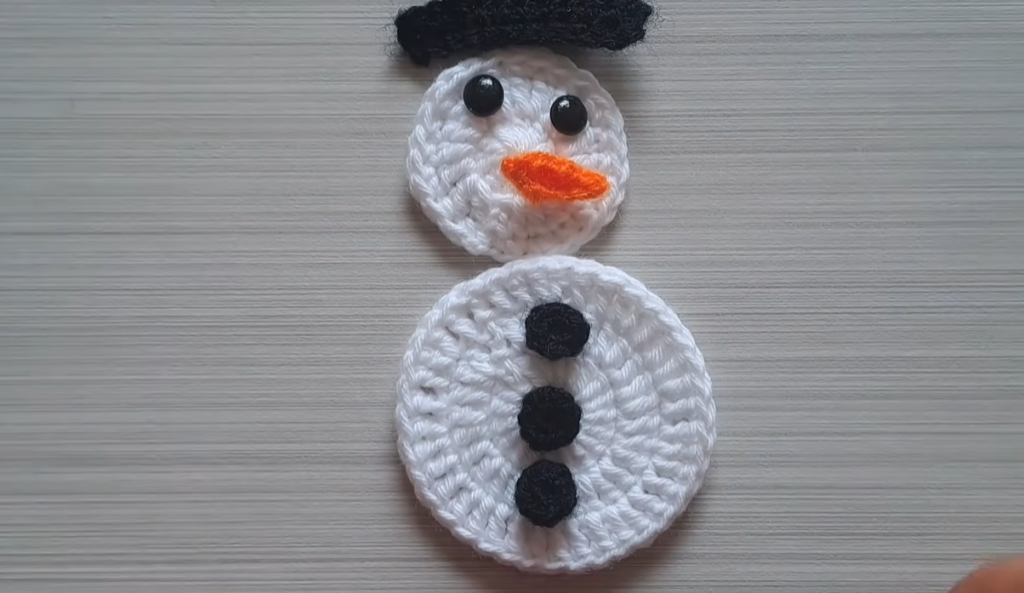
- Attach Body to Head: Place the Head over the Body so the top of the Body slightly overlaps the bottom edge of the Head. Use the long tail left on the Head to sew the two pieces together, ensuring the join is secure.
- Attach Buttons: Sew the three black buttons in a line down the center of the Body section.
2. Detail the Face
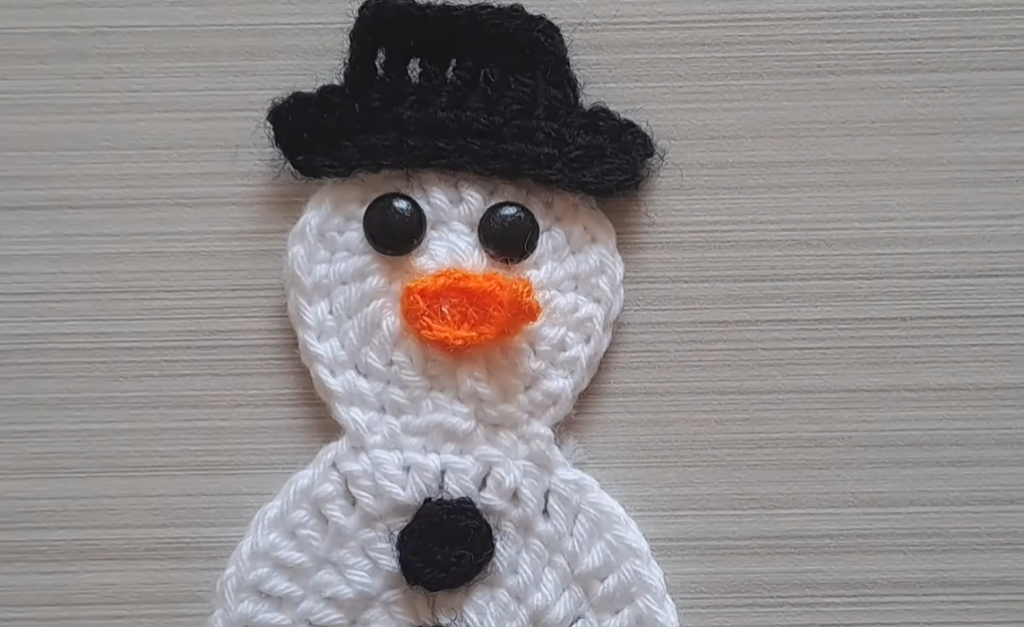
- Eyes: Either use small safety eyes inserted into the Head before sewing it shut (if you have them), or use a tapestry needle and black yarn to embroider two small, round eyes where desired.
- Nose: Position the widest end of the Orange Nose just below the eyes and sew or glue it in place.
- Mouth: Use a tapestry needle and black yarn to embroider a simple curved mouth below the nose, or small dash stitches for the coal-mouth look.
3. Add the Accessories
- Hat: Place the Hat onto the top of the Head, slightly off-center if you prefer a jaunty look. Sew or glue the Hat securely in place.
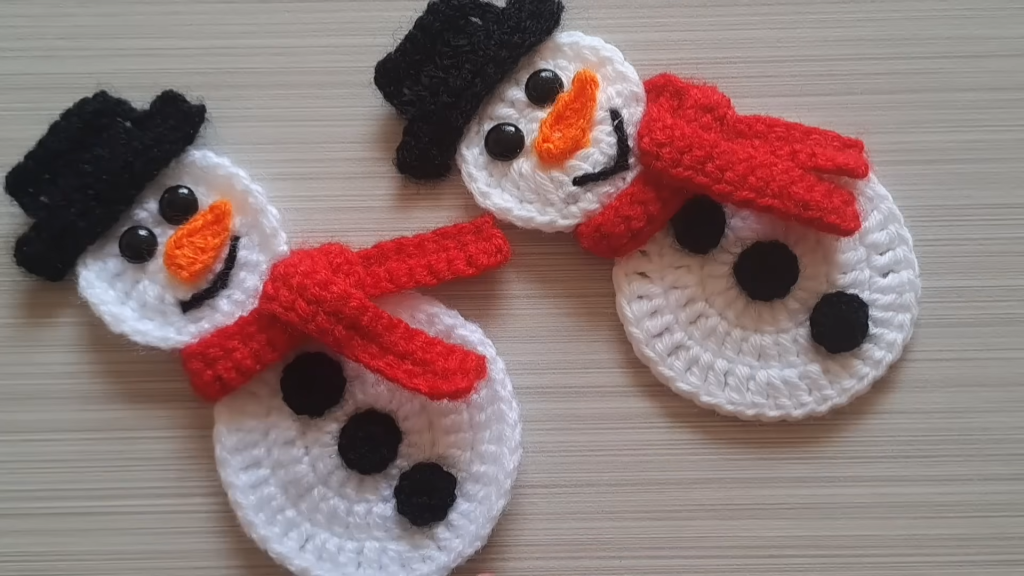
- Scarf: Drape the Red Scarf around the “neck” where the Head and Body join. Tie it in a loose knot and adjust the ends to hang naturally. Secure the knot with a small stitch or dab of glue to keep it from unraveling.
4. Final Touches
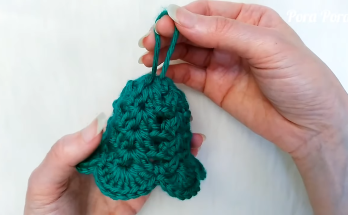
- Hanging Loop: Using a piece of yarn or ribbon (in white, black, or gold), create a small loop at the very top center of the Head for hanging.
- Weave in any remaining ends to the back of the snowman.
Video Tutorial:
Your detailed, handmade Snowman ornament is now ready to decorate your home for the holidays!