
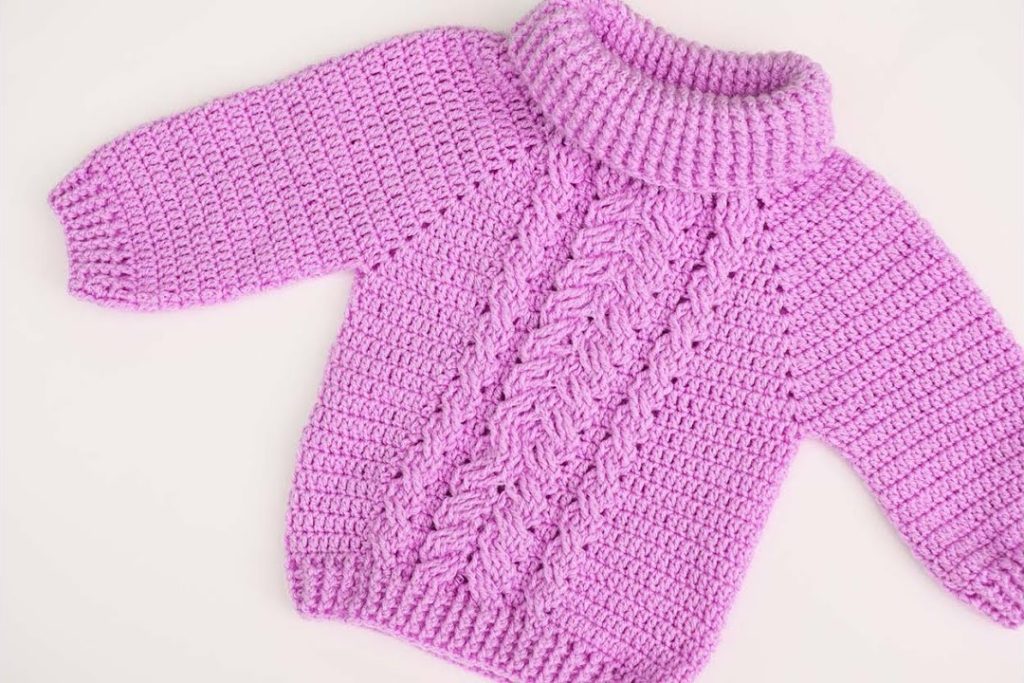
Wrap your little one in cozy luxury with this gorgeous Royal Orchid Crochet Cable Sweater! Featuring a prominent center cable panel that mimics classic knitwear and a wonderfully plush cowl neck, this garment is a timeless piece. The main body stitch (half double crochet) provides dense warmth, making this the perfect choice for the cooler seasons.
This detailed pattern is designed for the 6-12 Month size and is suited for the Advanced Intermediate crocheter due to the post stitch cable work and garment construction.
Materials Needed 🧶
- Yarn: Approximately 450-500 yards of Worsted Weight (Aran / #4) yarn. A soft, warm fiber like merino or a bulky acrylic blend is ideal for the cowl neck and cable definition.
- Main Color (MC): Vivid Orchid/Purple (Solid)
- Crochet Hook: 5.0 mm (US H-8), or the size needed to obtain gauge.
- Tapestry Needle: For seaming and weaving in ends.
- Cable Needle or Locking Stitch Marker: Helpful for holding the stitches during the cable crosses.
Skill Level & Notes 💡
- Skill Level: Advanced Intermediate. You should be comfortable working post stitches (FPDC), creating ribbing in the back loop, and sewing garment pieces together.
- Construction: This sweater is worked in three main flat panels (Front, Back) up to the shoulder shaping, and two sleeves worked in the round. All pieces are then seamed.
- Main Body Stitch: The body is primarily worked in HDC for density and warmth.
- Chains: Ch 2 at the beginning of HDC rows always counts as the first HDC unless noted otherwise.
Gauge 📏
In Half Double Crochet (HDC) using a 5.0 mm hook: 14 HDC stitches and 10 rows = 4 inches (10 cm) square.
Abbreviations 📚
| Abbreviation | Description |
| ch | chain |
| sl st | slip stitch |
| sc | single crochet |
| hdc | half double crochet |
| dc | double crochet |
| st(s) | stitch(es) |
| rep | repeat |
| BLO | Back Loop Only |
| FPDC | Front Post Double Crochet |
| BPDC | Back Post Double Crochet |
| CCPC | Crocheted Cable Panel Cross |
Export to Sheets
Special Stitches ✨
Crochet Cable Panel Cross (CCPC)
This stitch creates the cable twist across 6 stitches.
- Skip 3 sts. FPDC in the next 3 sts. Work FPDC in the 3 skipped stitches in front of the newly made posts (crossing the posts).
Ribbing
- HDC-BLO: Half Double Crochet worked into the Back Loop Only.
Part 1: Back Panel (HDC) ⬅️
We start with the ribbed hem and work up to the shoulders.
Hem (Ribbing): Ch 11. Sc in the 2nd ch from hook and in each ch across. (10 sc) Row 2: Ch 1, turn. Sc in the BLO of each st across. (10 sc) Rows 3-42: Repeat Row 2 until piece measures approximately 13 inches (33 cm) long, slightly stretched. Do not fasten off.
Body (HDC): Row 1 (Body Setup): Ch 2, turn 90 degrees. Work 70 hdc evenly across the long edge of the ribbing (work 1 hdc at the end of every sixth rib row, and 2 hdc along the next, approx. ratio of 1.7 hdc per rib row). (70 hdc) Rows 2-25: Ch 2, turn. Hdc in each st across. (70 hdc)
Armhole Shaping (Armscye): Row 26: Ch 2, turn. Sl st in the next 3 sts, hdc in the next 64 sts. Leave last 3 sts unworked. (64 hdc) Rows 27-36: Ch 2, turn. Hdc in each st across. (64 hdc) Fasten off after Row 36.
Part 2: Front Panel (HDC & CCP) ➡️
Work the hem and body setup exactly as for the Back Panel (70 hdc total).

Row 2 (Cable Setup): Ch 2, turn. Hdc in the first 30 sts. Dc in the next 10 sts (Cable Panel). Hdc in the last 30 sts. (70 sts)
- The cable panel is 10 sts wide: 2 FPDC borders + 6 CCP sts + 2 FPDC borders.
Rows 3-25 (Body with Cable): Ch 2, turn. Hdc in the 30 sts before the cable panel.
- Cable Panel: FPDC in the next 2 sts (Border). Work the CCPC (6 cable sts: skip 3, FPDC 3, FPDC 3 in skipped sts). FPDC in the next 2 sts (Border).
- Hdc in the remaining 30 sts.
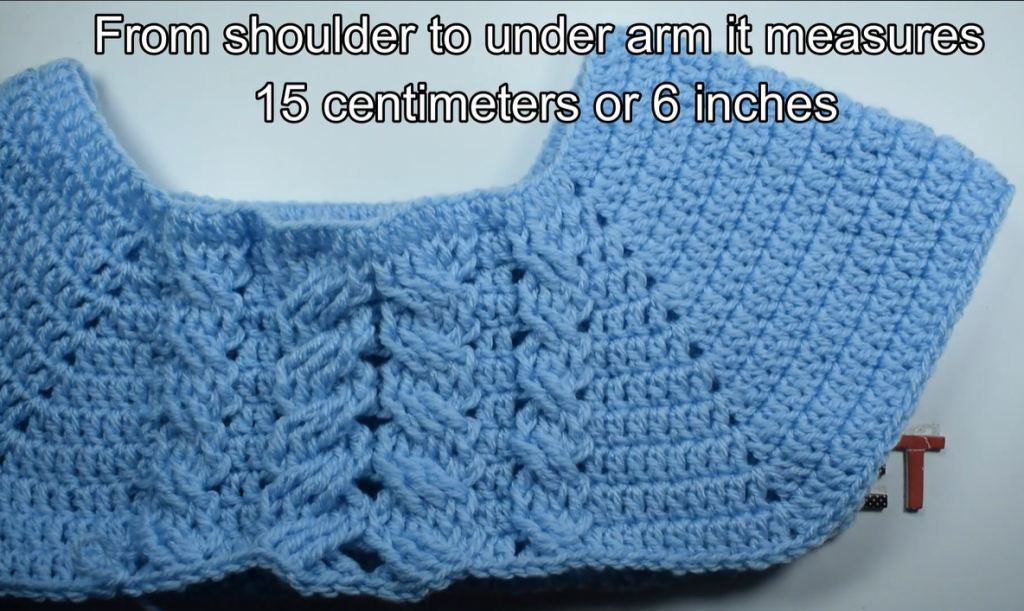
Armhole Shaping (Armscye): Row 26: Sl st in the first 3 sts, hdc to the cable panel. Work the cable panel sts. Hdc to the last 3 sts. Leave last 3 sts unworked. (64 sts) Rows 27-31: Hdc in the side panels, continuing the cable pattern across the center. (64 sts)
Neck Shaping (Divide for Neck): Row 32 (Right Shoulder): Ch 2, turn. Hdc in the first 23 sts (side panel and half the cable). Leave remaining sts unworked. (23 sts) Row 33: Ch 2, turn. Hdc2tog (decrease) at the neck edge. Hdc across. (22 sts) Rows 34-36: Hdc in each st across. Fasten off.
Left Shoulder: Attach yarn to the 23rd st from the end of Row 31. Ch 2, hdc across the 23 sts. Row 33: Ch 2, turn. Hdc across, hdc2tog (decrease) at the neck edge. (22 sts) Rows 34-36: Hdc in each st across. Fasten off.
Part 3: Sleeves (HDC & Ribbing) 🧥
Make 2 sleeves, worked in the round.
Ribbing: Ch 11. Sc in the BLO for 26 rows (approx. 6.5 inches wide), then sl st the ends together to form a tube.
Sleeve Body (HDC): Rnd 1 (Setup): Ch 2 (counts as hdc). Work 48 hdc evenly around the edge of the ribbing. Sl st to join. (48 hdc) Rnds 2-25: Ch 2. Hdc in each st around. Sl st to join.
- Decrease 1 hdc on each side on Rnds 10 and 20 (44 hdc remaining). Fasten off.
Part 4: Assembly & Cowl Neck 👑
A. Assembly:
- Shoulder Seams: Sew the 22-st shoulder edges of the Front and Back together using the mattress stitch.
- Side Seams: Sew the side edges of the Front and Back together from the hem to the armpit.
- Sleeve Seams: Insert the sleeve tubes into the armholes, centering the seam at the bottom. Sew around using the mattress stitch.
B. Cowl Neck (Ribbing):
- Attach yarn to the back center of the neck opening. Rnd 1: Ch 2. Work 78 hdc evenly around the neck opening (adjusted to be a multiple of the rib count). Sl st to join.
- Rnds 2-20 (Ribbing): Ch 2. Hdc in the BLO of each st around. Sl st to join.
- Work until the cowl measures approximately 8-9 inches (20-23 cm) in height. Fasten off, leaving a long tail.
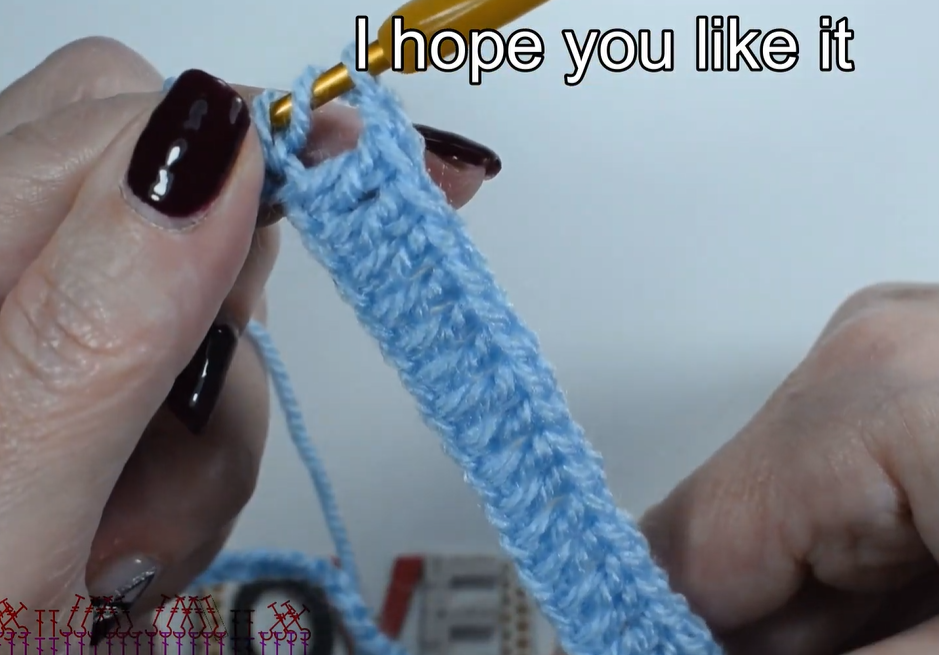
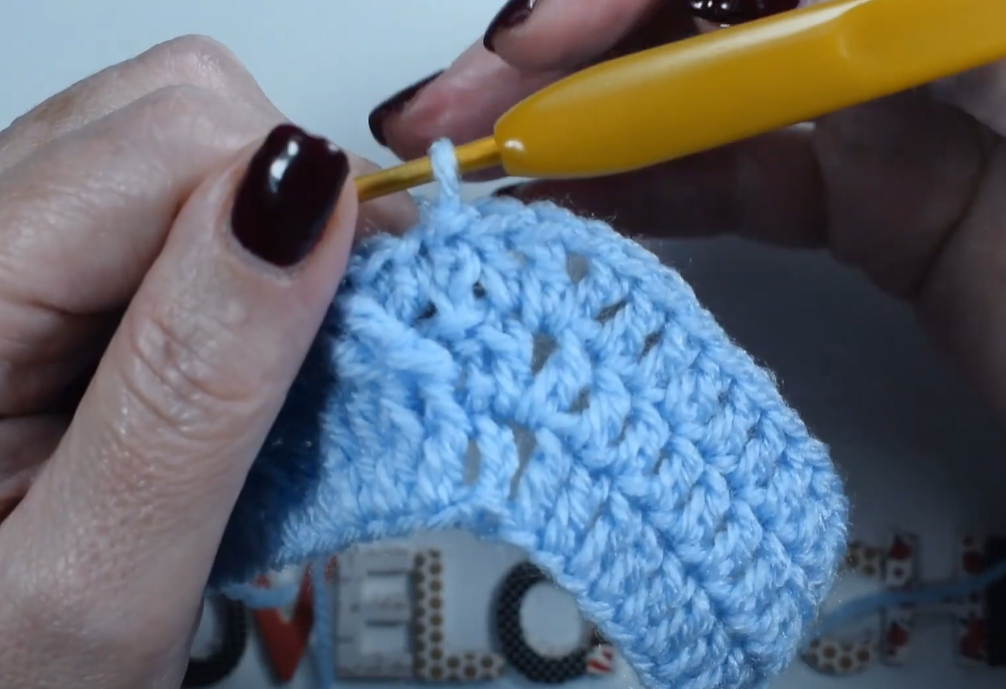
Video Tutorial:
Finishing and Final Touches 🫧
- Weave in all ends securely using the tapestry needle.
- Fold the cowl neck over neatly.
- Blocking: Gently steam block the sweater. Focus on flattening the seams, squaring up the body panels, and ensuring the cable panel pops out cleanly. Allow the cowl ribbing to relax and drape naturally.
Your cozy and elegant Royal Orchid Crochet Cable Sweater is ready for its big debut


