
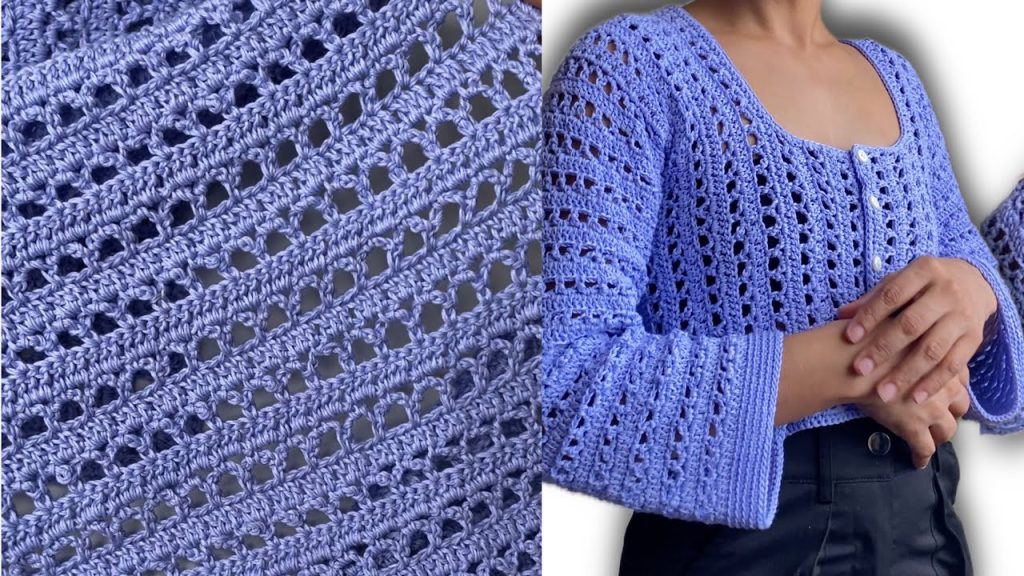
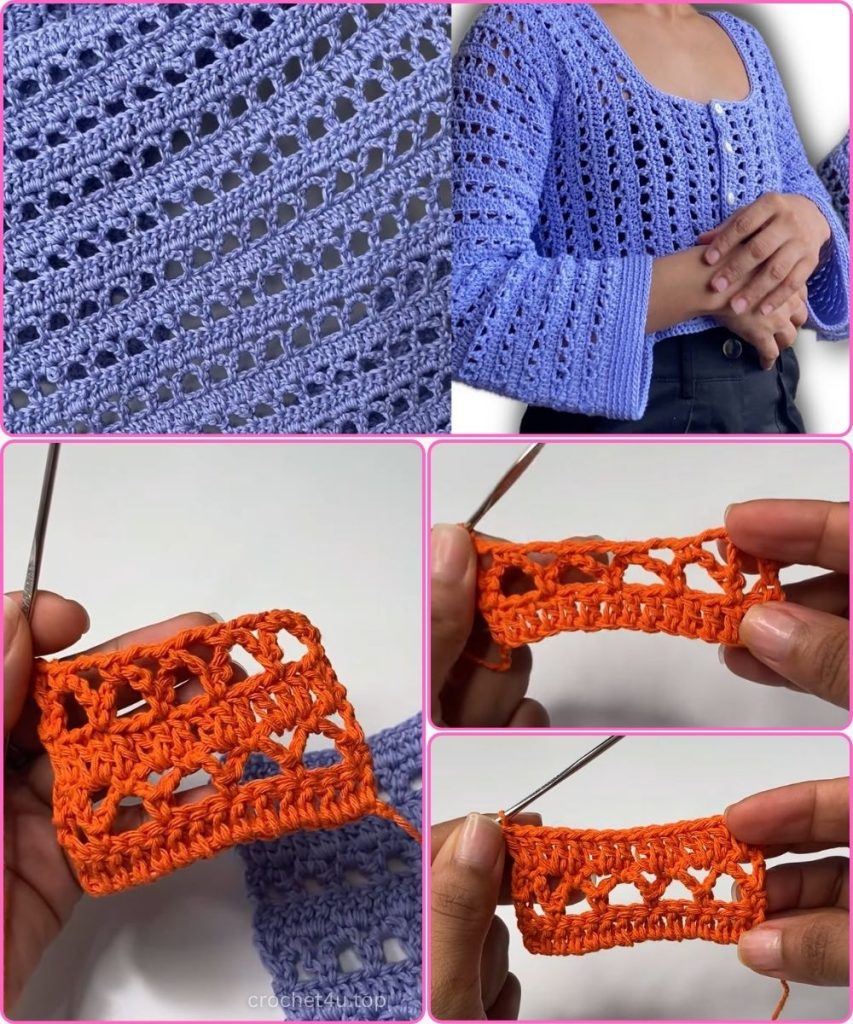
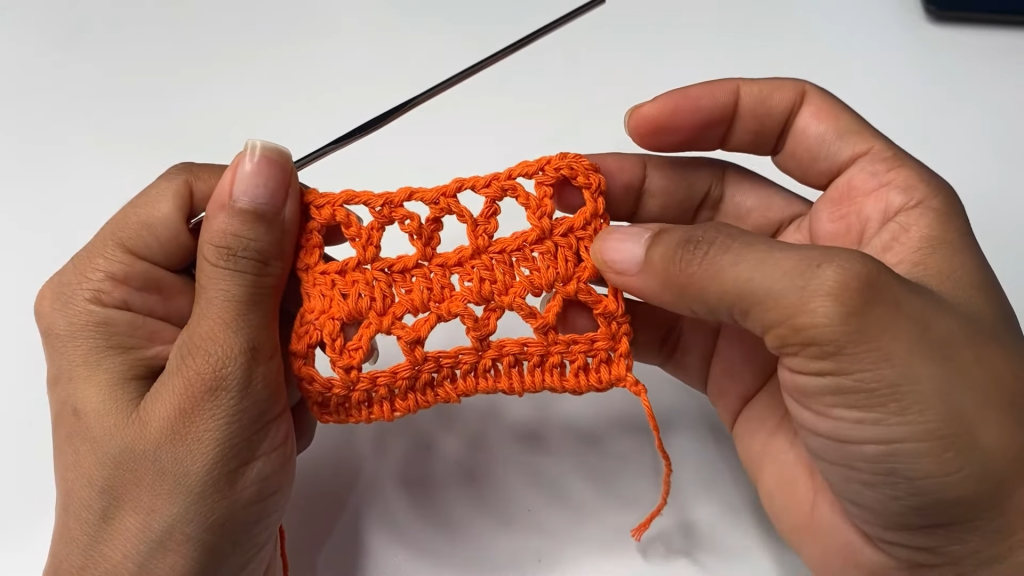
Welcome, fiber friends! If you have been searching for that perfect stitch that balances airiness with structure, look no further. Today we are diving into a gorgeous lace pattern that looks intricate but is actually a simple 4-row repeat.
This stitch is famously used for summer blouses because it features “solid” rows that provide coverage, alternating with “open” rows that let the breeze through. It creates a sturdy netting effect that holds its shape beautifully without sagging. Whether you are planning a beach cover-up, a light cardigan, or a table runner, this pattern is your new best friend.
Grab your hook, and let’s create something beautiful!
🧶 Materials You Will Need
To get the crisp definition seen in the tutorial, I recommend using a yarn with good twist and no fuzz.
- Yarn: Light Worsted or DK weight yarn (Mercerized Cotton is ideal for that “blouse” drape).
- Hook: Size corresponding to your yarn (usually 3.0mm – 4.0mm for DK/Light Worsted).
- Scissors
- Yarn Needle (for weaving ends)
📝 Abbreviations (US Terms)
- Ch: Chain
- St(s): Stitch(es)
- SC: Single Crochet
- DC: Double Crochet
- Sk: Skip
- Sp: Space
- Rep: Repeat
📏 Pattern Notes & Math
- The Multiples: This pattern works on a Multiple of 3.
- Foundation: Start with a chain length that is a multiple of 3, then add 3 extra chains for the turning height.
- The Repeat: The pattern consists of 1 solid row followed by 2 openwork rows (rows 2 and 3), and then a reset row (row 4). The sequence repeats rows 2-4 throughout the project.
🧵 Step-by-Step Instructions
Phase 1: The Foundation
We start with a solid base to anchor the lace work.
- Start: Make a slip knot and chain a multiple of 3 (e.g., 30, 60, 90).
- Add Height: Once you have your desired width, chain 3 extra chains.
Row 1: The Solid Base
- Step 1: Yarn over and count back 4 chains from your hook.
- Step 2: Insert your hook into the 4th chain and make a DC. (The skipped chains count as your first DC).
- Step 3: Make 1 DC in every remaining chain across.
- Result: You should have a solid row of Double Crochets.
Row 2: The High Arches
Now we create the large loops that form the “lace” section.
- Start: Ch 1 and turn your work.
- Step 1: Make a SC in the very first stitch (the top of the last DC from the previous row).
- The Repeat:
- Ch 5.
- Sk 2 stitches.
- Make a SC in the next stitch.
- Continue: Repeat the [Ch 5, Sk 2, SC] pattern all the way across the row.
- End: Finish the row with a SC in the top of the turning chain.
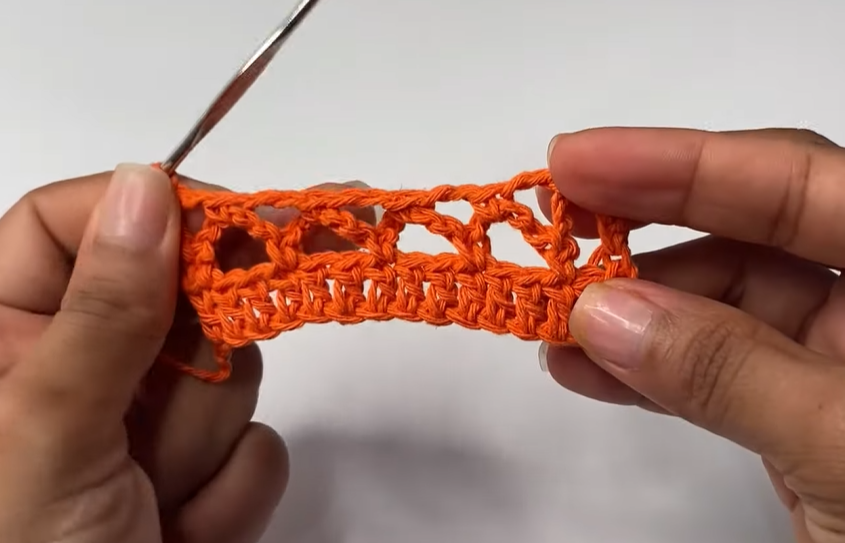
Row 3: The Netting
This row anchors the big loops and prepares us to go back to solid stitches.
- Start: Ch 3 (counts as a DC) and turn.
- Step 1: Make a SC directly into the first Ch-5 loop space.
- The Repeat:
- Ch 2.
- Make a SC in the next Ch-5 loop space.
- Continue: Repeat [Ch 2, SC in loop] across all the big loops.
- End: After you SC in the very last loop:
- Ch 1.
- Make a DC in the last SC stitch of the row below (the edge stitch).
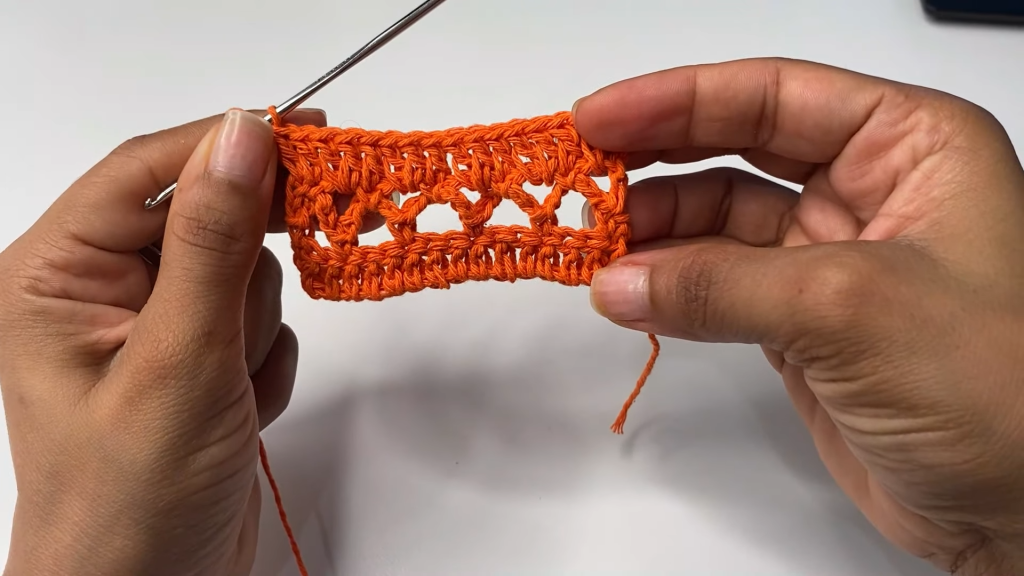
Row 4: The “Refill” Row (Solid)
We are now going to fill in the gaps to return to our solid bar of stitches. This resets the stitch count so you can start the pattern over.
- Start: Ch 3 (counts as a DC) and turn.
- Step 1: In the small Ch-1 space (created at the end of the last row), make 1 DC.
- Step 2: Make 1 DC in the SC stitch.
- The Repeat:
- In the Ch-2 space, work 2 DCs.
- In the SC stitch, work 1 DC.
- Continue: Repeat [2 DC in space, 1 DC in SC] all the way across.
- End: Place 1 DC in the last SC, and your final DC in the 3rd chain of the turning chain.
- Check: You should now have the same number of stitches as you did in Row 1!
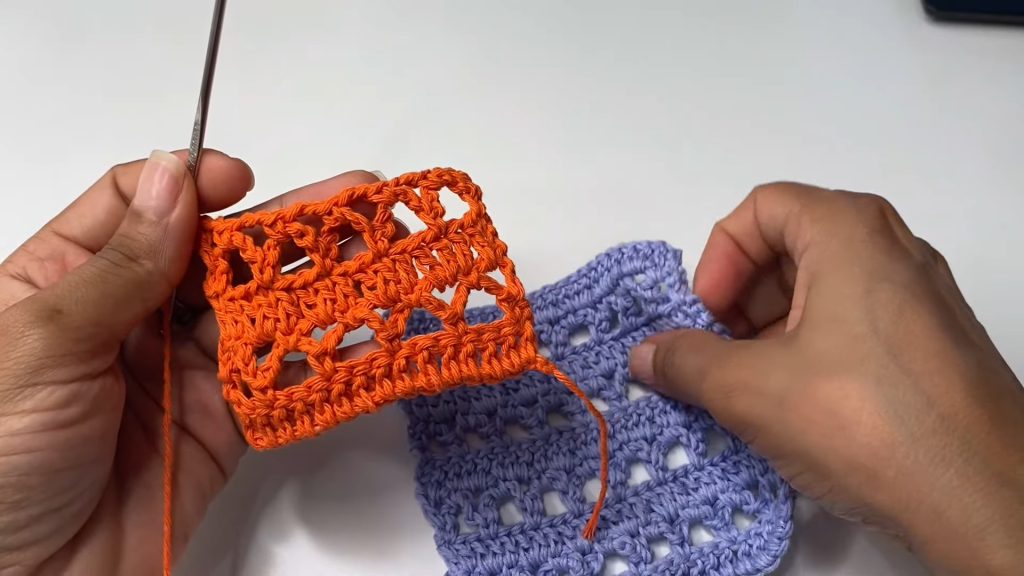
Phase 2: Growing the Project
To continue the pattern, simply repeat Rows 2, 3, and 4 until your piece reaches the desired length.
- Row 2: Creates the big loops.
- Row 3: Creates the small net bridges.
- Row 4: Fills it back in with solid DCs.
💡 Expert Tips for Success
- Watch the Tension: On Row 2, try to keep your chains consistent. If your “Ch 5” loops are too tight, the fabric will pinch. If they are too loose, the holes will look messy.
- Counting Check: On Row 4 (the refill row), it is easy to accidentally put too many stitches in the gaps. Remember the rhythm: 2 in the space, 1 in the stitch. This ensures your row stays flat and doesn’t ruffle.
- Blocking: Because this is a geometric lace pattern, “Blocking” your finished piece is highly recommended. Wet the fabric and pin it flat to dry; this opens up the Ch-5 loops and makes the solid rows perfectly straight.
Video Tutorial:
I hope you enjoy making this “Summer Lattice” stitch! It is versatile, fast to work up, and looks much more complicated than it actually is—the best kind of crochet secret!
Happy Crocheting! 🧶✨


