
Hello, cherished crochet community!
Today, we are unlocking the secret to creating a gorgeously dense, textured fabric that is absolutely perfect for blouses, sweaters, and even thick, cozy blankets. This stitch, which I call the Textured Fan (or sometimes the Solid Shell Stitch), looks like beautiful, tightly packed rows of scallop or shell motifs, giving your project a rich, luxurious feel.
The best part? It is a one-row wonder! Once you master the simple placement of the 3-Double Crochet cluster, you can work this pattern rhythmically, making it an ideal “binge-watching” or travel project. The video demonstrates using this pattern to build a stunning, seamless-looking blouse, starting with the full length—a great technique for creating custom-fit garments.
Grab your hook and your softest yarn, and let’s turn simple Double Crochets into a work of art!
🧶 Materials You Will Need
Since this stitch creates a dense fabric, your choice of yarn will dramatically influence the final drape and feel.
- The Yarn:DK or Light Worsted Weight (Weight 3 or 4).
- Recommendation: Acrylic/Wool Blend for sweaters or blankets, as the stitch traps heat well. For a garment like the video’s blouse, a smooth cotton or mercerized cotton will provide excellent structure and density without being too heavy.
- The Hook: Size appropriate for your yarn (commonly 3.5mm to 4.5mm).
- Tip: If you want a tighter, warmer fabric, use the recommended hook size. If you want a slightly softer, more flexible drape, go up one hook size.
- Tools:
- Measuring Tape (Crucial for the video’s construction method!).
- Sharp scissors.
- Tapestry needle.
📝 Abbreviations & Key Terms (US Terminology)
For clarity, here are the essential stitches you will be using:
- Ch: Chain
- St(s): Stitch(es)
- Sk: Skip
- DC: Double Crochet
- Cluster/Fan: A group of 3 DC stitches worked into the same stitch or space.
- Turning Chain: The chains used at the beginning of the row to achieve the correct height.
📐 Pattern Math and Gauge
The math for this stitch is straightforward, but the initial foundation row is critical.
- The Multiple: The stitch repeat requires a Multiple of 3, plus 1 extra chain.
- Chain Calculation: Chain any number divisible by 3 (e.g., 30, 90, 150), and then add 1 extra chain for the initial foundation stitch.
- Example: 30 + 1 = 31 chains.
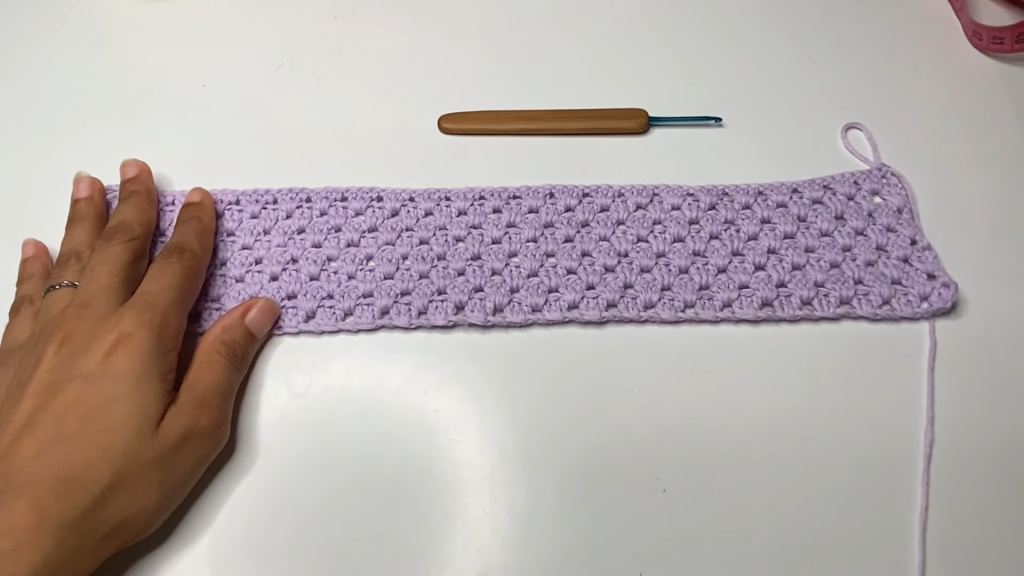
- Gauge Check: The video uses a vertical start, chaining the length of the garment first, then working rows for the width.
- Your gauge should be measured by the size of the cluster. A typical gauge might be 4 clusters (or 12 stitches) per 4 inches.
- Crucial Planning Step: Before starting, measure the length you need (from shoulder to hip/waist) and chain to that length.
📖 Step-by-Step Stitch Instructions
Phase 1: The Foundation Row
This row establishes the rhythm of the clusters by placing the first group of 3 DCs into the foundation chain.
- Start: Chain your calculated length (Multiple of 3 + 1).
- Row 1 (Foundation):
- Ch 3 (counts as the first DC) in addition to your foundation chain.
- Yarn over (Yo), insert hook into the very last chain of your foundation and make 2 DC in that same chain. (This creates the first 3-DC cluster/fan.)
- Sk 2 chains.
- Work a 3 DC Cluster into the next chain.
- Repeat across: [Sk 2 chains, 3 DC Cluster in next chain].
- End: You should have 3 chains remaining. Sk 2 chains, and make a 1 DC in the very last chain.
- Note: The single DC at the beginning and end forms the straight edges of the fabric.
Phase 2: The Core 1-Row Repeat
This pattern is primarily a 1-row repeat. You will be working your clusters into the open space between the clusters from the row below.
- Row 2 (The Repeat Row):
- Ch 3 and turn (counts as the first DC).
- Work 2 DC into the first space (the gap between the turning chain and the first cluster).
- Result: This completes the first 3-DC Cluster for this row.
- Work a 3 DC Cluster into the next space (the gap between the next two clusters).
- Repeat across: Work a 3 DC Cluster into every space between the clusters from the row below.
- End: When you reach the end, there will be one last space just before the final single DC/Ch 3 anchor of the previous row. Work a 3 DC Cluster into this space.
- Make a final 1 DC into the top chain of the turning Ch 3 from the row below.
Phase 3: Continuing the Fabric
- Repeat Row 2 continuously until your piece reaches the desired width (or shoulder-to-shoulder measurement, if making a garment).
✨ Expert Tips and Troubleshooting
This stitch is known for being sturdy and easy, but these tips will help ensure your edges are perfectly straight and your texture is flawless.

- Perfecting the Edges: The most common mistake is miscounting the turning chain.
- Always begin Row 2 with Ch 3.
- Always end Row 2 by placing your final single DC into the 3rd chain of the turning Ch 3 from the previous row. This is vital for maintaining a straight edge.
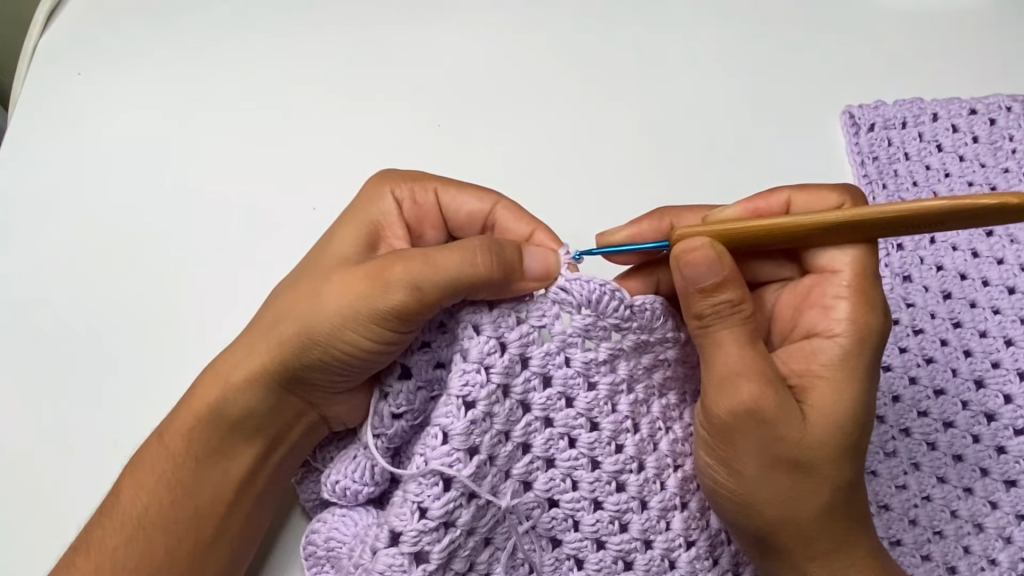
- Working into the Space vs. the Stitch: For this pattern, you work into the large, obvious gap or space between the clusters, not into the individual stitches of the cluster below. This is what creates the stacked, staggered texture.
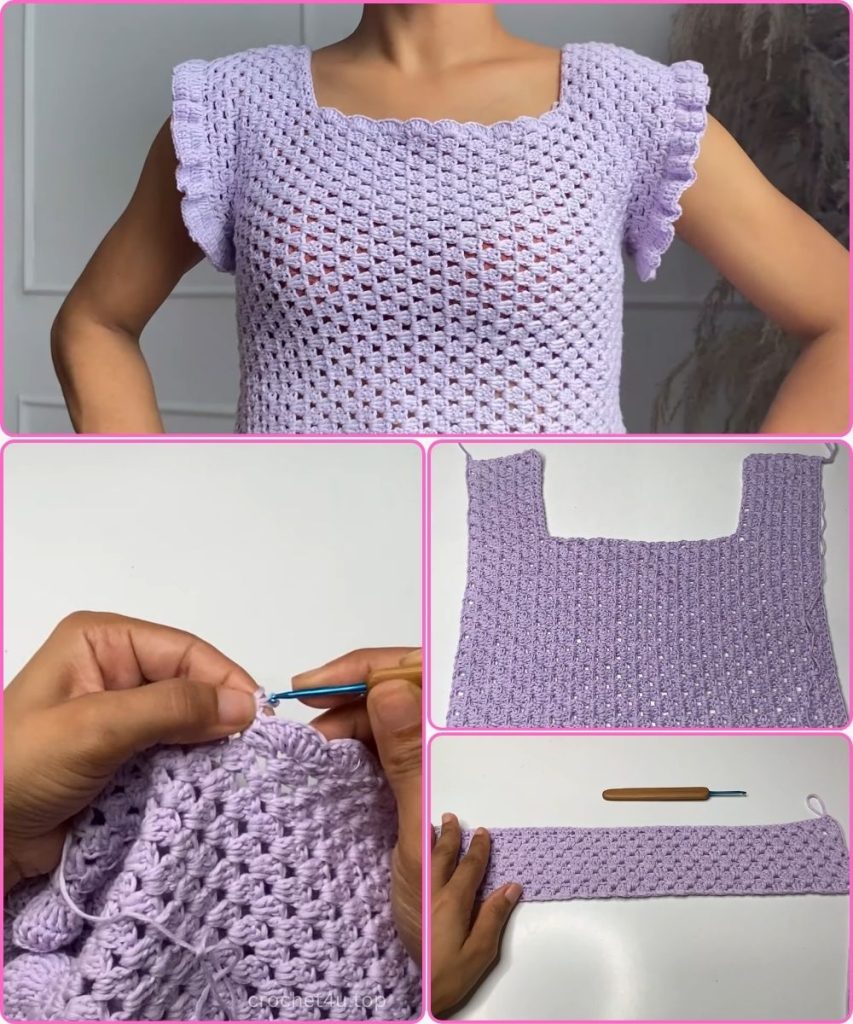
- Hiding the Seams: The video shows sewing two panels together. Since this stitch is reversible and dense, it hides seams beautifully. When joining, use the slip stitch method or the mattress stitch on the wrong side to keep the texture clean.
- Stitch Orientation: Because the creator began with the length chain and worked rows for the width, the stitch pattern runs vertically down the finished blouse. This is highly flattering! If you want the fans to run horizontally, you would reverse the starting method (chain the width, work rows for the length).
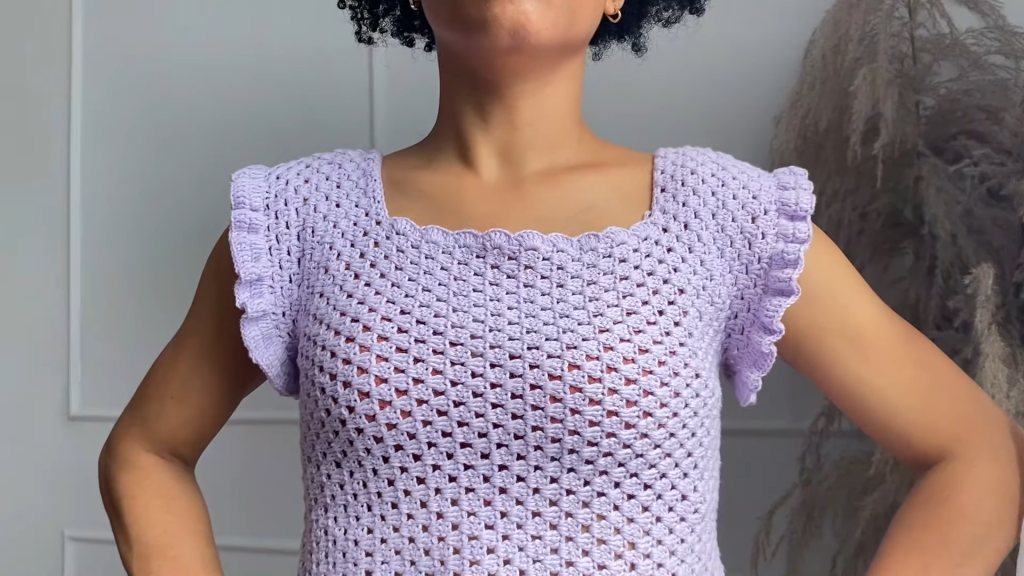
👗 Project Inspiration: The Textured Fan Blouse
The video showcases the perfect use for this stitch: a chic, sophisticated garment.
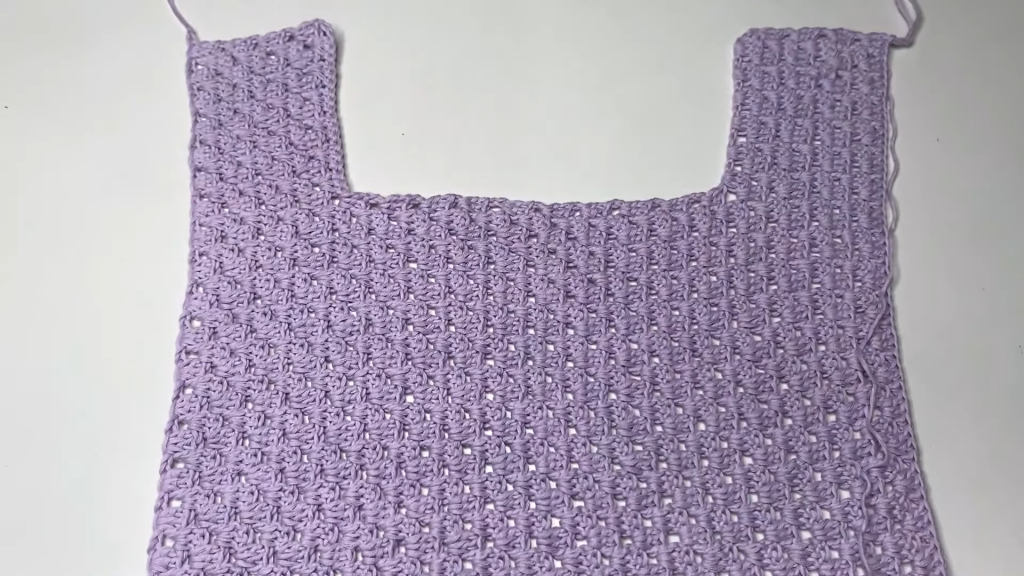
- Construction: The basic method involves creating two large rectangular panels (Front and Back) that match your torso’s shoulder-to-shoulder width and overall length.
- Shaping the Neck/Shoulders: As demonstrated, once you reach the shoulder section, you temporarily stop working the full width and only work across the outer sections of the panel, leaving a gap in the center for the neck opening. You then chain across that gap later to complete the shoulder width.
- The Final Touch: The video adds a beautiful scalloped edge to the sleeves and neckline, using a combination of SC and Fan clusters (5 DC into a space, SC into the next space). This is the perfect border to complement the main stitch!
This stitch is the definition of simplicity meets elegance. Happy stitching, and enjoy creating your beautifully textured garment!


