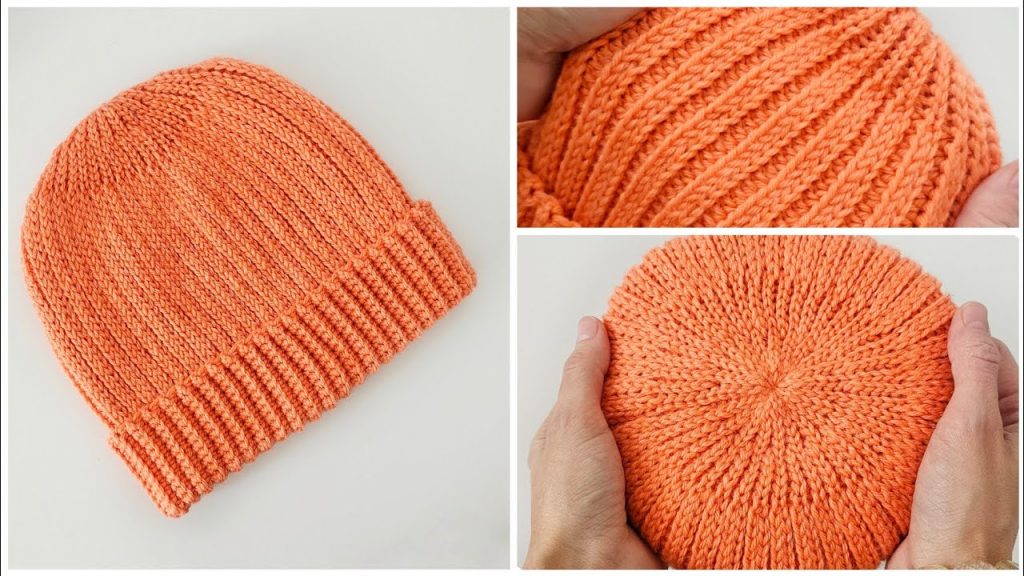
Welcome, crochet enthusiasts! Are you looking for a snug, classic beanie that looks incredibly complex but is actually a blast to crochet? Today, we’re diving into the Sunny Citrus Crown Beanie, a gorgeous hat featuring ribbing that radiates outward from the center crown for a tailored, professional finish.
Unlike traditional ribbed beanies worked flat, this hat is crocheted entirely in the round, giving it a seamless appearance. The distinctive texture is achieved using a simple combination of Double Crochet (DC) stitches and Front Post Double Crochet (FPDC) stitches. This construction method creates a lovely, structured crown that fits like a dream!
Grab your vibrant orange yarn, and let’s create a stunning piece of headwear!
🧶 Materials You’ll Need
Gather these items for your sunniest creation:
- Yarn:Worsted Weight (Aran / 10-ply), preferably a soft acrylic or wool blend with good bounce.
- Color: Citrus Orange (or your favorite solid color).
- Quantity: Approximately 200 – 230 yards per hat.
- Crochet Hook: 5.0 mm (H/8). This hook size is ideal for the Double Crochet (DC) foundation, providing a dense yet stretchy fabric.
- Stitch Marker: Essential for marking the beginning of rounds.
- Yarn Needle (Tapestry Needle): For weaving in ends.
- Scissors.
- Measuring Tape: To check your diameter and height.
📏 Finished Size & Customization
This pattern is written for an average adult size.
- Adult Beanie (Approximate):
- Circumference: 21 – 23 inches (53 – 58 cm)
- Height: 8.5 – 9 inches (21 – 23 cm)
- Customization Guide:
- To adjust Width/Circumference: Continue the increase rounds in Part 1 until the crown diameter reaches 7 inches for an adult. For smaller sizes, stop sooner.
- To adjust Height/Depth: Adjust the number of non-increase rounds (Rounds 9+) in Part 2.
📝 Abbreviations & Special Stitches (US Terms)
We will use a special post stitch to create the ribbing effect.
- ch: chain
- sl st: slip stitch
- dc: double crochet
- dc inc: double crochet increase (2 dc in the same stitch)
- FPDC: Front Post Double Crochet (See special notes below)
- st(s): stitch(es)
💡 Important Notes & Techniques
Understanding the increase and post stitch placement is key to the radiating pattern.
- Construction: The hat is worked top-down in joined rounds. You will always sl st to the top of the starting Ch 3 to join and begin the next round with a Ch 3.
- Starting Chain: Ch 3 at the start of each round COUNTS as the first DC.
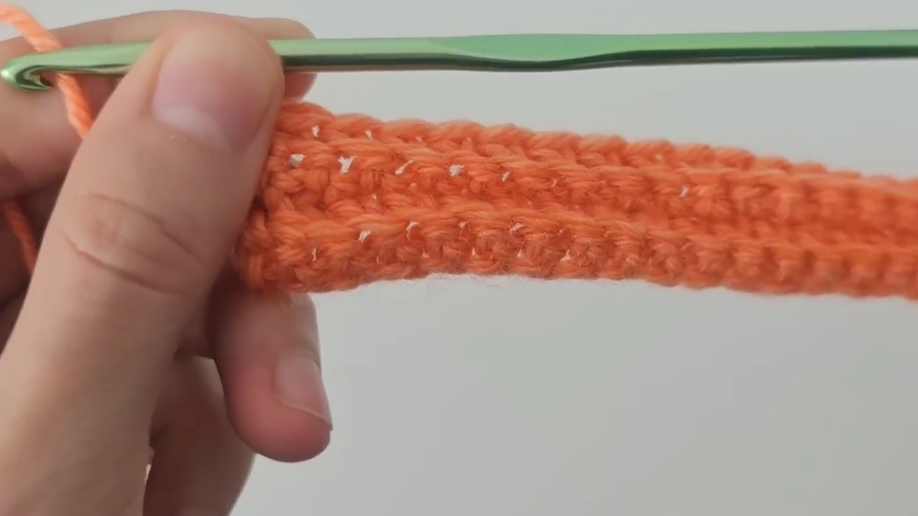
- Front Post Double Crochet (FPDC): Instead of inserting the hook into the top loops of the stitch, insert the hook from front to back around the post (the main vertical part) of the stitch below. Yarn over, pull up a loop, and complete the DC as usual. This stitch is what creates the raised, ribbed texture.
- Ribbing Setup: In the increase rounds, the FPDC will always be worked around a DC that was not an increase stitch in the previous round.
☀️ Part 1: The Crown (Foundation and Increases)
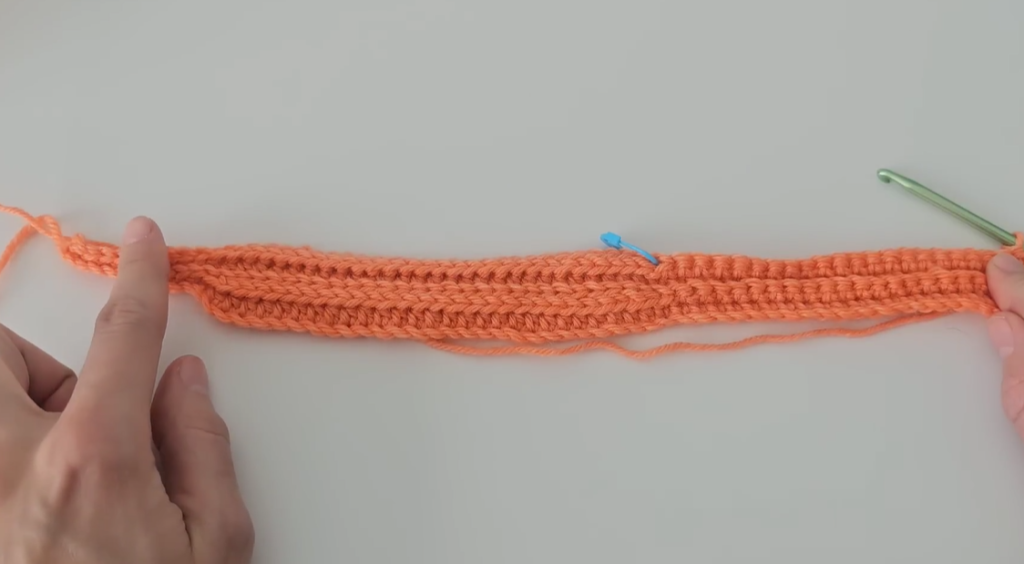
We start with a basic DC circle, introducing the FPDC ribs early to set the pattern.
- Round 1: Ch 3 (counts as dc). Work 11 dc into a MR (Magic Ring). Sl st to the top of the starting ch-3 to join. (12 dc)
- Round 2: Ch 3 (counts as dc). Work 1 dc in the same st (inc). [1 FPDC around the next st, dc inc in the next st] repeat around 5 times. 1 FPDC around the next st. Sl st to join. (18 dc, 6 FPDC = 24 sts)
- Round 3: Ch 3 (counts as dc). 1 dc in the next st. [1 FPDC around the next st, 1 dc in the next 3 sts] repeat around 5 times. 1 FPDC around the next st, 1 dc in the last 2 sts. Sl st to join. (6 FPDC, 24 dc = 30 sts)
- Round 4: Ch 3 (counts as dc). 1 dc in the next 2 sts. [1 FPDC around the next st, 1 dc in the next 4 sts] repeat around 5 times. 1 FPDC around the next st, 1 dc in the last st. Sl st to join. (6 FPDC, 30 dc = 36 sts)
- Round 5: Ch 3 (counts as dc). 1 dc in the next 3 sts. [1 FPDC around the next st, 1 dc in the next 5 sts] repeat around 5 times. 1 FPDC around the next st, 1 dc in the last 2 sts. Sl st to join. (6 FPDC, 36 dc = 42 sts)
- Round 6: Ch 3 (counts as dc). 1 dc in the next 4 sts. [1 FPDC around the next st, 1 dc in the next 6 sts] repeat around 5 times. 1 FPDC around the next st, 1 dc in the last st. Sl st to join. (6 FPDC, 42 dc = 48 sts)
- Round 7: Ch 3 (counts as dc). 1 dc in the next 5 sts. [1 FPDC around the next st, 1 dc in the next 7 sts] repeat around 5 times. 1 FPDC around the next st, 1 dc in the last 2 sts. Sl st to join. (6 FPDC, 48 dc = 54 sts)
- Round 8: Ch 3 (counts as dc). 1 dc in the next 6 sts. [1 FPDC around the next st, 1 dc in the next 8 sts] repeat around 5 times. 1 FPDC around the next st, 1 dc in the last st. Sl st to join. (6 FPDC, 54 dc = 60 sts)
Stop increasing when the crown diameter is about 7 inches across (usually at 60-72 total stitches, depending on your gauge). The rest of the hat will maintain this stitch count.
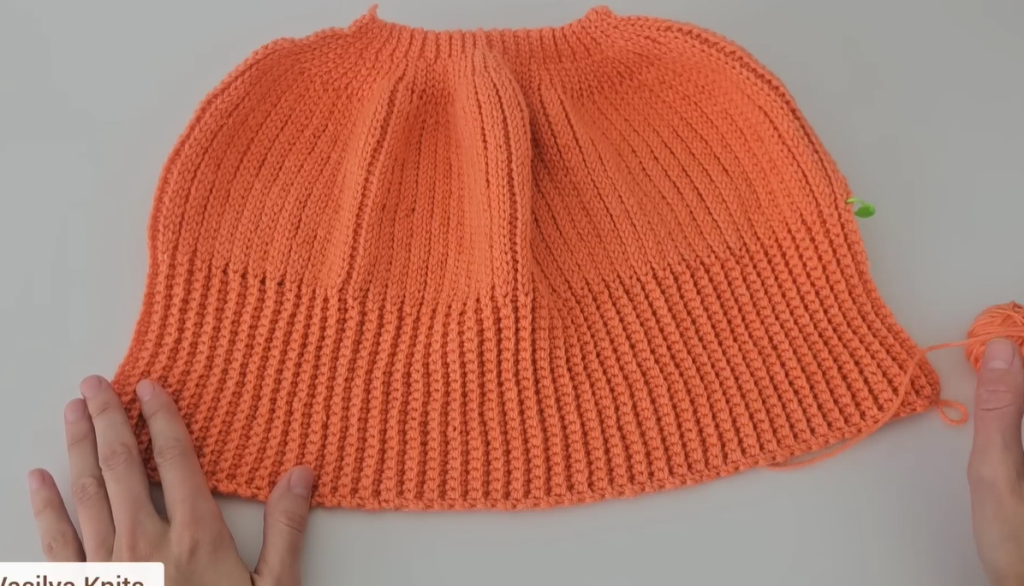
🍊 Part 2: The Body (Straight Sides)
We stop increasing to allow the hat to curve down and form the sides.
- Round 9 (Straight): Ch 3 (counts as dc). [1 dc in each st until the next FPDC, 1 FPDC around the FPDC] repeat around. Sl st to join. (60 sts)
- Round 10 – 15 (Body): Repeat Round 9.
- Continue repeating until the hat reaches the height you desire, stopping about 1 inch short of the full height.
🪡 Part 3: The Brim (Classic Ribbing)
The visible bottom brim is created using the alternating Front Post/Back Post technique for great stretch.
- Brim Round 1: Ch 3 (counts as dc). [1 BPDC around the next st, 1 FPDC around the next st] repeat around. Sl st to join.
- Brim Round 2 – 4 (or desired depth): Repeat Brim Round 1.
- Final Round: Ch 1. Work 1 sl st in each st around for a clean, tight, finished edge. Sl st to the first sl st to join. FO.
Video Tutorial:
✨ Finishing Touches
- Weave in Ends: Use your yarn needle to securely weave the yarn tails into the inside of the hat fabric.
- Blocking (Optional): Gently steam or wet-block your beanie. This helps the DC stitches relax, evening out the tension and making the radiating ribs even more defined.
🎉 Congratulations!
You’ve completed your seamless Sunny Citrus Crown Beanie! The beautiful radiating ribs give this hat a fantastic structure and a truly professional look. Time to show off your new favorite cozy accessory!