

Welcome to this comprehensive pattern for the “Opulent Woven Diamond Motif”! Inspired by the gorgeous, dense texture demonstrated in the video, this motif creates a thick, reversible fabric with a stunning raised grid pattern. Perfect for cozy blankets, elegant table runners, textured pillow covers, or even a statement shawl, this design utilizes post stitches to achieve a rich, woven effect that looks intricate but is surprisingly simple to master.
We’ll be working in the round to create a perfect square, with two distinct texture layers that interlock beautifully. Grab your favorite yarn and let’s create something truly luxurious!

🪢 Materials & Tools
| Icon | Item | Details |
| Yarn | Main Yarn (MC) | Worsted/Aran Weight yarn (e.g., soft acrylic, cotton blend, or wool). You will need approximately 200g per 10-motif strip for a blanket. |
| Yarn | Contrast Yarn (CC) | Worsted/Aran Weight yarn in a contrasting or complementary color. This creates the visual block separation. |
| Hook | Main Hook | 5.0 mm (H/8), or the size needed to obtain the correct gauge for a dense fabric. |
| Notions | Finishing Tools | Scissors, Yarn Needle (for weaving), Stitch Markers (essential for marking corners). |
📚 Abbreviations & Special Stitches
This pattern uses US terminology. Pay close attention to the instructions for the Front Post Triple Crochet (FPtr), as it creates the central texture.
| Abbreviation | U.S. Terminology | Description |
| ch | Chain | |
| sl st | Slip Stitch | |
| sc | Single Crochet | |
| dc | Double Crochet | |
| tr | Treble Crochet | |
| FPtr | Front Post Treble Crochet | Yo twice, insert hook from front to back around the post of the specified stitch, yo, pull up a loop (4 loops on hook). Yo, pull through 2 loops (3 loops on hook). Yo, pull through 2 loops (2 loops on hook). Yo, pull through last 2 loops. |
| st(s) | Stitch(es) | |
| sp | Space | |
| rep | Repeat |
📏 Gauge & Sizing
The gauge is critical for ensuring motifs join correctly and the fabric has the desired density.
| Measurement | Result |
| Single Motif | Approx. 12.5 cm x 12.5 cm (5 x 5 inches) after blocking, using the specified yarn and hook. |
| Gauge Swatch | After completing Round 4, the side length should measure approximately 4 cm (1.5 inches). |
| Note | Check your gauge frequently. If your motif is too large, drop down a hook size. If it’s too small, increase your hook size. |
📝 Pattern Notes
- Stitch Count: The stitch count is given in parentheses
()at the end of each round. - Corners: All corners are worked as
(dc, ch 2, dc)in the corner space unless otherwise specified. Always mark your ch-2 corner space with a marker. - Color Changes: Color changes happen every two rounds to enhance the texture and pattern definition. Change color on the last yarn over of the joining slip stitch of the round.
- Invisible Join: For the neatest finish, use an invisible join instead of a slip stitch when ending a color section.
- Chain 3: Ch 3 at the start of a round counts as one Double Crochet (dc).
🔳 The Motif Pattern (Make as many as needed)
Start with Color A (MC).
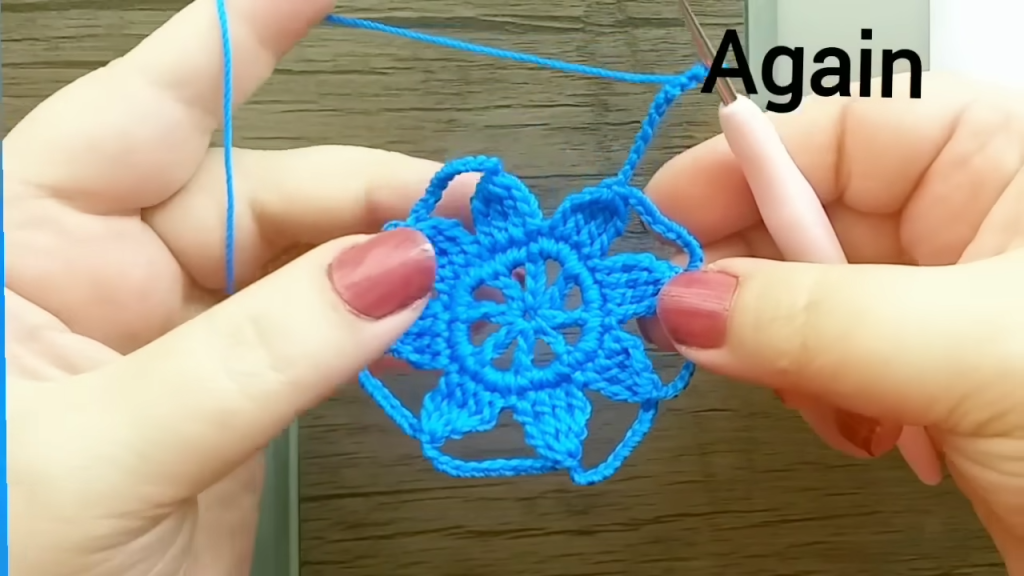
Foundation Round (Starting Point):
Ch 4, sl st into the first ch to form a ring, OR start with a Magic Ring.
Round 1 (DC Frame):
Ch 3 (counts as 1 dc), 2 dc into the ring. (dc, ch 2, dc) for the first corner. This corner will serve as the base for the future corner space.
Work [3 dc into the ring, (dc, ch 2, dc)] 3 times.
Work 2 dc into the ring. Sl st to the top of the starting Ch 3.
(Total 18 dc + 4 ch-2 corner spaces).
Change to Color B (CC).
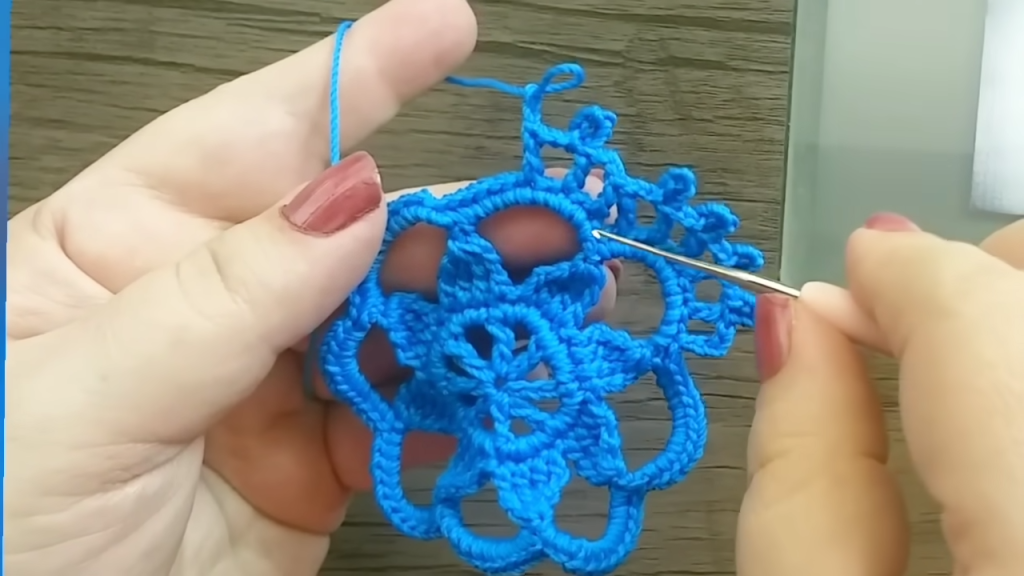
Round 2 (Simple Square):
Ch 3 (counts as 1 dc). Dc in each st to the first corner ch-2 sp.
Work [(dc, ch 2, dc) in ch-2 sp, dc in each st to the next ch-2 sp] 3 times.
Work (dc, ch 2, dc) in the last ch-2 sp. Dc in all remaining sts. Sl st to the top of the starting Ch 3.
(Total 26 dc + 4 ch-2 corner spaces).
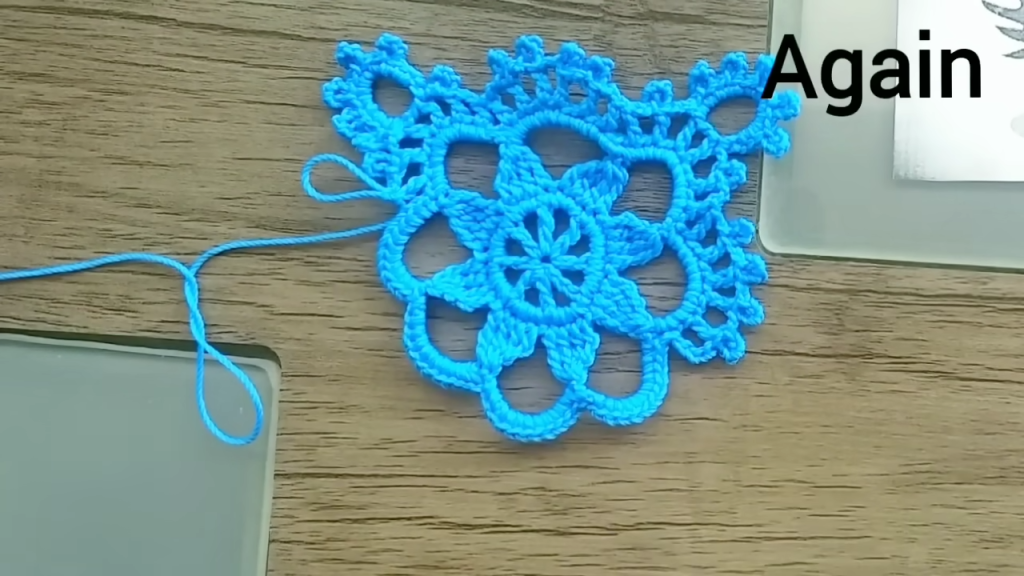
Round 3 (Textured Block 1 – FPtr):
Ch 3 (counts as 1 dc). Dc in the next st.
This round establishes the first half of the woven texture.
- The Repeat: Work [FPtr around the post of the third dc 3 rows below (the first dc of the 3-dc block in Round 1), dc in the next 3 sts] until you reach the corner sp.
- Corners: Work [(dc, ch 2, dc) in ch-2 sp].
- Continue the FPtr pattern repeat [FPtr, dc 3] around all four sides. FPtr are worked around the post of the corresponding DC 2 rounds below (Round 1).
- The final st before the corner should align to finish the pattern repeat.Sl st to the top of the starting Ch 3.(Total 34 dc/FPtr + 4 ch-2 corner spaces).Change to Color A (MC).
Round 4 (Simple Square):
Ch 3 (counts as 1 dc). Dc in each st to the first corner ch-2 sp.
Work [(dc, ch 2, dc) in ch-2 sp, dc in each st to the next ch-2 sp] 3 times.
Work (dc, ch 2, dc) in the last ch-2 sp. Dc in all remaining sts. Sl st to the top of the starting Ch 3.
(Total 42 dc + 4 ch-2 corner spaces).
Round 5 (Textured Block 2 – FPtr Stagger):
Ch 3 (counts as 1 dc). Dc in the next 2 sts.
This round staggers the FPtr blocks to create the woven, diamond-like effect.
- The Repeat: Work [dc in the next 3 sts, FPtr around the post of the corresponding DC 2 rounds below (Round 3)] until you reach the corner sp.
- Corners: Work [(dc, ch 2, dc) in ch-2 sp].
- Continue the staggered FPtr pattern repeat [dc 3, FPtr] around all four sides. The FPtr should fall in the spaces between the FPtr groups from Round 3.Sl st to the top of the starting Ch 3.(Total 50 dc/FPtr + 4 ch-2 corner spaces).Change to Color B (CC).
Round 6 (Simple Square):
Ch 3 (counts as 1 dc). Dc in each st to the first corner ch-2 sp.
Work [(dc, ch 2, dc) in ch-2 sp, dc in each st to the next ch-2 sp] 3 times.
Work (dc, ch 2, dc) in the last ch-2 sp. Dc in all remaining sts. Sl st to the top of the starting Ch 3.
(Total 58 dc + 4 ch-2 corner spaces).
Round 7 (Textured Block 3 – Repeat of Round 3):
Ch 3 (counts as 1 dc). Dc in the next st.
This round aligns with the texture from Round 3.
- The Repeat: Work [FPtr around the post of the corresponding DC 2 rounds below (Round 5), dc in the next 3 sts] until you reach the corner sp.
- Corners: Work [(dc, ch 2, dc) in ch-2 sp].
- Continue the FPtr pattern repeat [FPtr, dc 3] around all four sides.Sl st to the top of the starting Ch 3.(Total 66 dc/FPtr + 4 ch-2 corner spaces).Change to Color A (MC).
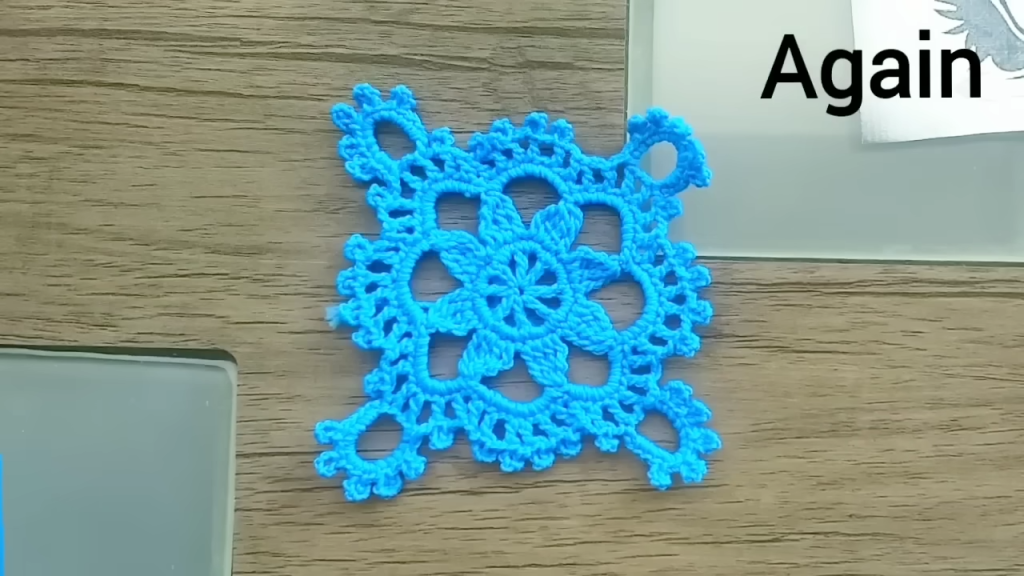
Final Round (SC Edging/Joining Prep):
Ch 1 (does not count as st). Sc in each st to the first corner ch-2 sp.
Work [(sc, ch 1, sc) in ch-2 sp, sc in each st to the next ch-2 sp] 3 times.
Work (sc, ch 1, sc) in the last ch-2 sp. Sc in all remaining sts. Fasten off and use an invisible join to finish.
(Total 74 sc + 4 ch-1 corner spaces).
🧵 Joining & Finishing
Once you have crocheted all your motifs, you can join them to create your final project.
- Blocking: It is highly recommended to wet-block your motifs before joining. This will open up the stitches, even out any tension discrepancies, and ensure perfect squares for seaming. Pin each motif to size and allow to dry completely.
- Joining Method: The recommended method for a neat seam is the Slip Stitch Join or the Single Crochet Join.
- Method: Place two motifs with the wrong sides facing each other. Work your chosen join method through the BLO of both motifs, from one corner space to the next.
- Corners: When you reach a corner, work a Sl st or SC through the ch-1 sp of both squares to secure the join before moving to the next side.
- Border (Optional): Once all motifs are joined, you may choose to add a simple border. A simple Border can consist of a few rounds of DC or SC, ensuring you work an increase
(dc, ch 2, dc)or(sc, ch 2, sc)in each of the four main corners. - Weaving: Use your yarn needle to carefully weave in all yarn ends, following the path of the existing stitches. Since this is a highly textured piece, weave tails firmly on the wrong side of the work to ensure they do not pop through the texture.


