
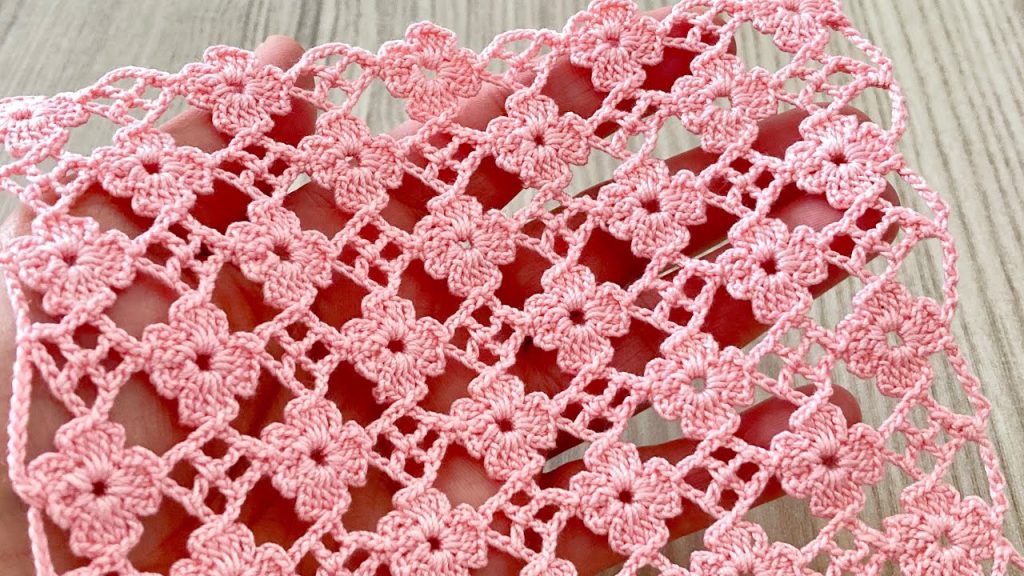
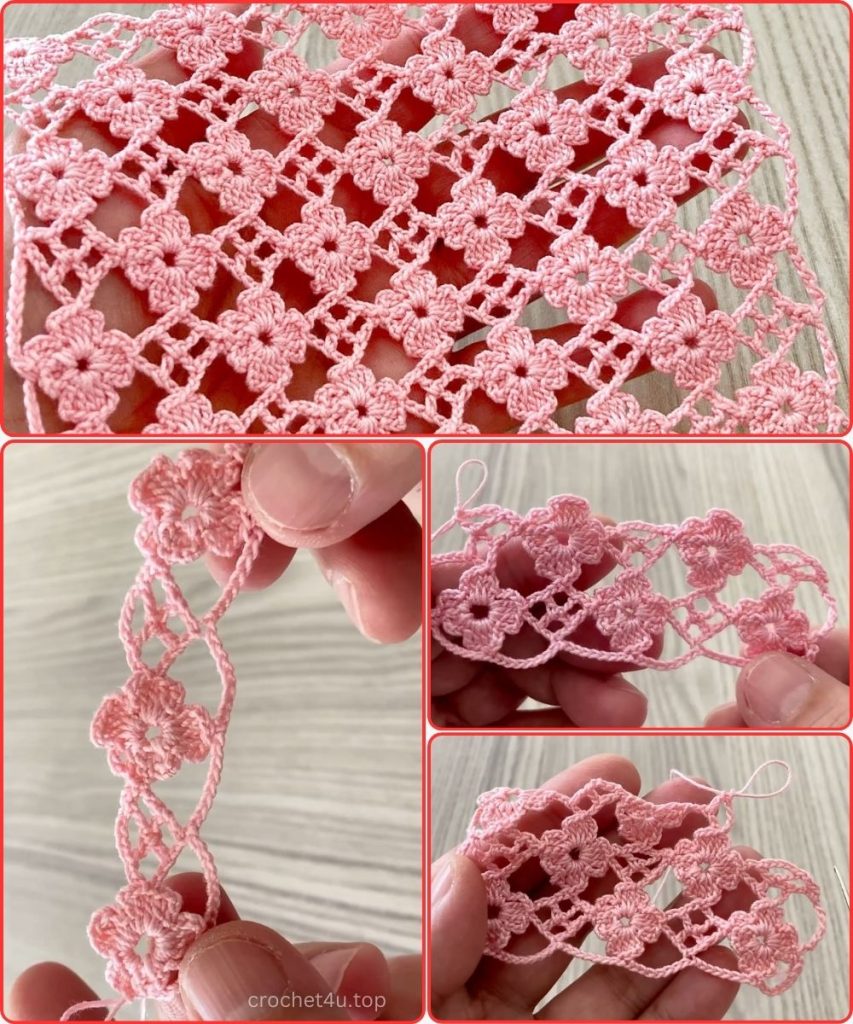
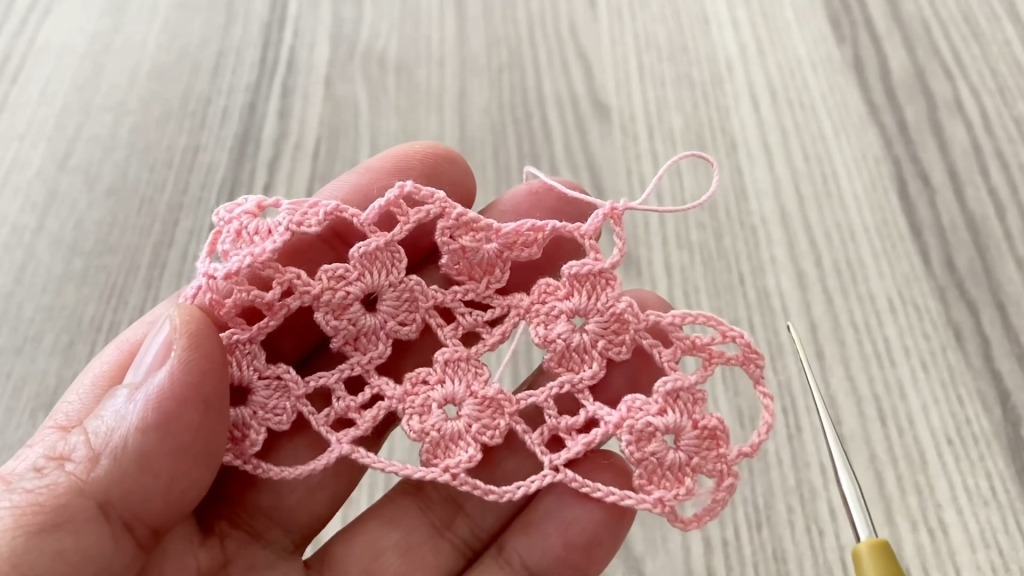
Hello, exquisite yarn artisans! Today, we are capturing the stunning, ethereal beauty of the intricate lacework featured in the video and translating it into a detailed, versatile pattern. I call this the Flowering Trellis Lace Stitch. This design uses simple double crochet (DC) stitches and delicate chain spaces (Ch-sp) to create a dramatic, repeating pattern of interlocking blossoms and diamonds—it is ideal for a lightweight shawl, a sophisticated summer throw, or an airy bed cover. If you adore texture and openwork, prepare to fall in love!
✨ Project Overview
| Skill Level | Intermediate |
| Gauge | Approximately 2 pattern repeats (28 stitches) and 12 rows equal 6 inches (15 cm). Gauge is not critical but should be checked for consistent fabric density. |
| Stitch Multiple | Multiple of 14 stitches, plus 5 for the foundation chain. |
| Recommended Projects | Lightweight Shawls, Wraps, Table Runners, Summer Blankets, Sheer Curtains. |
🧶 Materials and Sizing
Choosing the right yarn is crucial for achieving that airy, draped look.
- Yarn: Light Fingering (Size 1), Sport (Size 2), or DK (Size 3) weight yarn. A cotton, linen, or bamboo blend will provide the best drape and stitch definition for the lace. If making a warmer item, a lightweight wool or alpaca blend works well.
- Hook: Size D/3 (3.25 mm) or E/4 (3.5 mm) for Fingering/Sport weight, or G/6 (4.0 mm) for DK weight. Choose a hook that allows the yarn to create an open, airy fabric.
- Notions: Tapestry needle for weaving ends, scissors.
📝 Essential Stitch Abbreviations (US Terms)
This pattern uses standard stitches but introduces a special cluster to add central detail to the “flower” area.
- Ch: Chain
- St(s): Stitch(es)
- Sl St: Slip Stitch
- Sc: Single Crochet
- Dc: Double Crochet
- Tr: Treble Crochet (Yarn over twice)
- Sp: Space
- 3-Dc Cl (3-Double Crochet Cluster): [Yarn over, insert hook into specified stitch or space, yarn over, pull up a loop, yarn over, pull through 2 loops] 3 times in the same stitch/space (4 loops remaining on hook). Yarn over and pull through all 4 loops on hook.
🌸 The Flowering Trellis Lace Stitch Pattern
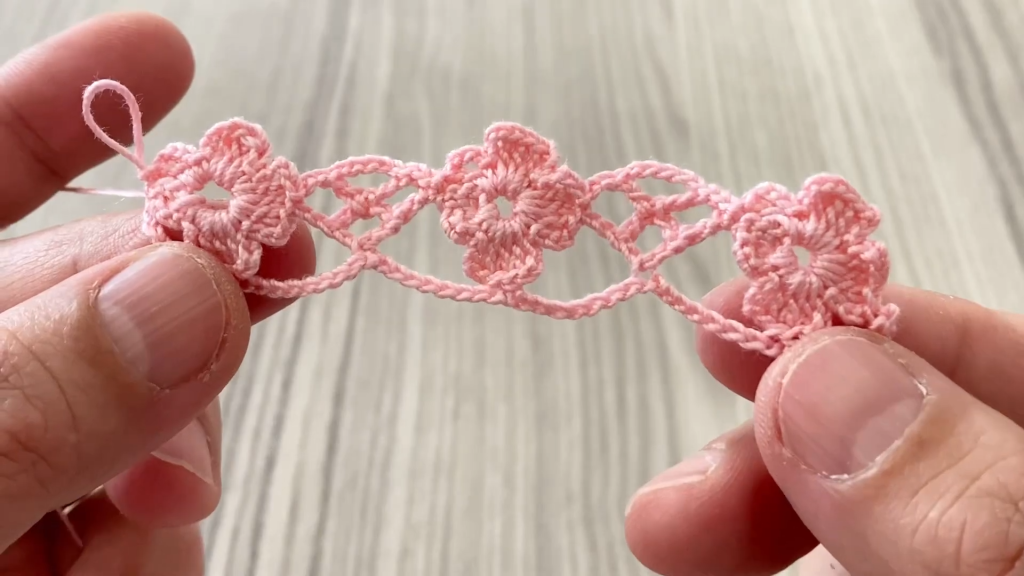
The beauty of this stitch comes from its 12-Row Repeat, which staggers the open and solid sections to create the continuous diamond and floral motif.
Foundation Chain
Chain a multiple of 14, plus 5 chains (e.g., 33, 47, 61, etc., for your desired width).
Row 1 (Setup Row – RS):
1 Dc in the 4th Ch from hook (Ch 3 counts as 1 Dc). 1 Dc in each Ch across. Ch 3 (counts as 1 Dc), turn.
(Your final stitch count will be the initial multiple of 14 + 2)
This initial row creates a solid base for the lace pattern to emerge from.
The 12-Row Repeat
Row 2 (Lace Grid – WS):
1 Dc in the first St (top of Ch 3). 1 Dc in the next 2 Sts.
Ch 2, Sk 2 Sts, 1 Dc in the next 12 Sts (Solid Block).
Repeat from * to * across the row, until 7 Sts remain.
Ch 2, Sk 2 Sts, 1 Dc in the last 4 Sts (working the final Dc into the top of the turning Ch 3). Ch 3, turn.
This row starts the staggered grid of the trellis.
Row 3 (Diamond V-Formation – RS):
1 Dc in the first St (top of Ch 3), 1 Dc in the next St.
In the Ch-2 Sp, work (1 Dc, Ch 1, 1 Dc). 1 Dc in the next 2 Sts. Ch 2, Sk 2 Sts. 1 Dc in the next 2 Sts. Ch 2, Sk 2 Sts. 1 Dc in the next 2 Sts.
Repeat from * to * across, ending the last repeat with 1 Dc in the next 2 Sts, (1 Dc, Ch 1, 1 Dc) in the Ch-2 Sp, 1 Dc in the last 3 Sts. Ch 3, turn.
Row 4 (Building the Flower Center – WS):
1 Dc in the first 4 Sts. Ch 1, Sk Ch-1 Sp. 1 Dc in the next 2 Sts. (Ch 2, Sk 2 Sts) 2 times. 1 Dc in the next 2 Sts. Repeat from * to * across, ending the last repeat with Ch 1, Sk Ch-1 Sp, 1 Dc in the last 5 Sts. Ch 3, turn.
Row 5 (Embellishing the Flower – RS):
1 Dc in the first 4 Sts. In the Ch-1 Sp (the one skipped in the previous row), work 3-Dc Cl. 1 Dc in the next 2 Sts. (Ch 4, Sk Ch-2 Sp and 2 Sts) 2 times. 1 Dc in the next 2 Sts. Repeat from * to * across, ending the last repeat with 3-Dc Cl in the Ch-1 Sp, 1 Dc in the last 5 Sts. Ch 3, turn.
The 3-Dc Cl creates the raised “bud” in the center of the large openwork section.
Row 6 (Solidifying the Top – WS):
1 Dc in the first 4 Sts. 1 Dc in the top of the 3-Dc Cl. 1 Dc in the next 2 Sts.
4 Dc in the next Ch-4 Sp. 4 Dc in the next Ch-4 Sp. 1 Dc in the next 2 Sts. 1 Dc in the top of the 3-Dc Cl. 1 Dc in the next 2 Sts.
Repeat from * to * across, ending with 1 Dc in the last 5 Sts. Ch 3, turn.
This row closes off the large open space, creating a solid, framed section.
Row 7 (The Transition – RS):
1 Dc in each St across. Ch 3, turn.
A solid row to separate the flower motifs.
Row 8 (Shifted Lace Grid – WS):

1 Dc in the first 9 Sts. Ch 2, Sk 2 Sts, 1 Dc in the next 12 Sts (Solid Block). Repeat from * to * across, ending with Ch 2, Sk 2 Sts, 1 Dc in the last 4 Sts. Ch 3, turn.
This row is Row 2, but horizontally shifted by 7 stitches to stagger the motifs.
Row 9 (Shifted Diamond V-Formation – RS):
1 Dc in the first 6 Sts. In the Ch-2 Sp, work (1 Dc, Ch 1, 1 Dc). 1 Dc in the next 2 Sts. Ch 2, Sk 2 Sts. 1 Dc in the next 2 Sts. Ch 2, Sk 2 Sts. 1 Dc in the next 2 Sts.
Repeat from * to * across, ending the last repeat with 1 Dc in the next 2 Sts, (1 Dc, Ch 1, 1 Dc) in the Ch-2 Sp, 1 Dc in the last 7 Sts. Ch 3, turn.
Row 10 (Shifted Flower Center – WS):
1 Dc in the first 7 Sts. Ch 1, Sk Ch-1 Sp. 1 Dc in the next 2 Sts. (Ch 2, Sk 2 Sts) 2 times. 1 Dc in the next 2 Sts. Repeat from * to * across, ending the last repeat with Ch 1, Sk Ch-1 Sp, 1 Dc in the last 8 Sts. Ch 3, turn.
Row 11 (Shifted Flower Embellishment – RS):
1 Dc in the first 7 Sts. In the Ch-1 Sp, work 3-Dc Cl. 1 Dc in the next 2 Sts. (Ch 4, Sk Ch-2 Sp and 2 Sts) 2 times. 1 Dc in the next 2 Sts. Repeat from * to * across, ending the last repeat with 3-Dc Cl in the Ch-1 Sp, 1 Dc in the last 8 Sts. Ch 3, turn.
Row 12 (Shifted Solidifying the Top – WS):
1 Dc in the first 7 Sts. 1 Dc in the top of the 3-Dc Cl. 1 Dc in the next 2 Sts.
4 Dc in the next Ch-4 Sp. 4 Dc in the next Ch-4 Sp. 1 Dc in the next 2 Sts. 1 Dc in the top of the 3-Dc Cl. 1 Dc in the next 2 Sts.
Repeat from * to * across, ending with 1 Dc in the last 8 Sts. Ch 3, turn.
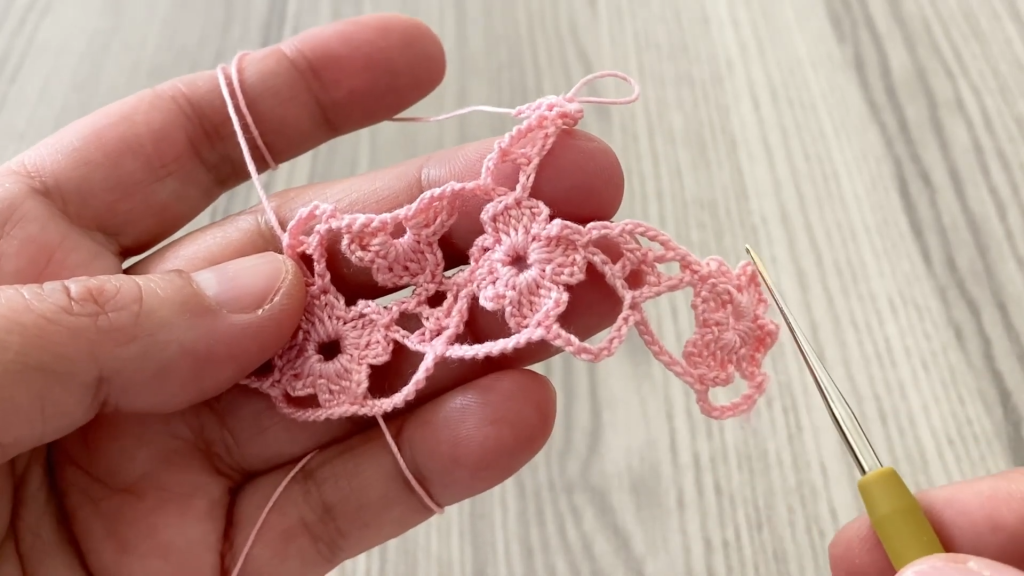
To Continue: Repeat Rows 1-12 until your project reaches the desired length.
💡 Tips for Success
- Keeping Edges Straight: With a pattern that involves chain spaces and skipped stitches, maintaining a straight edge is crucial. Always count your turning chain as a stitch and work the final DC of the row into the top chain of the previous row’s turning chain (Ch 3).
- The 3-Dc Cluster: Practice the cluster stitch to ensure it has a nice, uniform pop. The goal is for it to stand out from the flat fabric, so maintain a consistent tension on those loops before closing the stitch.
- Counting Chain Spaces: In a pattern this intricate, it’s easy to accidentally skip an extra stitch or two. When you have a solid block, count the stitches to confirm you have the right amount (e.g., 12 Dc).
Video Tutorial:
🛁 Finishing and Care
- Final Row: To finish your piece, end after a Row 7 repeat (a solid DC row). Fasten off, leaving a long tail for weaving.
- Weave In Ends: Use your tapestry needle to carefully weave in all yarn tails. Because the fabric is lacy, take extra care to hide the ends securely within the solid DC sections without distorting the lace.
- Blocking: Blocking is mandatory for this lace pattern! It will open up the chain spaces, define the floral motifs, and give your project that professional, delicate drape.
- Method: Wet or steam block your piece. Pin the edges firmly to a blocking mat, ensuring the sides are straight and the lace patterns are stretched evenly.
- Time: Allow the piece to dry completely (which may take 12-24 hours) before unpinning and admiring your finished work!
Enjoy your stunning, textile masterpiece created with the Flowering Trellis Lace Stitch!


