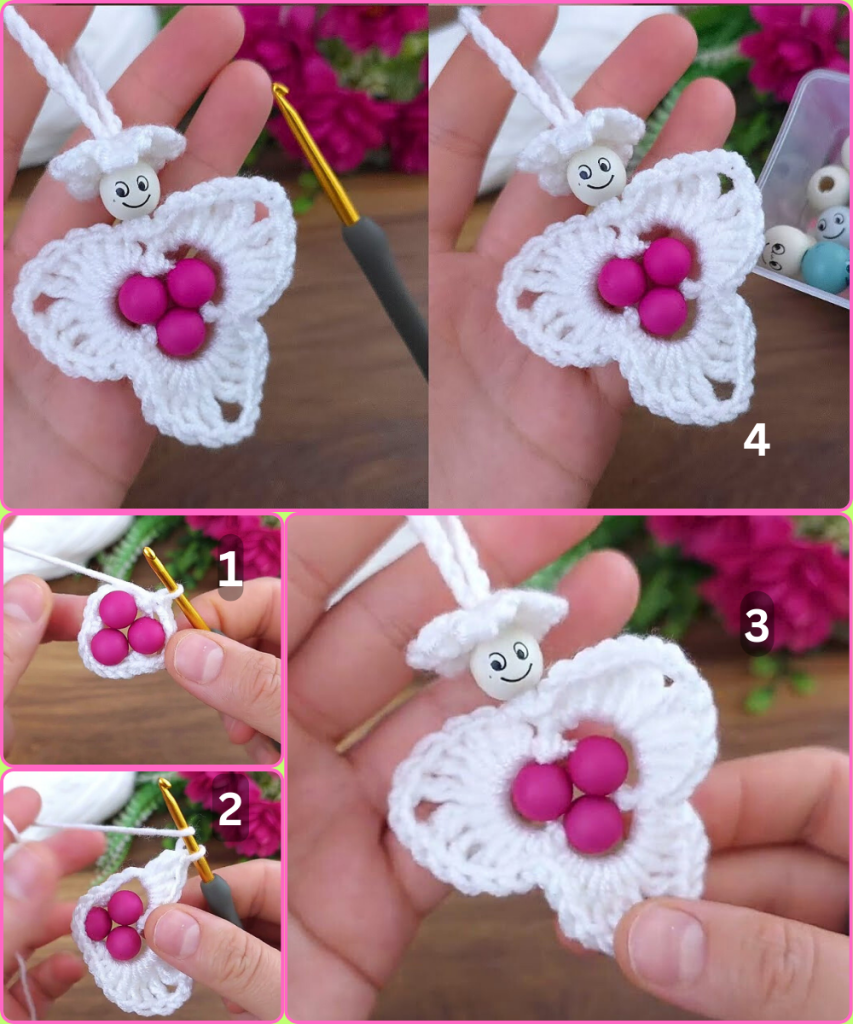
Ready for a quick and satisfying project? This detailed crochet pattern will guide you in creating an adorable mini triangle keychain. It’s a fantastic project for using up small amounts of leftover yarn and is surprisingly quick to work up. The finished keychains are perfect for a back-to-school backpack charm, a thoughtful handmade gift, or simply to add a touch of personality to your keys.
This pattern is designed to be comprehensive, walking you through each step, including tips for getting that perfect shape and a professional finish.
Your Essential Materials Checklist
Choosing the right materials is the first step to success. Here’s a breakdown of what you need and why it matters.
- Yarn: A small amount of worsted-weight (size 4) yarn is the perfect choice for this project. Cotton yarn works great as it’s durable and holds its shape well. A smooth acrylic yarn will also work beautifully. You can use one color for a classic look or use multiple colors to create stripes or a color-blocked design.
- Crochet Hook: A 4.0mm (G-6) or 4.5mm (G-7) hook. The key is to use a hook size that gives you a firm, tight fabric. This is crucial for amigurumi so the stuffing doesn’t show through and the keychain holds its shape.
- Essential Tools:
- Scissors: You’ll need these to cut your yarn.
- Tapestry Needle: This is essential for sewing the triangle together and weaving in your ends cleanly.
- Fiberfill Stuffing: You’ll only need a very small amount to stuff the triangle.
- Keychain Ring: A standard keychain ring with a chain attached. You can find these at most craft stores.
Stitches and Techniques
This pattern uses a few basic crochet stitches. If you’re new to any of these, a quick review can be helpful.
- Chain (ch): The foundation of almost all crochet projects.
- Slip Stitch (sl st): Used to join rounds and move your yarn to a different spot without adding height.
- Single Crochet (sc): The simplest and shortest stitch.
- Single Crochet Increase (inc): Work two single crochets into the same stitch to add a stitch.
- Single Crochet Decrease (dec): A decrease is used to reduce the number of stitches. To work an invisible decrease, insert your hook into the front loop of the next stitch, then into the front loop of the following stitch. Yarn over and pull through both loops. Yarn over and pull through the final two loops on your hook.
The Pattern
All instructions are written in US crochet terms. The triangle is worked in rows, which are then folded and sewn together to create the 3D shape. The number in parentheses ( ) at the end of each row indicates the total stitch count.
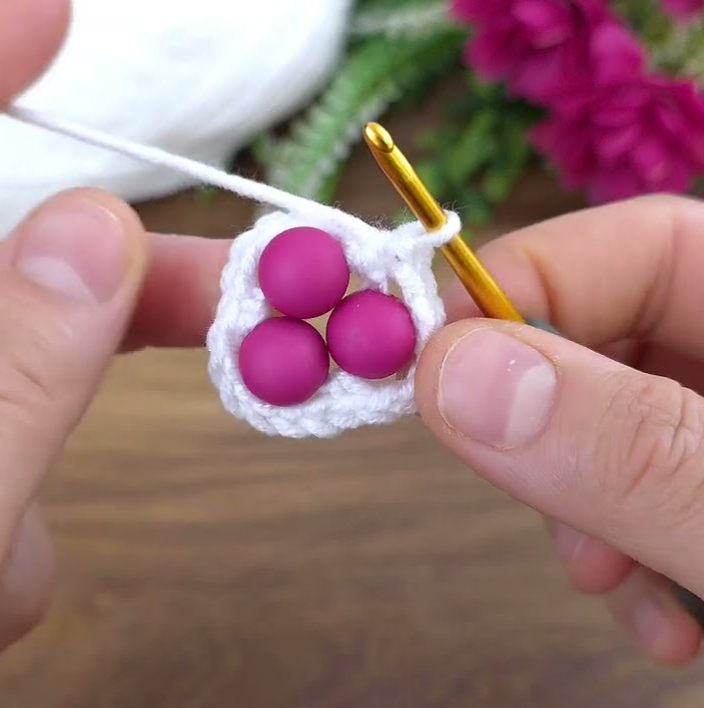
Part 1: The Triangle Body
Row 1: Ch 2. Work 2 sc in the 2nd ch from the hook. (2 sts) Row 2: Ch 1 and turn. Work 1 sc in the first st. Work inc in the next st. (3 sts) Row 3: Ch 1 and turn. Work inc in the first st. Work 1 sc in the next st. Work inc in the last st. (5 sts) Row 4: Ch 1 and turn. Work 1 sc in each st across. (5 sts) Row 5: Ch 1 and turn. Work inc in the first st. Work 1 sc in the next 3 sts. Work inc in the last st. (7 sts) Row 6: Ch 1 and turn. Work 1 sc in each st across. (7 sts) Row 7: Ch 1 and turn. Work inc in the first st. Work 1 sc in the next 5 sts. Work inc in the last st. (9 sts) Row 8: Ch 1 and turn. Work 1 sc in each st across. (9 sts) Row 9: Ch 1 and turn. Work inc in the first st. Work 1 sc in the next 7 sts. Work inc in the last st. (11 sts) Row 10: Ch 1 and turn. Work 1 sc in each st across. (11 sts) Row 11: Ch 1 and turn. Work inc in the first st. Work 1 sc in the next 9 sts. Work inc in the last st. (13 sts) Row 12: Ch 1 and turn. Work 1 sc in each st across. (13 sts) Row 13: Ch 1 and turn. Work inc in the first st. Work 1 sc in the next 11 sts. Work inc in the last st. (15 sts) Row 14: Ch 1 and turn. Work 1 sc in each st across. (15 sts)
Fasten off your yarn, leaving a very long tail (at least 15-20 inches) for sewing.
Part 2: Assembly
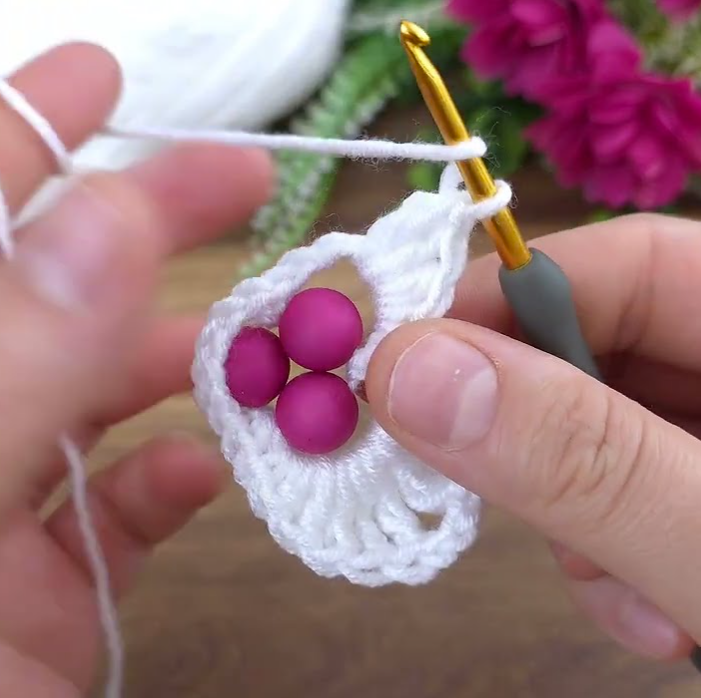
- Fold the Triangle: Lay your flat crochet triangle down. Take the two sides and fold them inward, bringing the two outer edges together. This will form the 3D triangle shape.
- Sew the Seam: Using the long tail and your tapestry needle, begin to sew the two folded edges together. Use a mattress stitch or a simple whip stitch to create a neat, invisible seam.
- Stuff the Triangle: Before you sew the entire seam shut, leave a small opening at one of the corners. Use your fingers or the blunt end of your crochet hook to push a small amount of fiberfill into the triangle. Stuff it firmly but not so much that the stitches stretch.
- Finish the Seam: Once the triangle is stuffed, continue sewing the seam shut. Weave in the remaining yarn tail securely and trim the excess.
- Attach the Keychain: Use the tapestry needle to thread the keychain ring and chain through the top corner of the triangle. Secure it tightly by sewing it into place. Weave in any remaining ends.
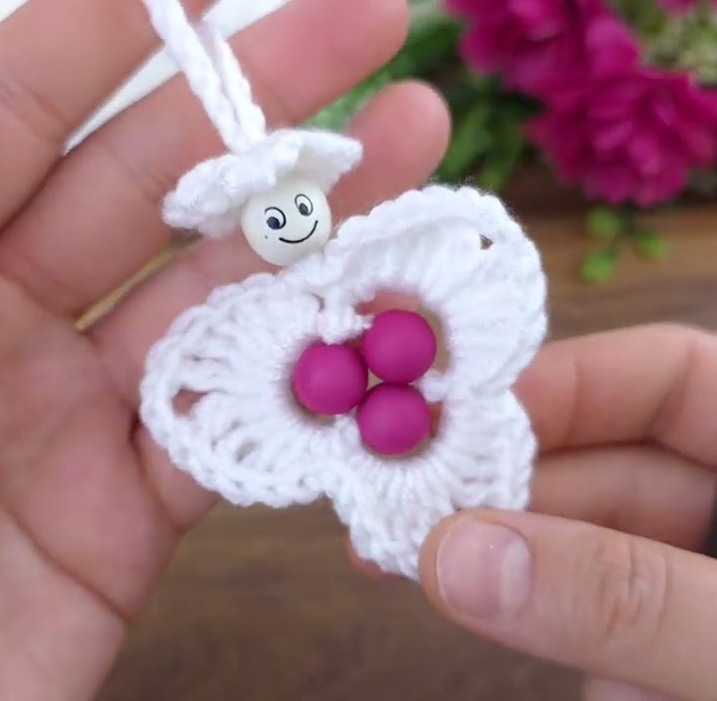
Your adorable mini triangle keychain is now complete! Make a whole set to share with friends and family.