🌟 Introduction
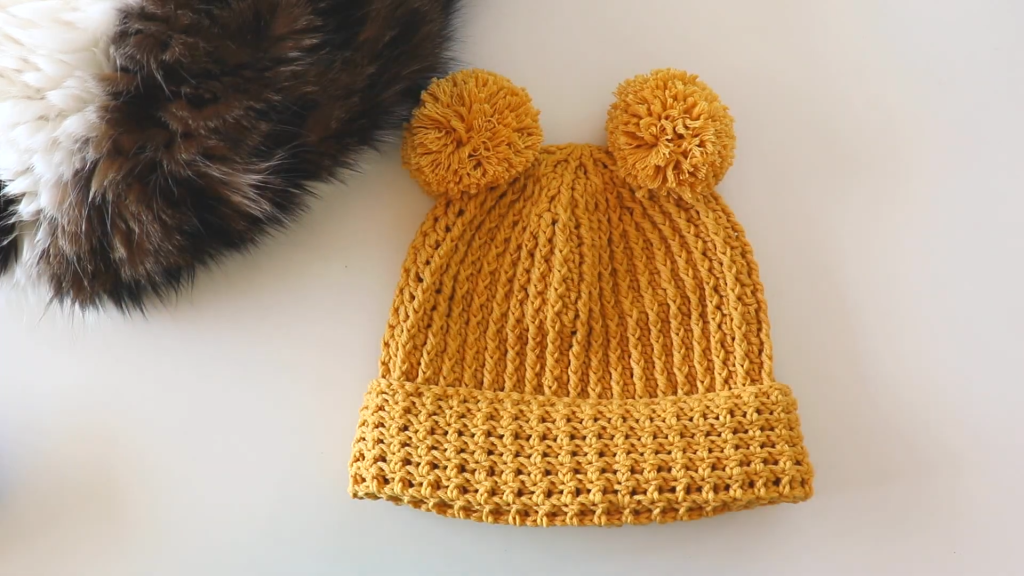
Get ready to create the cutest hat ever! The Forest Friends Beanie combines cozy ribbing with playful double pom-poms, giving it an adorable “critter ears” look. This pattern features a vertical ribbed body for fantastic stretch and fit, a textured horizontal ribbed cuff for extra warmth and visual interest, and then topped off with two fluffy pom-poms. It’s perfect for kids and adults who love a bit of whimsical charm!
Skill Level: Easy/Beginner-Friendly
Finished Size: Adult Medium (Approx. 21-23 inches head circumference, with great stretch)
🧵 Materials & Gauge
✨ Materials Needed
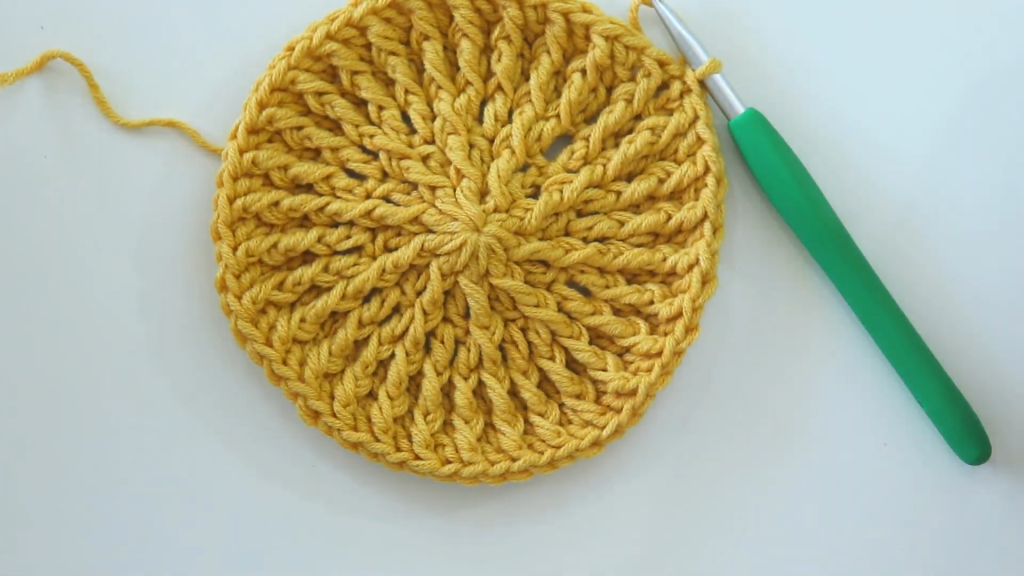
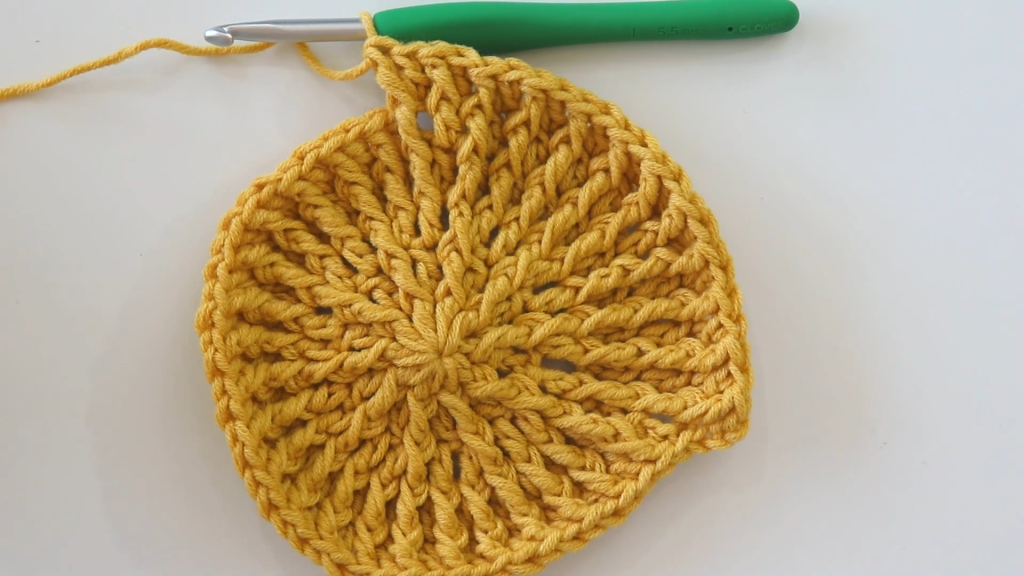
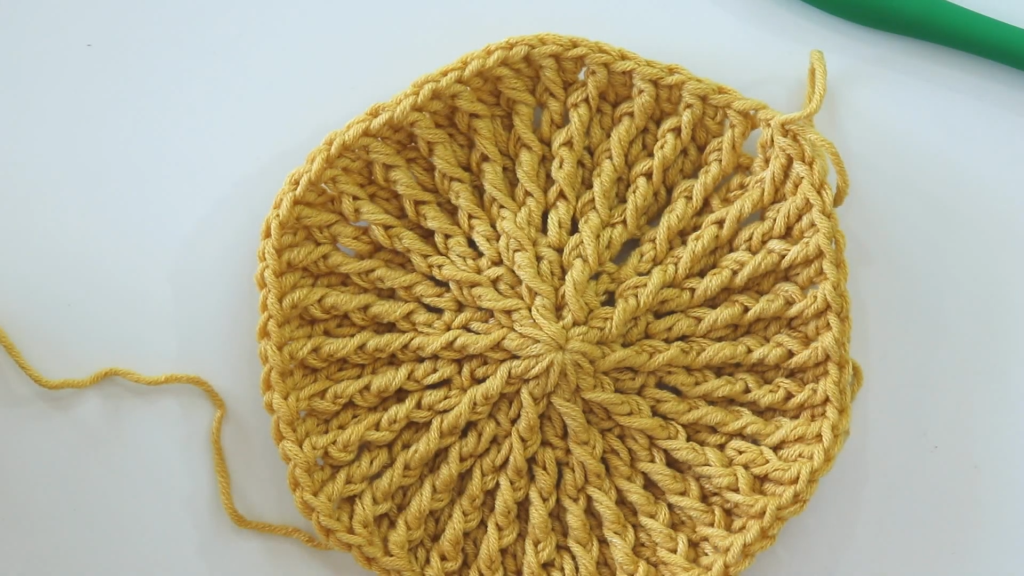
- Yarn: Approximately 180-220 yards of Worsted Weight (Aran/10-ply) yarn. A soft acrylic or wool blend is recommended for warmth, stretch, and good pom-pom fluffiness. (The sample image uses a lovely mustard yellow.)
- Hook: Size I/9 (5.5 mm) crochet hook, or size needed to obtain gauge.
- Notions:
- Yarn needle for seaming and weaving ends.
- Scissors.
- Pom-pom maker (size 2-2.5 inches/5-6 cm) or cardboard for making two pom-poms.
📏 Gauge (Crucial for Sizing!)
- Body Ribbing (HDC BLO): A 4-inch (10 cm) square should be 14 rows wide (counting the ridges) and 13 stitches tall (along the height of the hat).
- Cuff Ribbing (SC BLO): 16 sc BLO stitches x 14 rows should measure 4 inches (10 cm) square.
- Finished Rectangle Dimensions: The body rectangle (before seaming) should be approximately 10.5 inches wide (height of the hat body) by 18-19 inches long (circumference of the hat). The cuff rectangle should be approximately 3.5 inches wide by 18-19 inches long.
💡 Special Stitches & Abbreviations
📝 Pattern Abbreviations (US Terms)
| Abbreviation | Meaning | | Abbreviation | Meaning | | :—: | :— | :—: | :— | | ch | chain | | st(s) | stitch(es) | | sl st | slip stitch | | rep | repeat | | sc | single crochet | | BLO | Back Loop Only | | hdc | half double crochet | | FO | Fasten Off | | dec | decrease | | CC | Cinch Closed |
⭐ Special Stitches (Written Instructions)
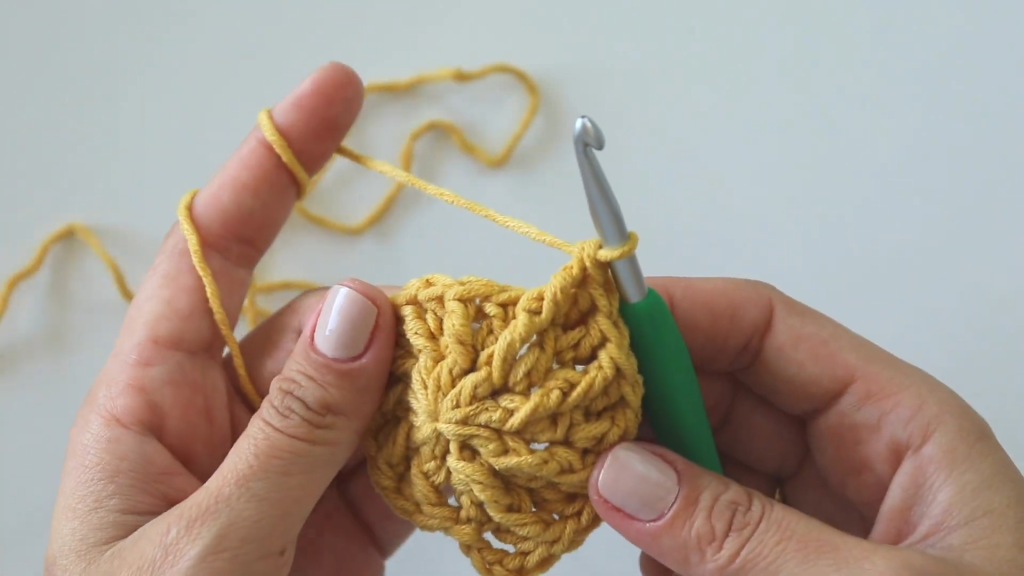
- HDC BLO: Yarn over, insert hook into only the back loop of the specified stitch, yarn over, pull up a loop (3 loops on hook), yarn over, pull through all 3 loops. (Used for vertical ribbing on the body).
- SC BLO: Insert hook into only the back loop of the specified stitch, yarn over, pull up a loop (2 loops on hook), yarn over, pull through both loops. (Used for horizontal ribbing on the cuff).
- Seam Stitch: For the last stitch of each hdc BLO row, work a standard HDC in BOTH loops of the final stitch of the previous row. This creates a sturdier, cleaner edge for seaming.
🧶 The Pattern: Forest Friends Beanie
Part 1: The Main Body of the Hat (Vertical Ribbing)
The body is worked flat as a rectangle. The stitch count determines the height, and the row count determines the circumference.
Foundation Chain: Ch 36 (adjust for height: 35 stitches for the body height, plus 1 ch for turning).
Row 1: Hdc in the 2nd ch from the hook, and hdc in each ch across. (35 hdc). Ch 1 (does not count as st), turn.
Rows 2 – 65 (or until desired length): HDC BLO in the first 34 sts. Work a standard HDC in BOTH loops of the last st (the seam stitch). Ch 1, turn. (35 hdc)
Measurement Check: After approximately 65 rows, your rectangle should measure about 18-19 inches long (the row edge, for circumference) by 10.5 inches wide (the stitch edge, for height). The number of rows needed may vary based on your personal gauge. Ensure the length stretches comfortably around your head.
Fasten off, leaving a very long tail (approx. 25 inches / 65 cm) for seaming and closing the crown.
Part 2: The Horizontal Ribbed Cuff
This cuff is worked separately and then attached.
Foundation Chain: Ch 15 (adjust for cuff width: 14 sc for cuff height, plus 1 ch for turning).
Row 1: Sc in the 2nd ch from the hook, and sc in each ch across. (14 sc). Ch 1, turn.
Rows 2 – 65 (or until desired length): SC BLO in each st across. Ch 1, turn. (14 sc)
Measurement Check: After 65 rows, your cuff rectangle should measure about 18-19 inches long (the row edge, to match the body length) by 3.5 inches wide (the stitch edge, for cuff height). The number of rows (65) should match the number of rows of the main body for seamless joining.
Fasten off, leaving a long tail (approx. 20 inches / 50 cm) for seaming.
Part 3: Assembly
3.1 Seaming the Body
- Fold the main body rectangle in half, bringing Row 65 and Row 1 edges together.
- Using the long tail and a yarn needle, whipstitch or mattress stitch the two vertical edges together. Work through both loops of the stitches along the seam for a neat finish.
3.2 Seaming the Cuff
- Fold the cuff rectangle in half, bringing Row 65 and Row 1 edges together.
- Using the long tail from the cuff and a yarn needle, whipstitch or mattress stitch the two vertical edges together.
3.3 Joining Cuff to Body
- Align the seam of the cuff with the seam of the body.
- With your yarn needle and a new piece of yarn (or one of the tails if long enough), whipstitch the top raw edge of the cuff to the bottom raw edge of the hat body, working through both layers. Ensure the join is neat.
3.4 Closing the Crown
- Thread your yarn needle with the long tail from the main body seam.
- Weave the needle in and out through the tops of the rows along the open crown edge, placing the needle approximately every other row end (about 33 times) all the way around the top opening of the cylinder.
- Pull the tail TIGHTLY to cinch the top opening completely closed.
- Reinforce the closure by stitching back and forth across the small remaining hole a few times.
- Knot the yarn securely and weave the tail into the inside of the hat.
Part 4: The Double Pom-Poms
- Using your pom-pom maker (or cardboard technique), create two fluffy pom-poms. Use plenty of yarn for dense, full pom-poms.
- Leave long tails on your pom-poms after tying them off.
- Attach Pom-Poms: Position the two pom-poms on either side of the crown seam, approximately 1-2 inches from the top center.
- Thread the pom-pom tails through the hat from the outside to the inside.
- Tie the tails securely in a double knot on the inside of the hat, then weave in the excess tails.
Video Tutorial:
✂️ Finishing & Styling
✨ Final Touches
- Weave in all remaining yarn tails securely.
- Fluff up your pom-poms!
- Fold the horizontal ribbed cuff up to your desired width.
🧺 Blocking (Optional)
- While this hat is designed for stretch, a light steam block can help even out the stitches and settle the ribbing, especially on the cuff. Place the hat over a head-shaped object (like a bowl or balloon) and gently steam the fabric (avoid direct heat contact with acrylic yarn).
You have now created an irresistibly cute and cozy Forest Friends Beanie! Enjoy wearing your adorable, handmade creation.