
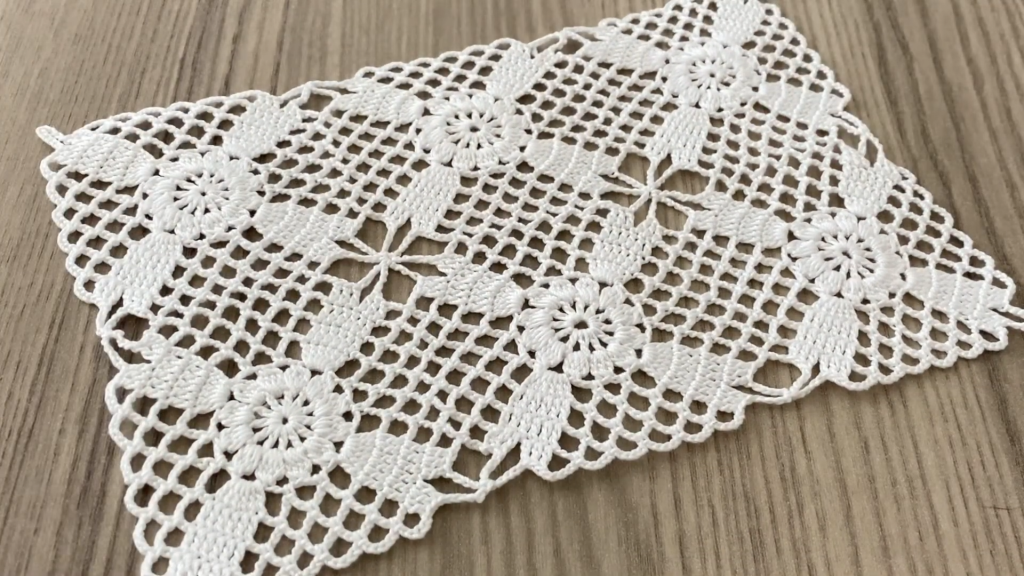
Hello, wonderful members of the crafting community! Today, we are exploring a stitch that embodies sophistication and texture. Inspired by the beautiful, unique fabric showcased in the video, I’ve created the Layered Shell Cascade Stitch. This pattern combines simple chain loops and double crochet clusters to produce a dense, deeply ridged, and highly tactile fabric reminiscent of overlapping scallops or shells. It is an excellent choice for projects where warmth and structure are key, such as throws, scarves, or elegant bags.
Despite its complex appearance, this stitch is a straightforward 4-Row Repeat worked primarily in Double Crochet (DC) and chain spaces, making it manageable for an intermediate crocheter eager for a stunning result!

✨ Project Specifications
| Skill Level | Intermediate |
| Gauge | Approximately 2 shell repeats and 6 rows equal 4 inches (10 cm). Gauge is not critical for accessories but check for consistent density. |
| Stitch Multiple | Multiple of 6 stitches, plus 3 for the foundation chain. |
| Recommended Projects | Scarves, Warm Wraps, Textured Blankets, Cardigans, Market Bags. |
🧶 Materials and Sizing
For the best visual effect, choose a yarn that will define the ridges without being too fuzzy.
- Yarn: Worsted (Medium Weight / Size 4) or even Bulky (Size 5) yarn. A smooth acrylic or a cotton blend will clearly showcase the stitch definition.
- Hook: Size H/8 (5.0 mm) or I/9 (5.5 mm), or the size needed to achieve a fabric with a comfortable drape. Going one size larger than your yarn label recommends can help prevent the fabric from curling.
- Notions: Tapestry needle for weaving in ends, scissors.
📝 Essential Stitch Abbreviations (US Terms)
This pattern uses a special Shell structure and simple chains to create the unique layered look.
- Ch: Chain
- St(s): Stitch(es)
- Sl St: Slip Stitch
- Sc: Single Crochet
- Dc: Double Crochet
- Shell: 5 Dc in the same stitch or space.
- Tr: Treble Crochet (Yarn over twice)
🌊 The Layered Shell Cascade Stitch Pattern
The pattern is worked flat in rows using a 4-row vertical repeat.

Foundation Chain
Chain a multiple of 6, plus 3 additional chains (e.g., 27, 33, 39, 45, etc., for your desired width).
Row 1 (Foundation Row – RS):
1 Dc in the 4th Ch from hook (Ch 3 counts as 1 Dc). 1 Dc in each Ch across. Ch 3 (counts as 1 Dc), turn.
(Your final stitch count will be the initial multiple of 6 + 1)
This row provides a smooth, solid base for the shell structure to begin.
The 4-Row Repeat
Row 2 (Shell Placement Row – WS):
1 Dc in the first St (top of Ch 3).
Ch 3, Sk 5 Sts, Shell (5 Dc) in the next St.
Repeat from * to * across the row until 6 Sts remain.
Ch 3, Sk 5 Sts, 2 Dc in the last St (working the final Dc into the top of the turning Ch 3 of the previous row). Ch 3 (counts as 1 Dc), turn.
This row lays out the first layer of shells separated by wide chain loops.
Row 3 (Connecting Ridge Row – RS):
1 Dc in the first St (top of Ch 3), 1 Dc in the next Dc.
Ch 1, Sk Ch-3 Sp. 1 Dc in the next 5 Sts (the top of the Shell).
Repeat from * to * across the row until the final Ch-3 Sp remains.
Ch 1, Sk Ch-3 Sp, 1 Dc in the next Dc, 1 Dc in the top of the turning Ch 3. Ch 3 (counts as 1 Dc), turn.
This row connects the shells and creates a solid band above the open spaces, beginning to define the ridge.
Row 4 (Cascading Shell Row – WS):
1 Dc in the first 2 Sts.
- Shell (5 Dc) in the Ch-1 Sp from the previous row. Ch 3, Sk 5 Sts (the top of the shell from Row 2).*Repeat from * to * across the row until the last Ch-1 Sp remains.Shell (5 Dc) in the last Ch-1 Sp. 1 Dc in the next Dc, 1 Dc in the top of the turning Ch 3. Ch 3, turn.This row shifts the shells so they are centered over the chain spaces of Row 2, creating the cascade effect.
Row 5 (Reverse Ridge Row – RS):
1 Dc in the first 6 Sts. Ch 1, Sk Ch-3 Sp. 1 Dc in the next 5 Sts (the top of the Shell).
Repeat from * to * across the row until 6 Sts remain.
Ch 1, Sk Ch-3 Sp, 1 Dc in the last 6 Sts. Ch 3, turn.
This row is the reverse of Row 3, establishing the second solid ridge band and setting up for the next shift.
To Continue: Repeat Rows 2-5 until your project reaches the desired length.


🧠 Tips for a Perfect Cascade
- The Shell Center: When working the shells, ensure you work all 5 Dc stitches into the single space or stitch specified. This is what gives the stitch its volume.
- Finding the Ch-1 Sp: In Row 4, the Ch-1 Space is the small loop you created in Row 3. It will be slightly tucked under the row above. Make sure your shell is worked securely into this space to ensure the shell “cascades” neatly.
- Edge Management: To keep your edges straight and neat, always remember to treat the beginning Ch 3 as a Double Crochet stitch, and work your last stitch of the row into the top of that Ch 3.
- Color Play: This stitch is fantastic for contrasting colors! You could change colors after every 4-row repeat (Rows 2-5) to highly emphasize the layered ridges, creating a striking stripe pattern.
Video Tutorial:
🛀 Finishing Your Project
- Final Row: To finish your piece with a neat edge, end after a Row 5 repeat. You can optionally add a final row of Sc across the entire top edge for extra polish before fastening off.
- Weave In Ends: Use your tapestry needle to securely weave in all yarn tails on the wrong side. The density of the fabric makes hiding ends easy.
- Blocking: Blocking is recommended to relax the yarn and make the fabric lie completely flat, especially if you plan to join multiple pieces or add a border.
- Process: Use steam or water to damp the fabric, then gently pat it into shape. Because of the 3D texture, avoid heavy pressing; you only want to relax the stitches, not flatten the shell structure.
Enjoy the luxurious texture and structure of your new Layered Shell Cascade Stitch project!


