
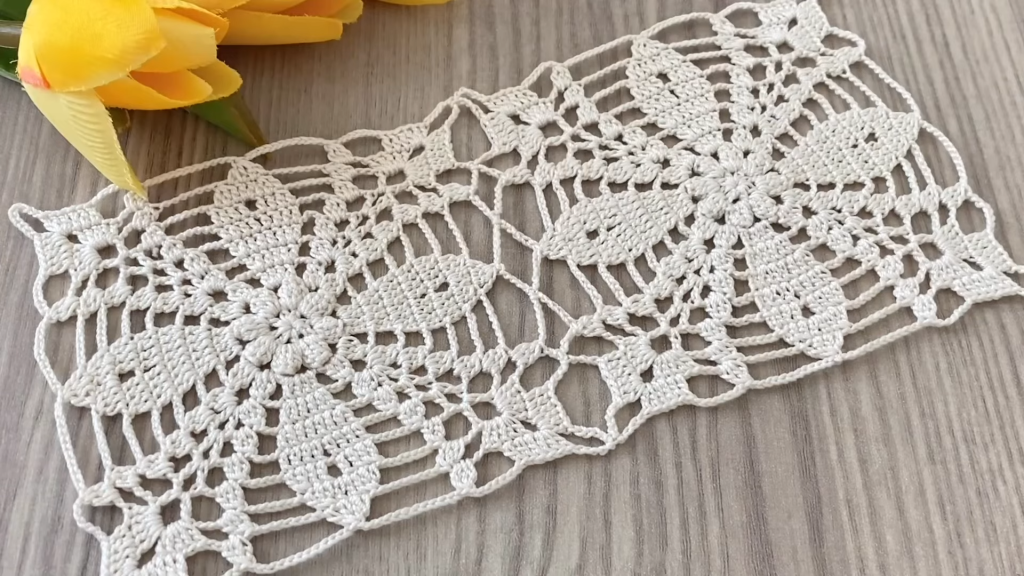
Hello, fantastic fiber artists! We’re diving into a captivating square motif today. Inspired by the dense, geometric, and highly structured pattern in the video, I’ve created the Sunken Diamond Square motif. This design features a central textured diamond surrounded by a basketweave-like frame, resulting in a beautiful, thick, and fully reversible square. It’s perfect for cozy afghans, durable bags, or cushion covers that demand both texture and structural integrity.
This pattern utilizes a mix of basic stitches and clever post stitches to achieve its striking 3D effect, making it an excellent challenge for intermediate crocheters.

✨ Project At a Glance
| Skill Level | Intermediate to Advanced Intermediate |
| Finished Size | Approximately 5 x 5 inches (12.5 x 12.5 cm) after blocking (using recommended materials) |
| Construction | Worked in the round from the center out |
| Stitches Used | Double Crochet, Front Post Double Crochet, Back Post Double Crochet |
| Project Ideas | Afghans, Throws, Cushion Covers, Bags, Coasters |
🧶 Materials and Preparation
Since this square is very dense, using a soft, pliable yarn is best to prevent the finished square from becoming too rigid.
- Yarn: Worsted (Medium Weight / Size 4) yarn. A smooth, non-fuzzy yarn like acrylic or wool blend will best showcase the texture.
- Color A (Center/Diamond): Approx. 18 yards
- Color B (Frame/Border): Approx. 12 yards
- Hook: Size H/8 (5.0 mm) or I/9 (5.5 mm) crochet hook, or size needed to obtain gauge.
- Notions: Yarn needle for weaving in ends, scissors.
📝 Essential Stitch Abbreviations (US Terms)
The post stitches are the key to this pattern’s sunken and raised effect.
- Ch: Chain
- St(s): Stitch(es)
- Sl St: Slip Stitch
- Dc: Double Crochet
- FpDc (Front Post Double Crochet): Yarn over, insert hook from front to back around the post of the specified stitch, yarn over, pull up a loop, [yarn over, pull through 2 loops] twice. (Pushes the stitch forward)
- BpDc (Back Post Double Crochet): Yarn over, insert hook from back to front around the post of the specified stitch, yarn over, pull up a loop, [yarn over, pull through 2 loops] twice. (Pushes the stitch backward)
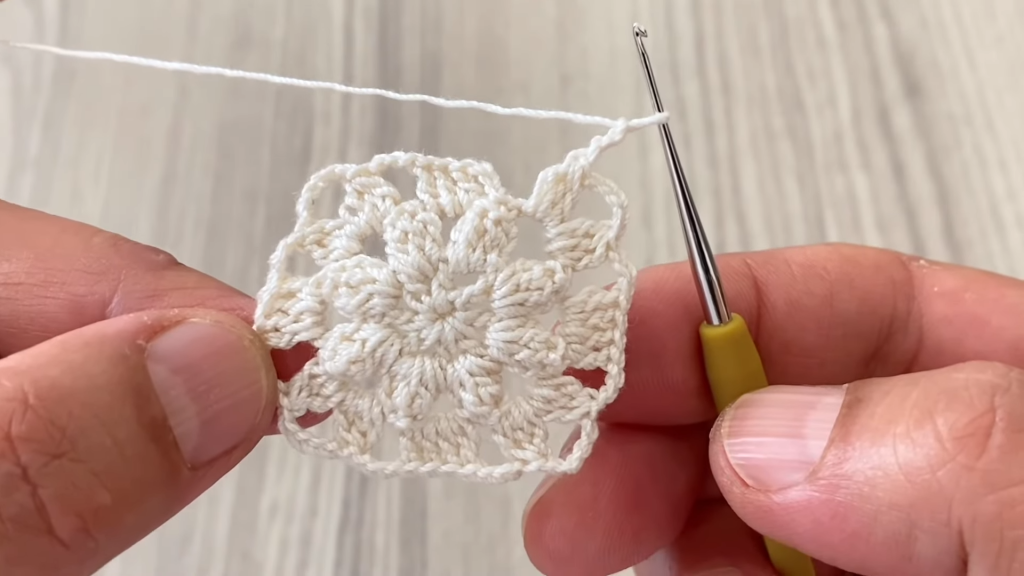
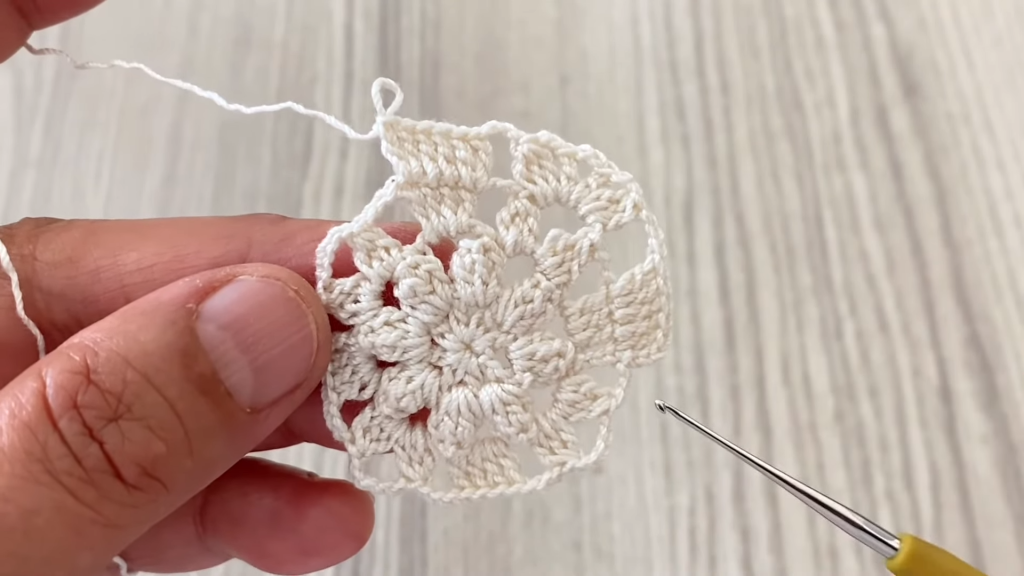
💎 The Sunken Diamond Square Pattern
The square is worked in 8 rounds, starting with the solid center and then building the textured frame around it.
Center Foundation (Color A)
Start: Using Color A.
Make a Magic Ring (or Ch 4, Sl St to first Ch to form a ring).
Round 1: Initial Corner Setup
Ch 3 (counts as 1 Dc). Work (2 Dc, Ch 2, 3 Dc) 4 times into the ring. Join with a Sl St to the top of the beginning Ch 3. (12 Dc, 4 Ch-2 Sps)
Gently pull the tail of the magic ring to tighten the center. Fasten off Color A.
Textured Frame (Color B)
Round 2: First Post Stitch Layer
Join Color B into any corner Ch-2 Sp with a Sl St.
Ch 3 (counts as 1 Dc). Work (1 Dc, Ch 2, 2 Dc) into the same corner Ch-2 Sp (First Corner made).
- [1 BpDc around the next 3 posts].In the next corner Ch-2 Sp, work (2 Dc, Ch 2, 2 Dc) (Corner made).Repeat from * to * 3 more times for the remaining sides. Join with a Sl St to the top of the beginning Ch 3. (28 Sts total, 4 Ch-2 Sps)The BpDc pushes the center of the previous round backwards, creating the “sunken” effect.
Round 3: Continuing the Diamond Shape
Ch 3 (counts as 1 Dc). 1 Dc in the next Dc.
In the corner Ch-2 Sp, work (2 Dc, Ch 2, 2 Dc) (Corner made).
[1 BpDc around the next 2 posts, 1 FpDc around the next 3 posts, 1 BpDc around the next 2 posts].
Repeat from * to * 3 more times for the remaining sides. Finish the last side with the required Dc stitches. Join with a Sl St to the top of the beginning Ch 3. (44 Sts total, 4 Ch-2 Sps)
The FpDc in the center of the side begins the raised look of the diamond. The BpDc continues the sunken frame.
Round 4: Emphasizing the Texture
Ch 3 (counts as 1 Dc). 1 Dc in each of the next 3 Dc.
In the corner Ch-2 Sp, work (2 Dc, Ch 2, 2 Dc) (Corner made).
[1 BpDc around the next 3 posts, 1 FpDc around the next 3 posts, 1 FpDc around the next 3 posts, 1 BpDc around the next 3 posts].
Repeat from * to * 3 more times for the remaining sides. Join with a Sl St to the top of the beginning Ch 3. (60 Sts total, 4 Ch-2 Sps)
The continuous FpDc creates a larger, more prominent diamond. The BpDc maintains the defining frame.
Round 5: Completing the Diamond
Ch 3 (counts as 1 Dc). 1 Dc in each Dc until the corner Ch-2 Sp.
In the corner Ch-2 Sp, work (2 Dc, Ch 2, 2 Dc) (Corner made).
[1 BpDc around the next 4 posts, 1 FpDc around the next 2 posts, 1 FpDc around the next 5 posts, 1 FpDc around the next 2 posts, 1 BpDc around the next 4 posts].
Repeat from * to * 3 more times for the remaining sides. Join with a Sl St to the top of the beginning Ch 3. (76 Sts total, 4 Ch-2 Sps)
Fasten off Color B.

Final Border (Color A)
Round 6: Flat Double Crochet Border
Join Color A into any corner Ch-2 Sp with a Sl St.
Ch 3 (counts as 1 Dc). Work (1 Dc, Ch 2, 2 Dc) into the same corner Ch-2 Sp (Corner made).
1 Dc in each St across the side.
Repeat from * to * 3 more times. 1 Dc in each of the remaining Sts. Join with a Sl St to the top of the beginning Ch 3. (84 Dc, 4 Ch-2 Sps)
This row flattens out the final texture and provides a smooth joining surface.
Round 7: Single Crochet Neatening Row
Ch 1 (does not count as a St). 1 Sc in the first St. 1 Sc in each Dc across the side until the corner Ch-2 Sp.
In the corner Ch-2 Sp, work (1 Sc, Ch 2, 1 Sc) (Corner made).
Repeat from * to * 3 more times. 1 Sc in each of the remaining Sts. Join with a Sl St to the first Sc. (88 Sc, 4 Ch-2 Sps)
Round 8: Slip Stitch/Joining Row
Ch 1. Sl St in each St and in each Ch-2 Sp around the entire square. Join with a Sl St to the first Sl St.
Fasten off Color A.
This final row creates a dense, firm edge perfect for neat seaming or adding a final border.

🤝 Assembly & Joining Tips
- Seaming Method: Due to the thickness of this square, the Whipstitch or Mattress Stitch are excellent choices for joining. They create a strong, invisible seam when worked through the back loops or along the Slip Stitch edge (Round 8).
- Alignment: Always align your squares by matching the corresponding corner Ch-2 spaces and counting the stitches along the side to ensure a perfect fit.
Video Tutorial:
🛁 Finishing and Care
- Weaving Ends: Weave in all yarn tails securely on the back side of the work using your yarn needle.
- Blocking (Highly Recommended): Blocking is essential for defining the post stitches and ensuring your square is perfectly square, which is key for joining multiple motifs.
- Method: Wet or steam block the motifs. Gently stretch and pin the square to a blocking mat, pulling slightly on the sides to emphasize the square shape and pushing the post stitches out for maximum definition.
- Drying: Allow them to dry completely before unpinning and joining.
Enjoy the luxurious texture and impressive structure of your new Sunken Diamond Square project!


