
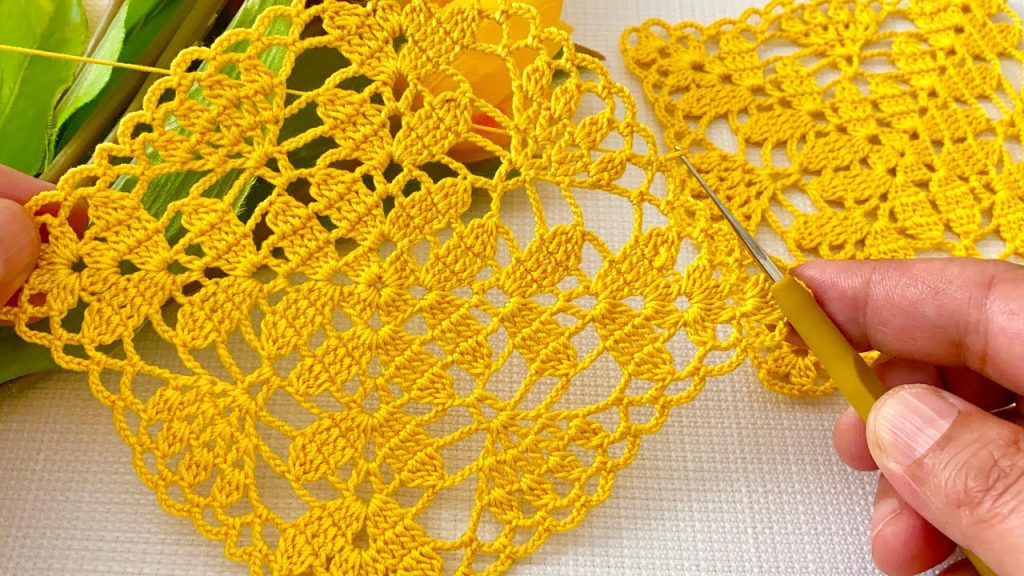
Bring the brightness of a summer day to your home décor with this beautiful crochet lace square. This motif features a striking central flower design, framed by a delicate, radiating lattice. The repeating pattern makes it easy to master, and the finished squares can be joined seamlessly to create stunning projects like doilies, runners, or elegant curtains.
⭐️ Project Overview and Techniques
| Feature | Detail |
| Skill Level | Intermediate. Requires focused counting and working in the round with treble and chain stitches. |
| Stitches Used | Chain (ch), Slip Stitch (sl st), Single Crochet (sc), Double Crochet (dc), Treble Crochet (tr), Picot. |
| Construction | Worked continuously in the round, from the center outwards. |
| Yarn Type | Fine cotton thread is essential for the crisp, open lace structure. |
| Final Product | A square motif ready for joining. |
🧵 Materials & Gauge
Yarn
- Weight: Crochet Thread Size 10 or a Lace/Fingering Weight (Category 0 or 1) yarn. The fine thread is critical to achieve the delicate, open appearance.
- Fiber: 100% Mercerized Cotton thread is highly recommended, as it gives the best stitch definition and blocks beautifully.
- Color: A vibrant yellow (like the sample) or white/ecru for a classic lace look.
- Yardage: Approximately 50 yards per motif, depending on the thread size.
Hook
- Size: 1.5 mm to 1.75 mm (Steel Hook US 8 or 7), or the size recommended for your chosen thread. Use a hook that results in a firm, non-floppy fabric.
Notions
- Tapestry Needle for weaving in ends.
- Scissors.
- T-pins and a blocking board (essential for achieving the perfect square shape).
Gauge (Approximate)
The finished square should measure approximately 6 inches by 6 inches before blocking, using Size 10 thread and a 1.5 mm hook. Tension should be tight and consistent throughout.
🌻 Pattern Instructions: The Center Flower
The motif is worked in the round, starting with the center ring.
Round 1 (Center Ring): ch 6, sl st to the first ch to form a ring. ch 3 (counts as dc), 15 dc into the ring. sl st to the top of the starting ch 3 to join. (16 dc)
Round 2 (Petal Setup): ch 1 (does not count as a stitch), sc in the first stitch. ch 5, sc into the 2nd dc. ch 5, sc into the 2nd dc from the previous sc. Repeat the sequence (ch 5,sc into 2nd dc) 6 times more. You should have 8 ch 5 loops. sl st to the first sc to join. (8 loops)
Round 3 (Solid Petals): sl st into the first ch 5 loop. ch 3 (counts as dc). In the same loop, work: 3 dc,ch 2,4 dc. This forms the first solid petal. sl st into the next ch 5 loop. In the loop, work: 4 dc,ch 2,4 dc. Repeat this sequence sl st, 4 dc,ch 2,4 dc 6 times more. sl st to the top of the starting ch 3 to join. (8 petals)
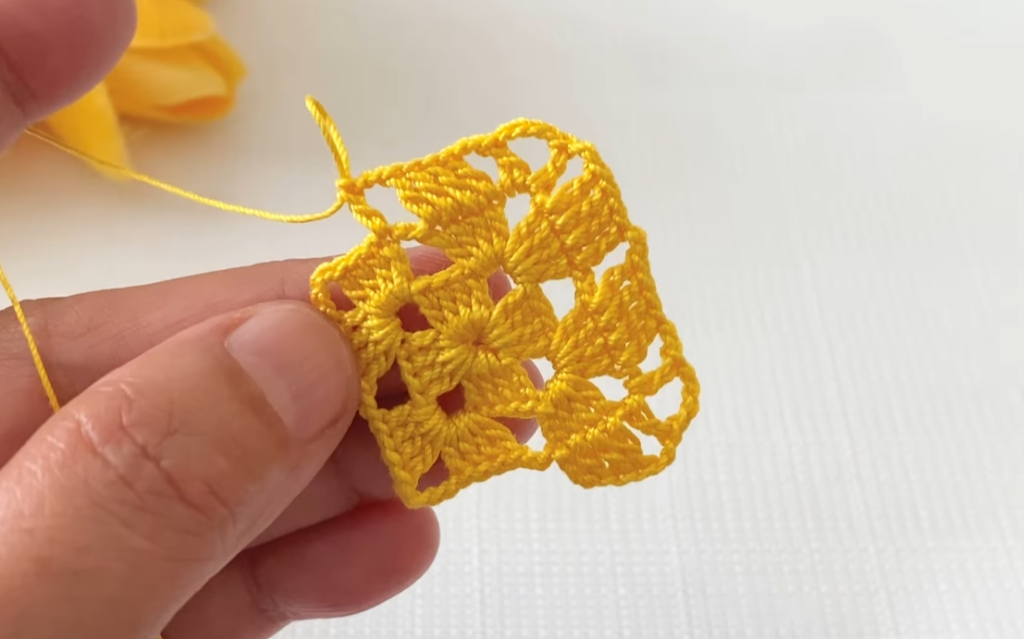
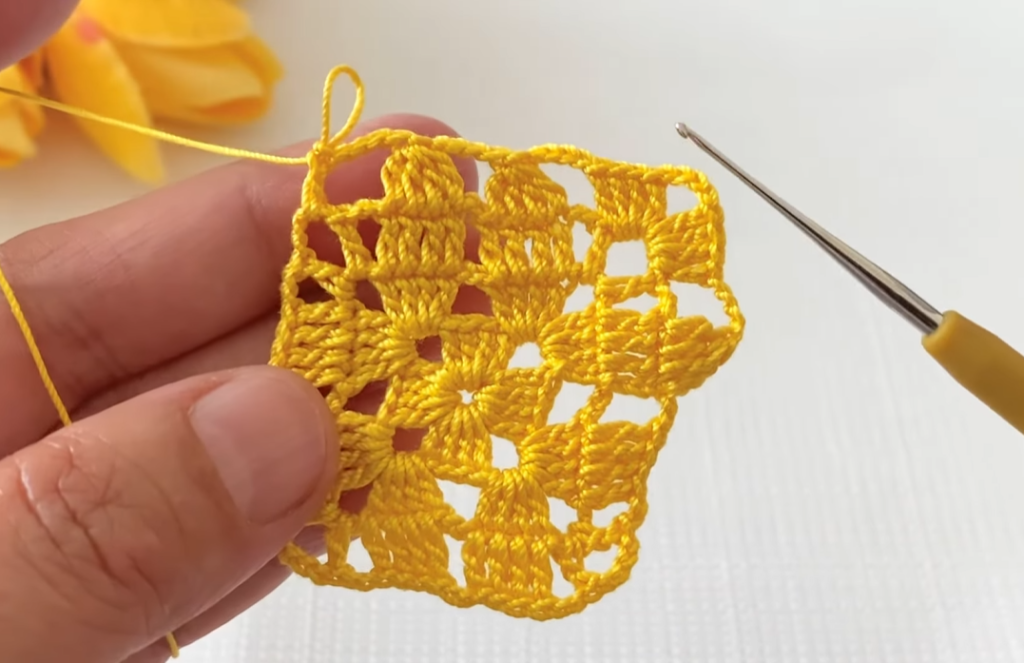
💠 Pattern Instructions: Shaping the Square
This section introduces the open lace and begins transforming the circle into a square using tr stitches to define the corners.

Round 4 (Lattice Setup): ch 1 (does not count as a stitch), sc in the sl st join below. ch 5. sc into the ch 2 space at the top of the next petal. ch 5. sc into the sl st between petals. Repeat this sequence ch 5,sc into ch 2 space, ch 5,sc into sl st join 7 times more. You should have 16 ch 5 loops. sl st to the first sc to join.
Round 5 (Corner Definition): sl st into the first 3 ch of the ch 5 loop. ch 3 (counts as dc). Work 4 dc into the next ch 5 loop. ch 3,sc into the next ch 5 loop. Repeat this twice. Corner: ch 5 (This is the first corner loop). sc into the next ch 5 loop. ch 3. Side: Work 4 dc into the next ch 5 loop. ch 3,sc into the next ch 5 loop. Repeat this twice. Repeat the Corner and Side instructions 3 times more around the square. sl st to the top of the starting ch 3 to join.
Round 6 (Advanced Lattice): ch 5 (counts as tr,ch 1). tr into the first dc below. ch 1. (tr,ch 1) in the next 3 dc. sc into the ch 3 space. ch 1. tr into the next ch 3 space. ch 1. Repeat this pattern across the side until you reach the corner.
Corner: 3 tr into the ch 5 corner loop, ch 3,3 tr into the same loop. ch 1.
Continue the Side and Corner pattern 3 times more. sl st to the 4th ch of the starting ch 5 to join.
🌿 Pattern Instructions: Final Floral Edging
This round creates the dense, closed floral look on the final border seen in the image.

Round 7 (Final Border): sl st into the ch 1 space. ch 1 (sc). ch 3, sc into the next ch 1 space. Repeat across the side, working sc into each ch 1 space and the center sc/tr stitch.
In the Corner: Work 3 sc,ch 2,3 sc into the ch 3 corner space.
Continue the Side and Corner pattern 3 times more. sl st to the first sc to join.
Fasten off and weave in the end securely.
Video Tutorial:
📐 Finishing and Blocking
For a beautiful, sharp finish, blocking is a required step for this lace motif.
- Preparation: Weave in all loose ends on the back of the work.
- Soaking: Gently soak the motif in cool water (you can add a tiny bit of liquid starch or fabric softener for extra crispness). Squeeze out the excess water—do NOT twist or wring.
- Shaping: Lay the wet motif onto a foam blocking board or thick towel. Using rust-proof T-pins, carefully pin out the motif to its target square shape, making sure the corner points are pulled taut and symmetrical.
- Drying: Allow the piece to dry completely flat. This will take at least 24 hours.
- Joining (Optional): If you are joining multiple squares, you can join them as you crochet the final round (the Join-As-You-Go method), or stitch them together using a sl st or sc join after blocking.
This beautiful motif is ready to brighten up any space! Do you plan to join several squares to create a larger item, or use the single motif as a coaster?


